Home
What's Happening
Events
Calendar
Chile Experiences
Peace Corps Biographies
Book Release presentation, Part 1
Book Release presentation, Part 2
50th Reunion
Photos by Pat McCrary
Photos by Carrol Benner Kindel
Photos by Steve Wilhelmi
Photos by Karl Holmes
Galleries
Annual West Coast Reunion - 2025
Annual West Coast Reunion - 2023
Annual West Coast Reunion - 2022
Annual West Coast Reunion - 2021
Annual West Coast Reunion - 2019
Annual West Coast Reunion - 2018 - C. & K. Kindel
East Coast Reunion - 2017 - C. & K. Kindel
Annual West Coast Reunion - 2017
Annual West Coast Reunion - 2016 - S. Wilhelmi
Annual West Coast Reunion 2009-2015 - C. Kindel
Chile Photos
Connections
Dave's Chile
Muere Ángel Parra
Places to stay in Santiago
42K Bike Path Along the Mapocho
Chile unveils Patagonian Route of Hikes
About us
Menu
Home
What's Happening
Events
Calendar
Chile Experiences
Peace Corps Biographies
Book Release presentation, Part 1
Book Release presentation, Part 2
50th Reunion
Photos by Pat McCrary
Photos by Carrol Benner Kindel
Photos by Steve Wilhelmi
Photos by Karl Holmes
Galleries
Annual West Coast Reunion - 2025
Annual West Coast Reunion - 2023
Annual West Coast Reunion - 2022
Annual West Coast Reunion - 2021
Annual West Coast Reunion - 2019
Annual West Coast Reunion - 2018 - C. & K. Kindel
East Coast Reunion - 2017 - C. & K. Kindel
Annual West Coast Reunion - 2017
Annual West Coast Reunion - 2016 - S. Wilhelmi
Annual West Coast Reunion 2009-2015 - C. Kindel
Chile Photos
Connections
Dave's Chile
Muere Ángel Parra
Places to stay in Santiago
42K Bike Path Along the Mapocho
Chile unveils Patagonian Route of Hikes
About us
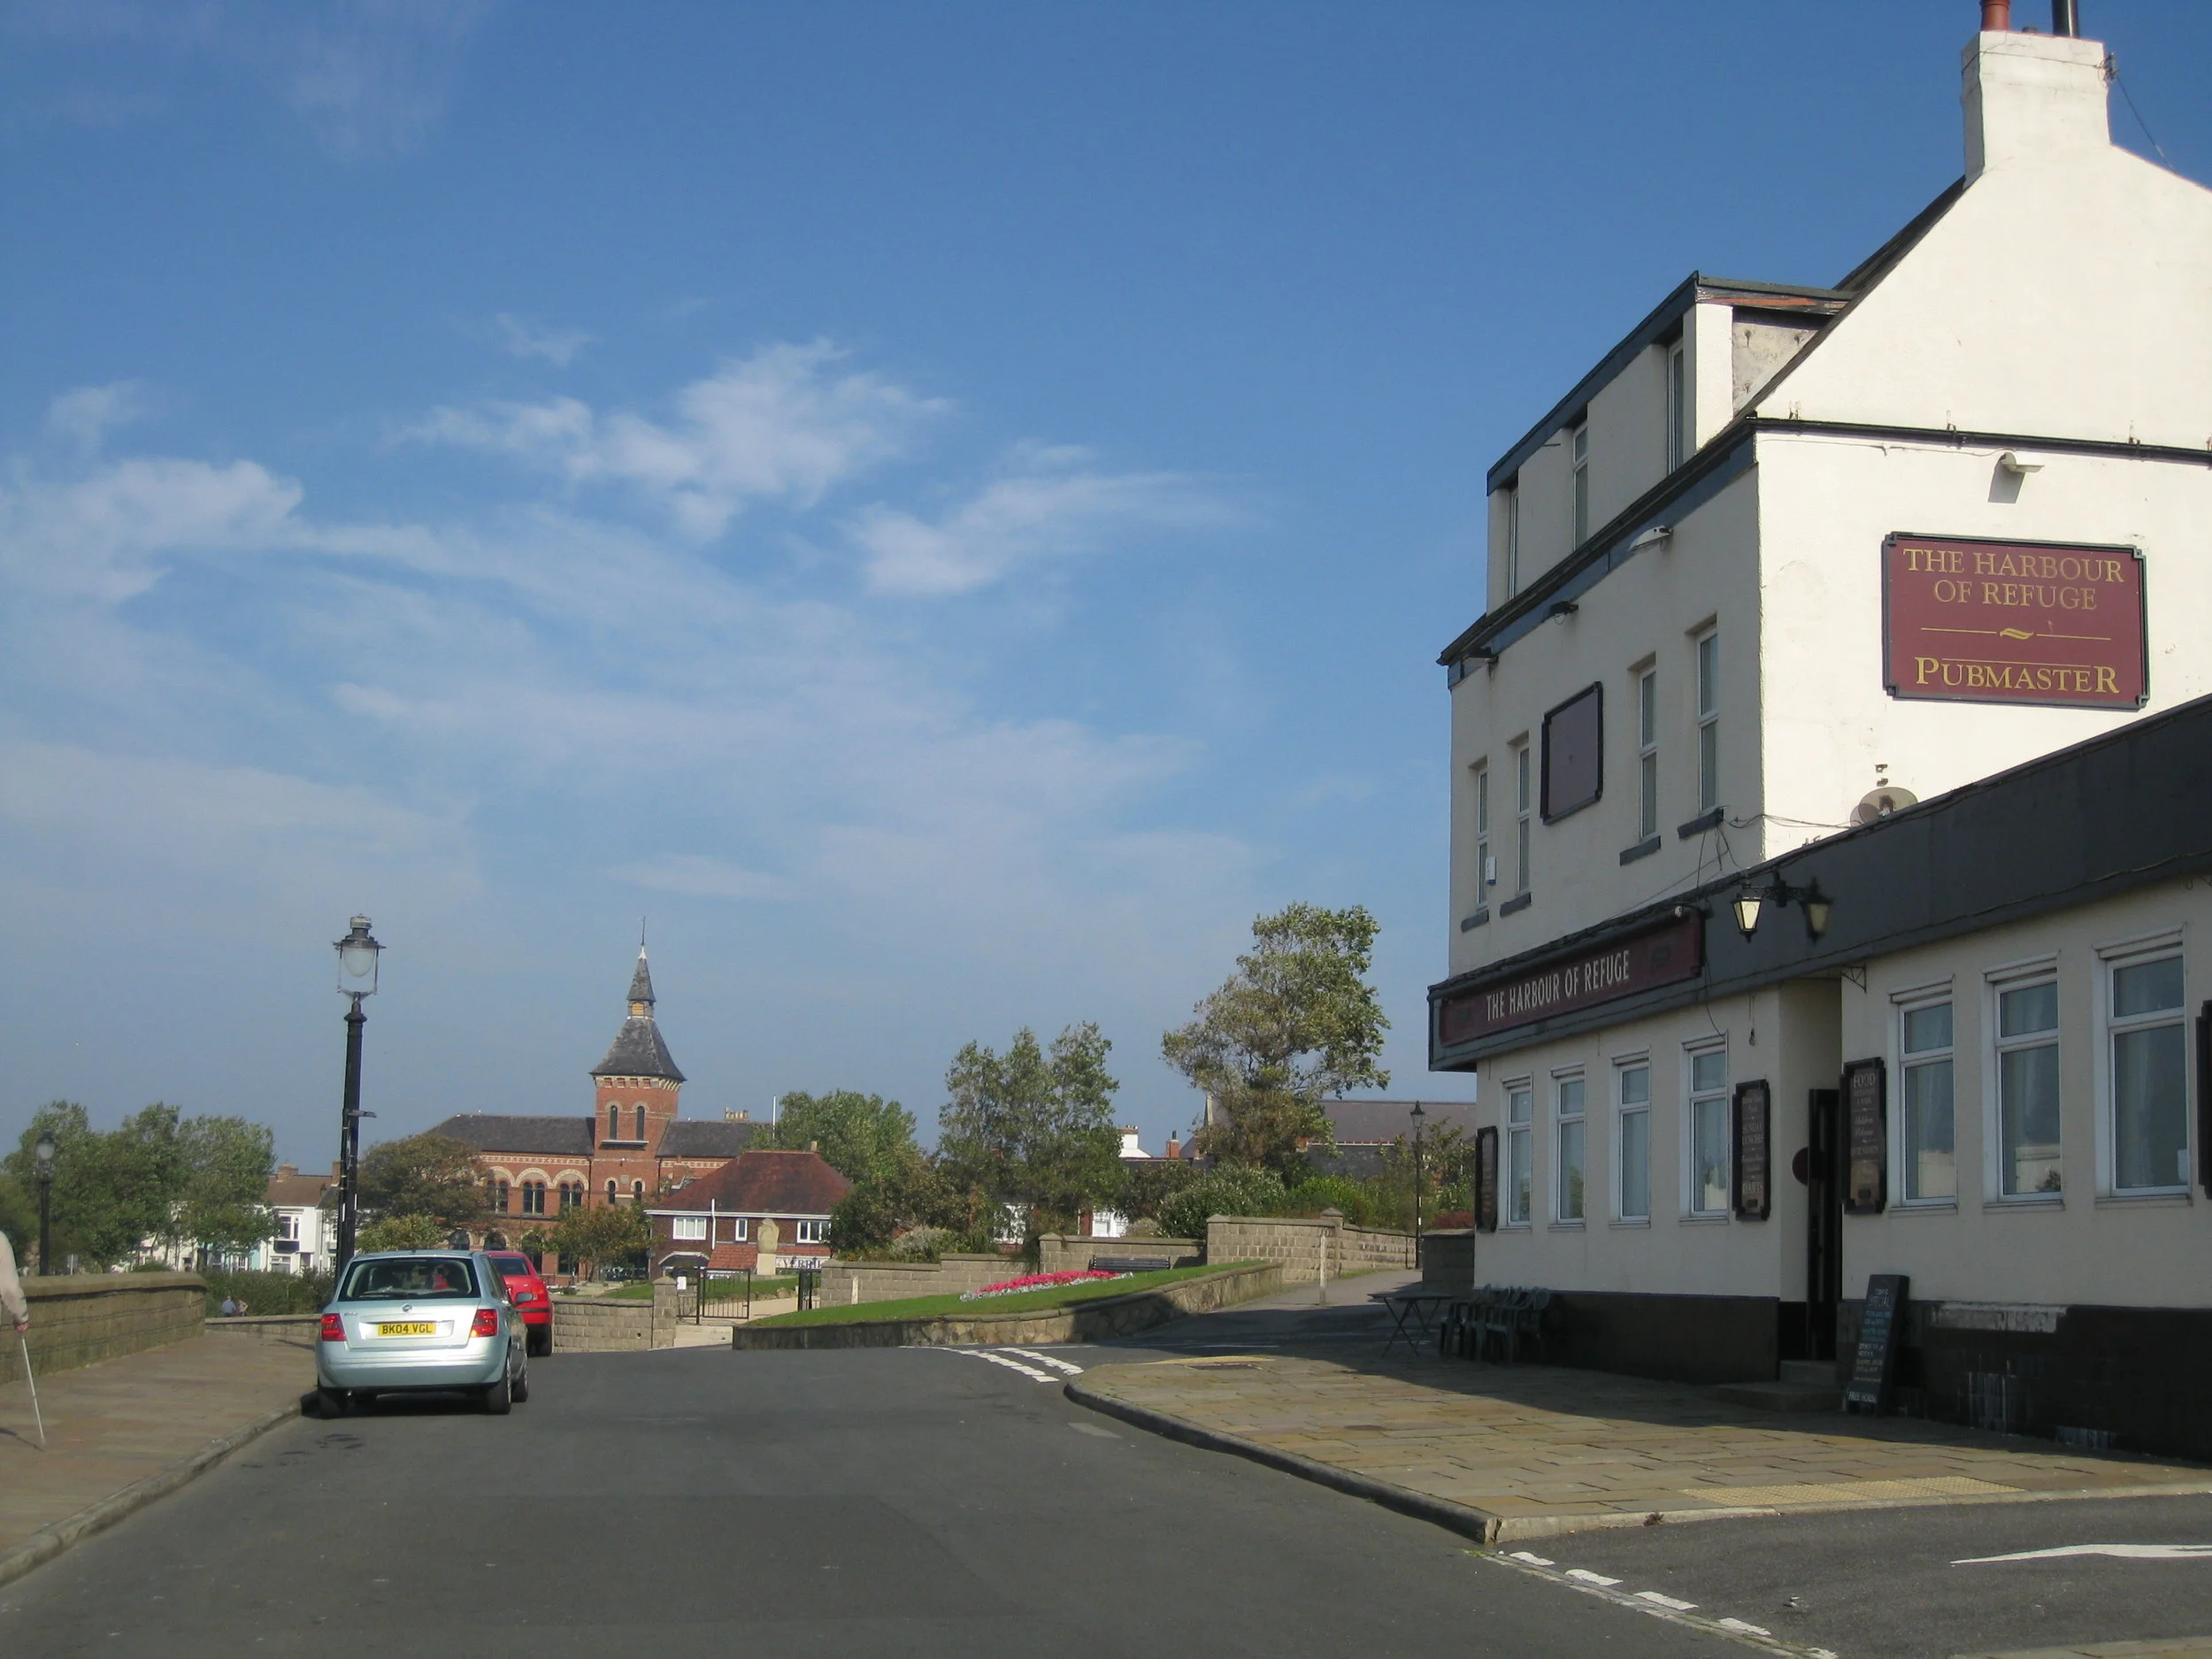
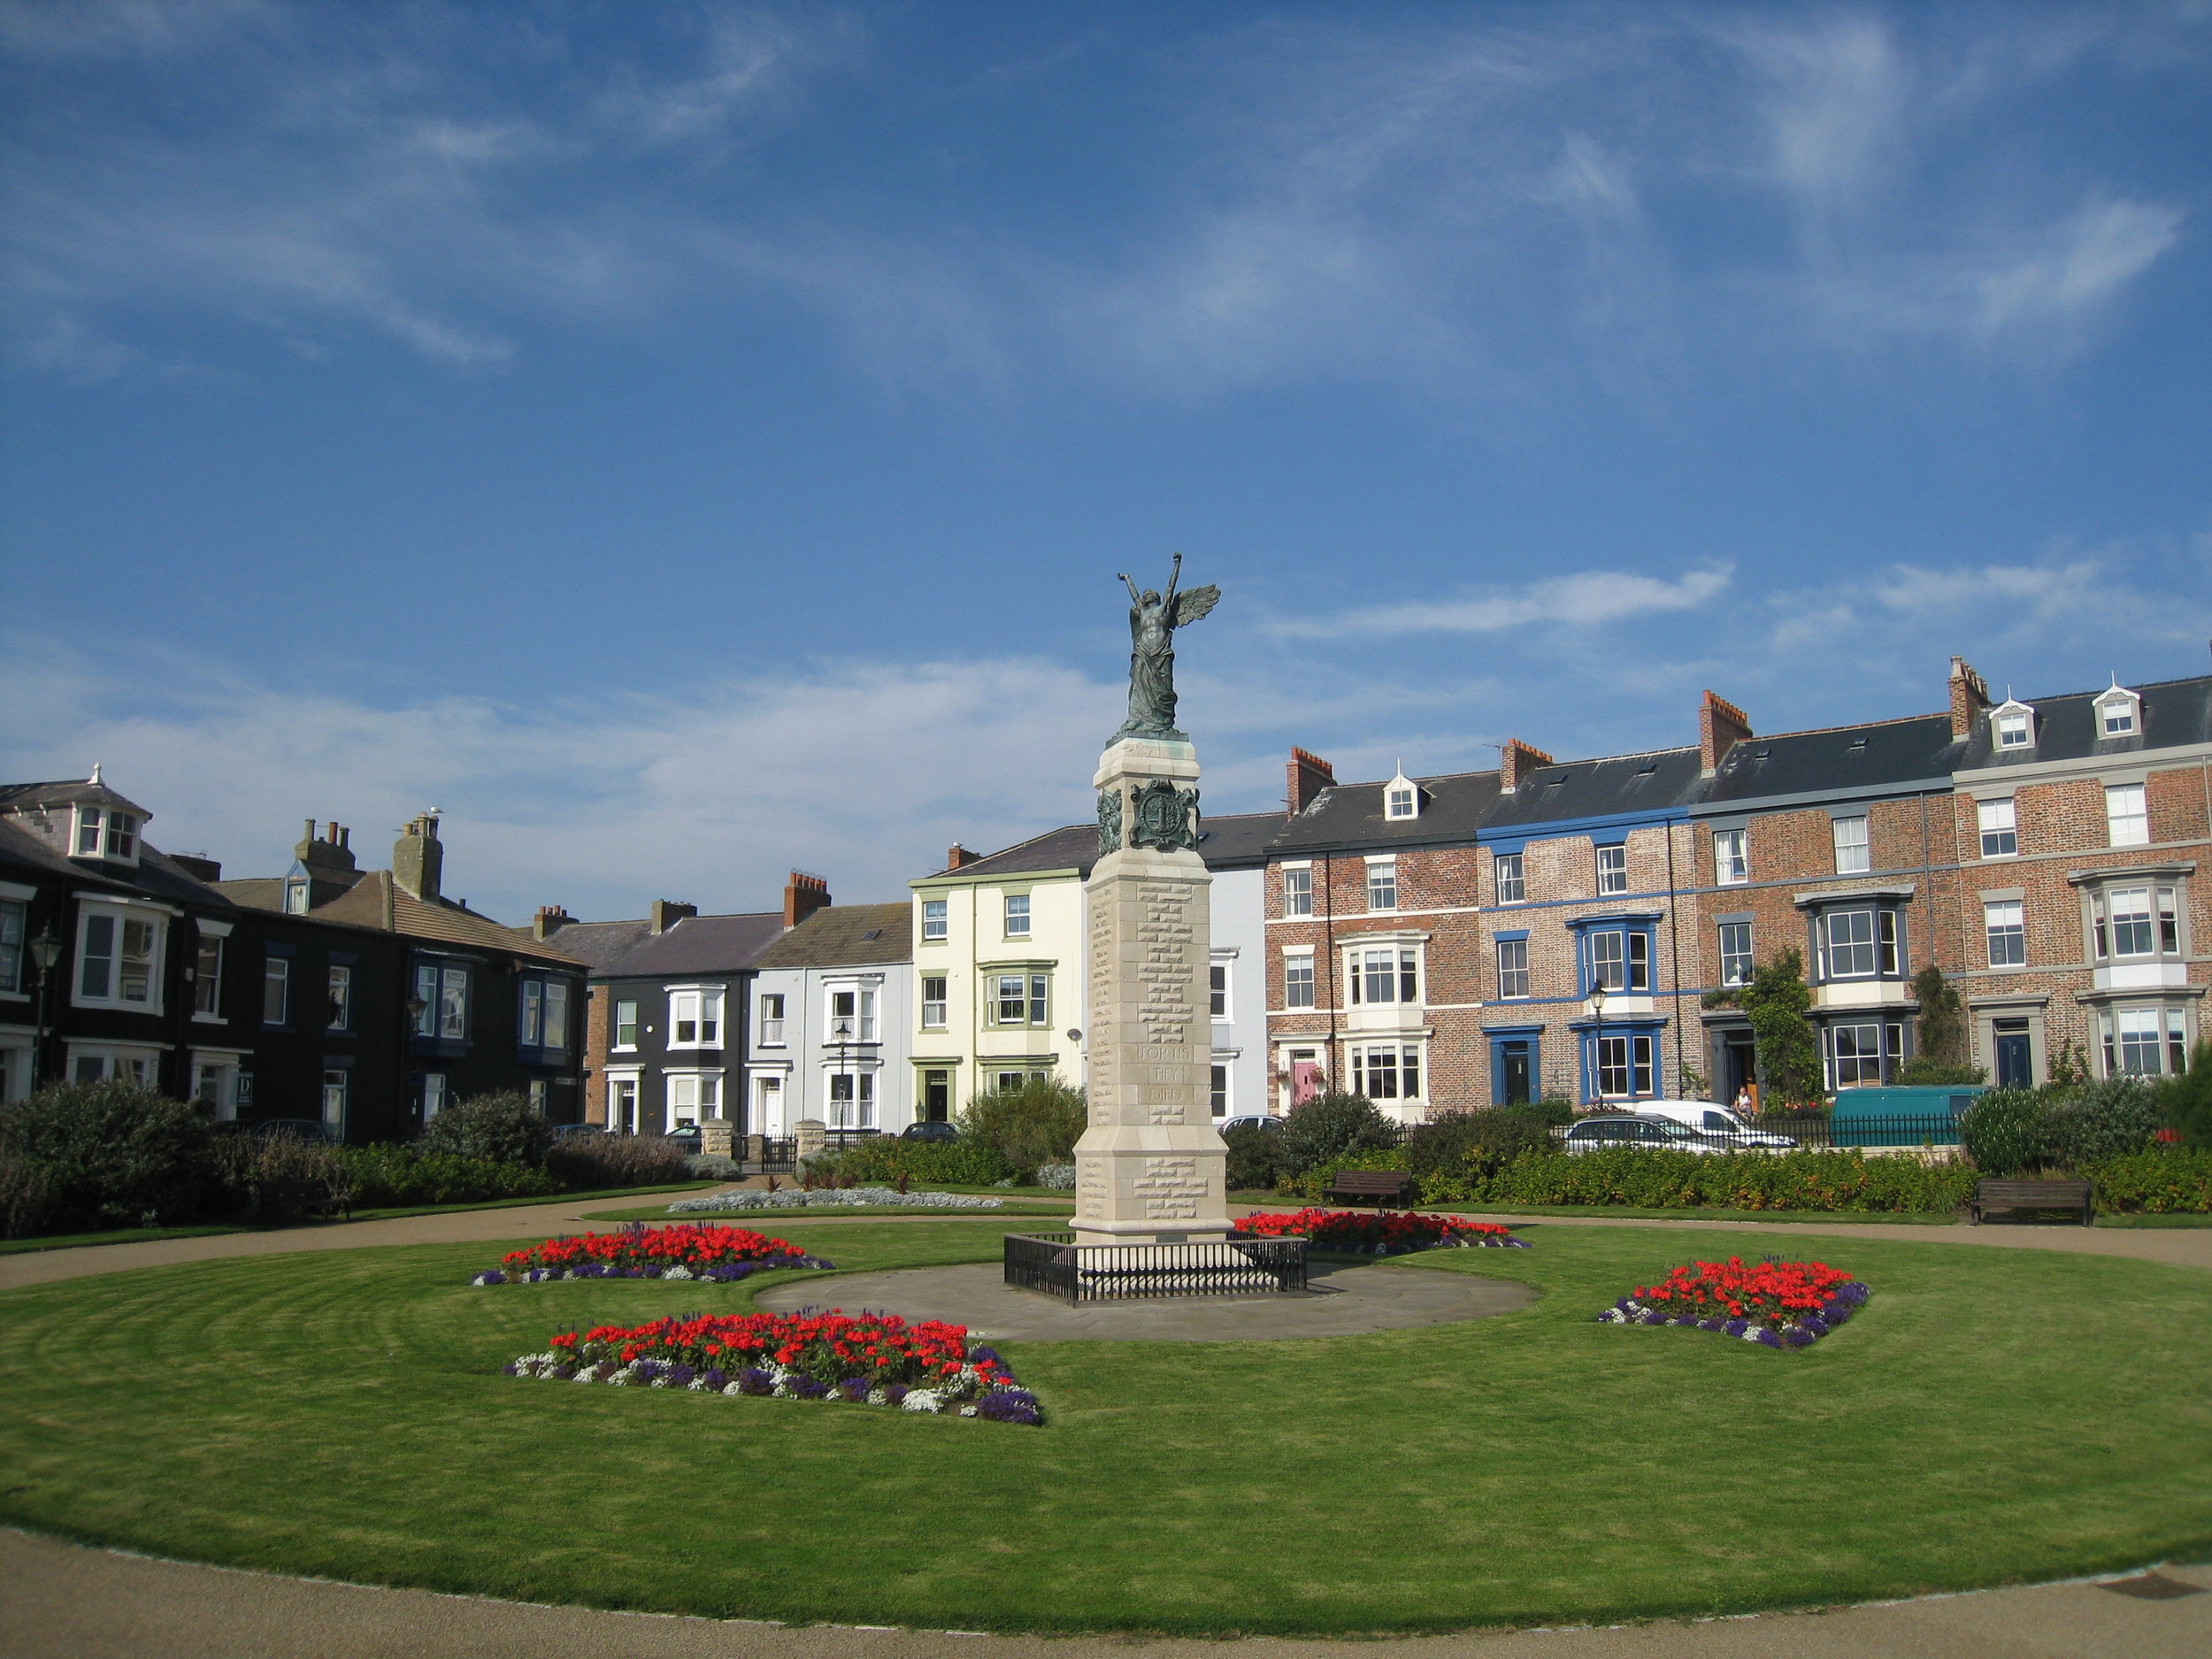
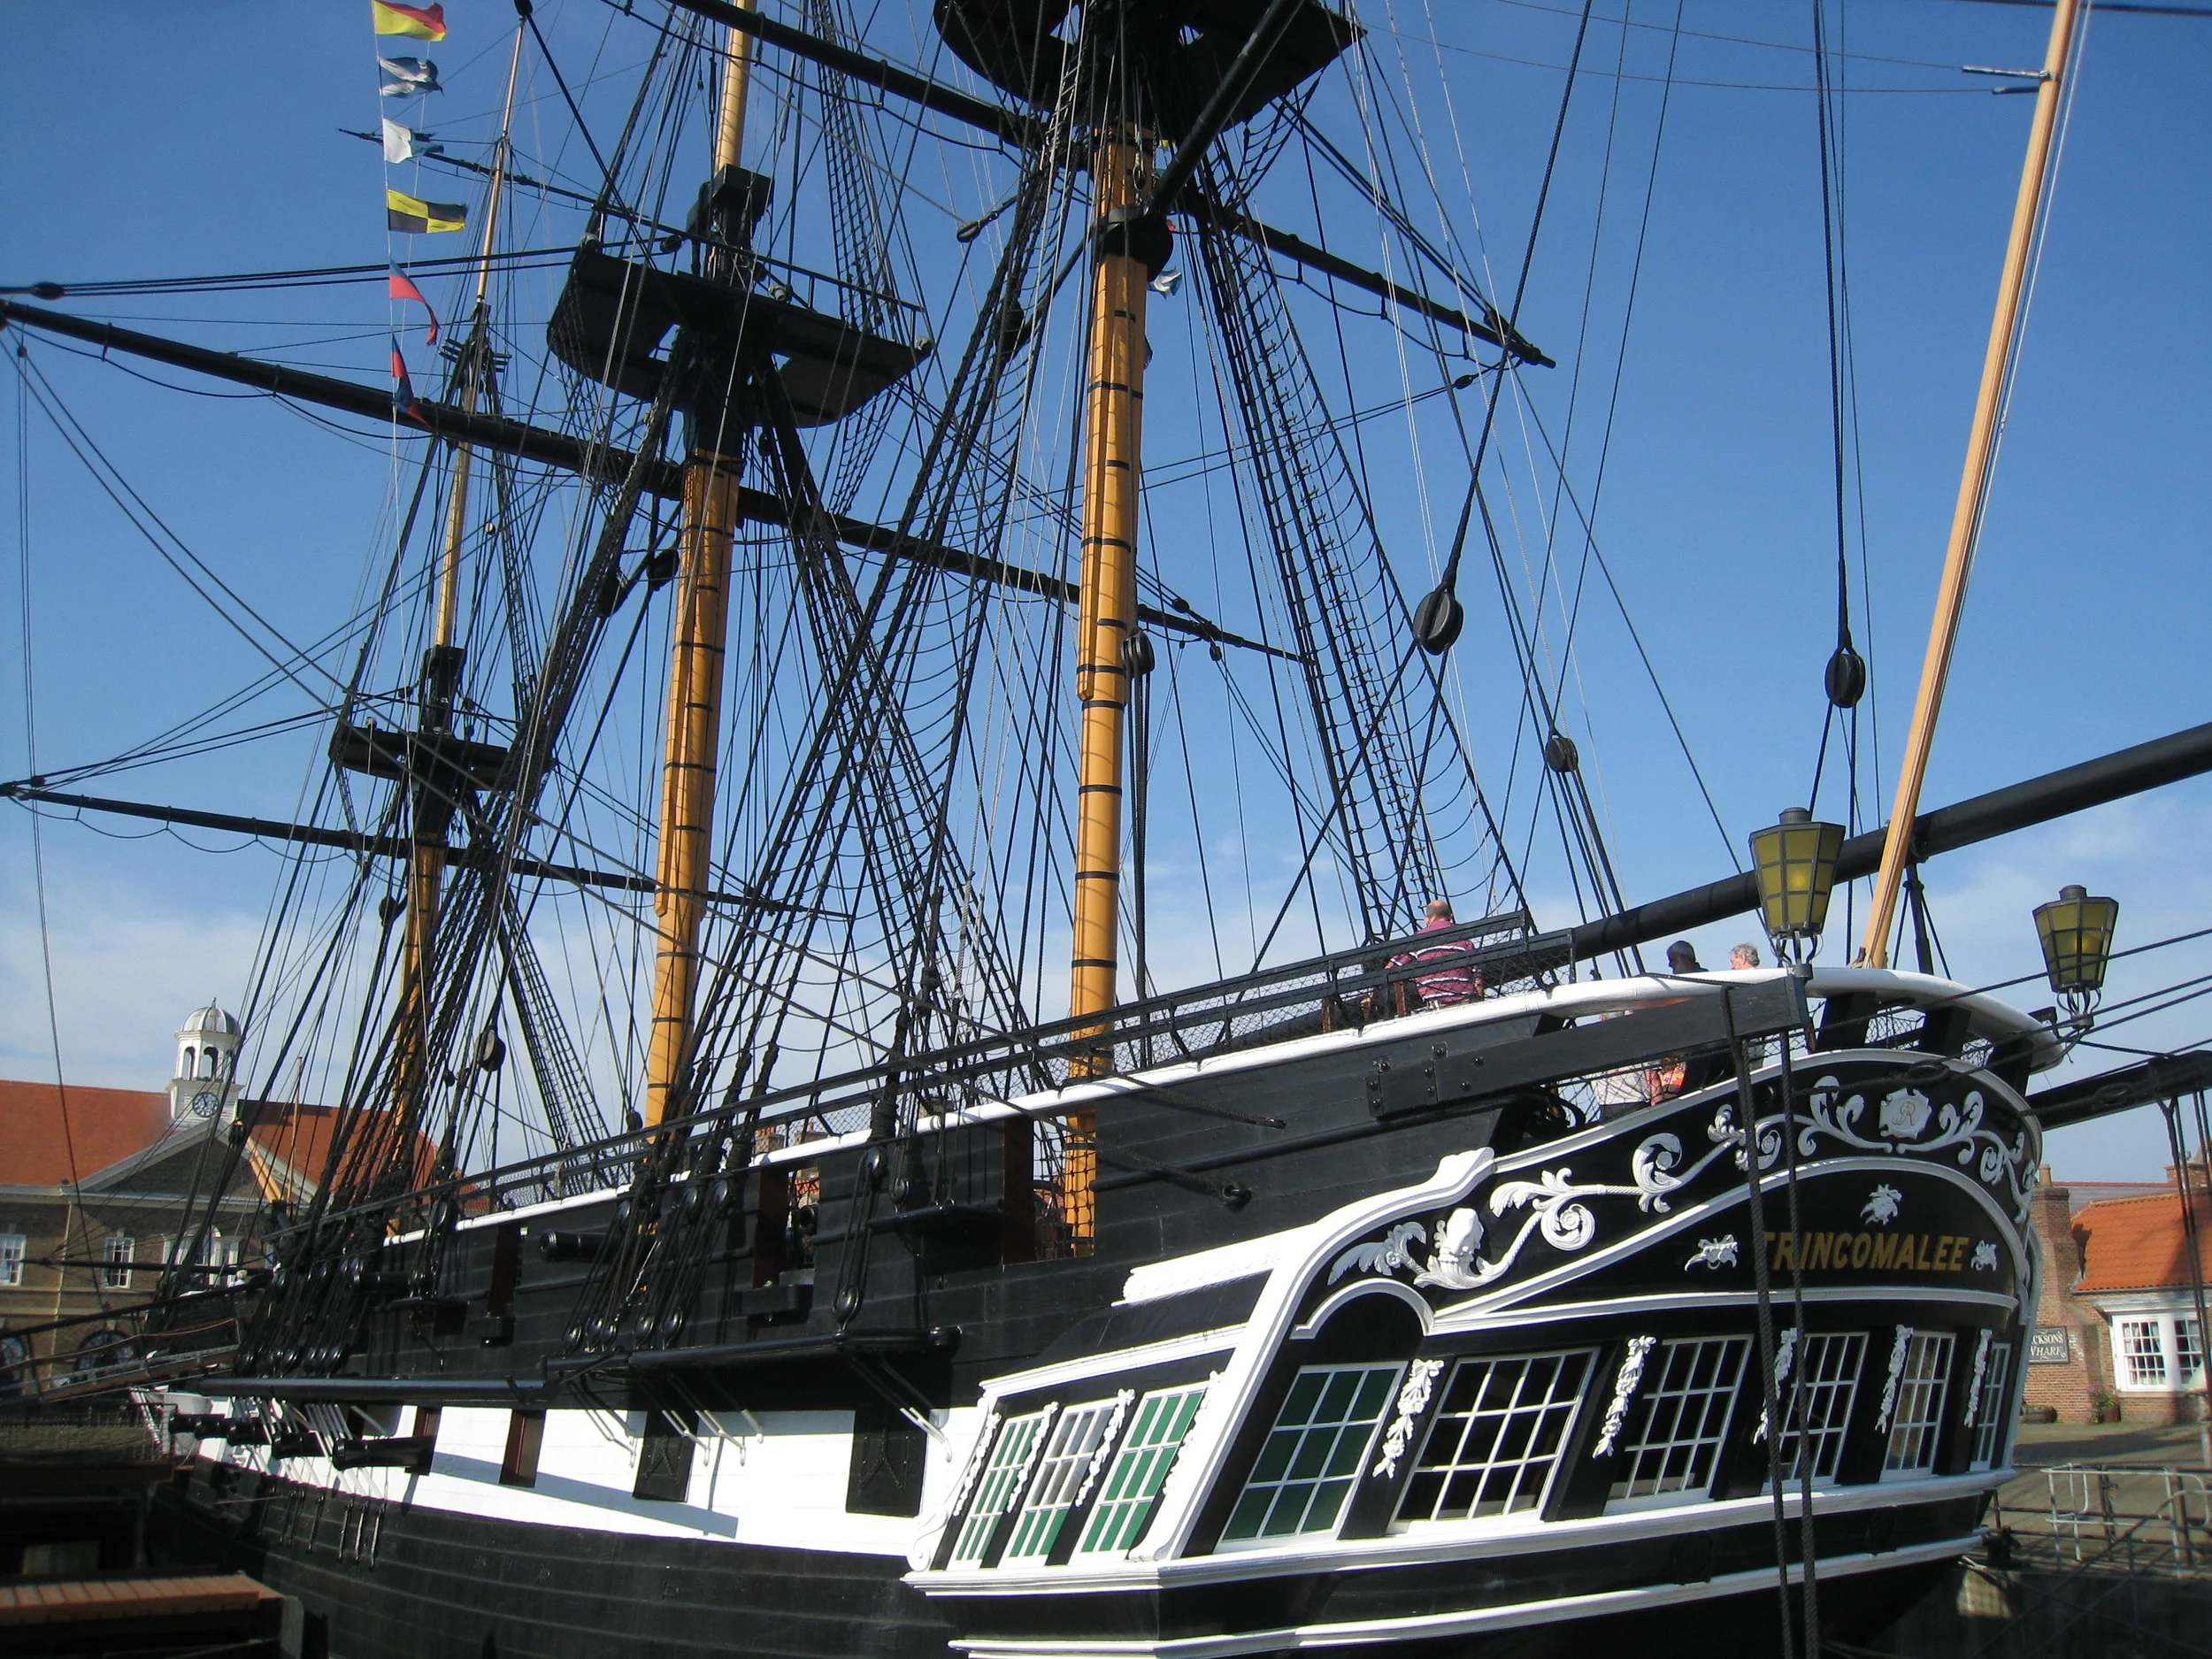
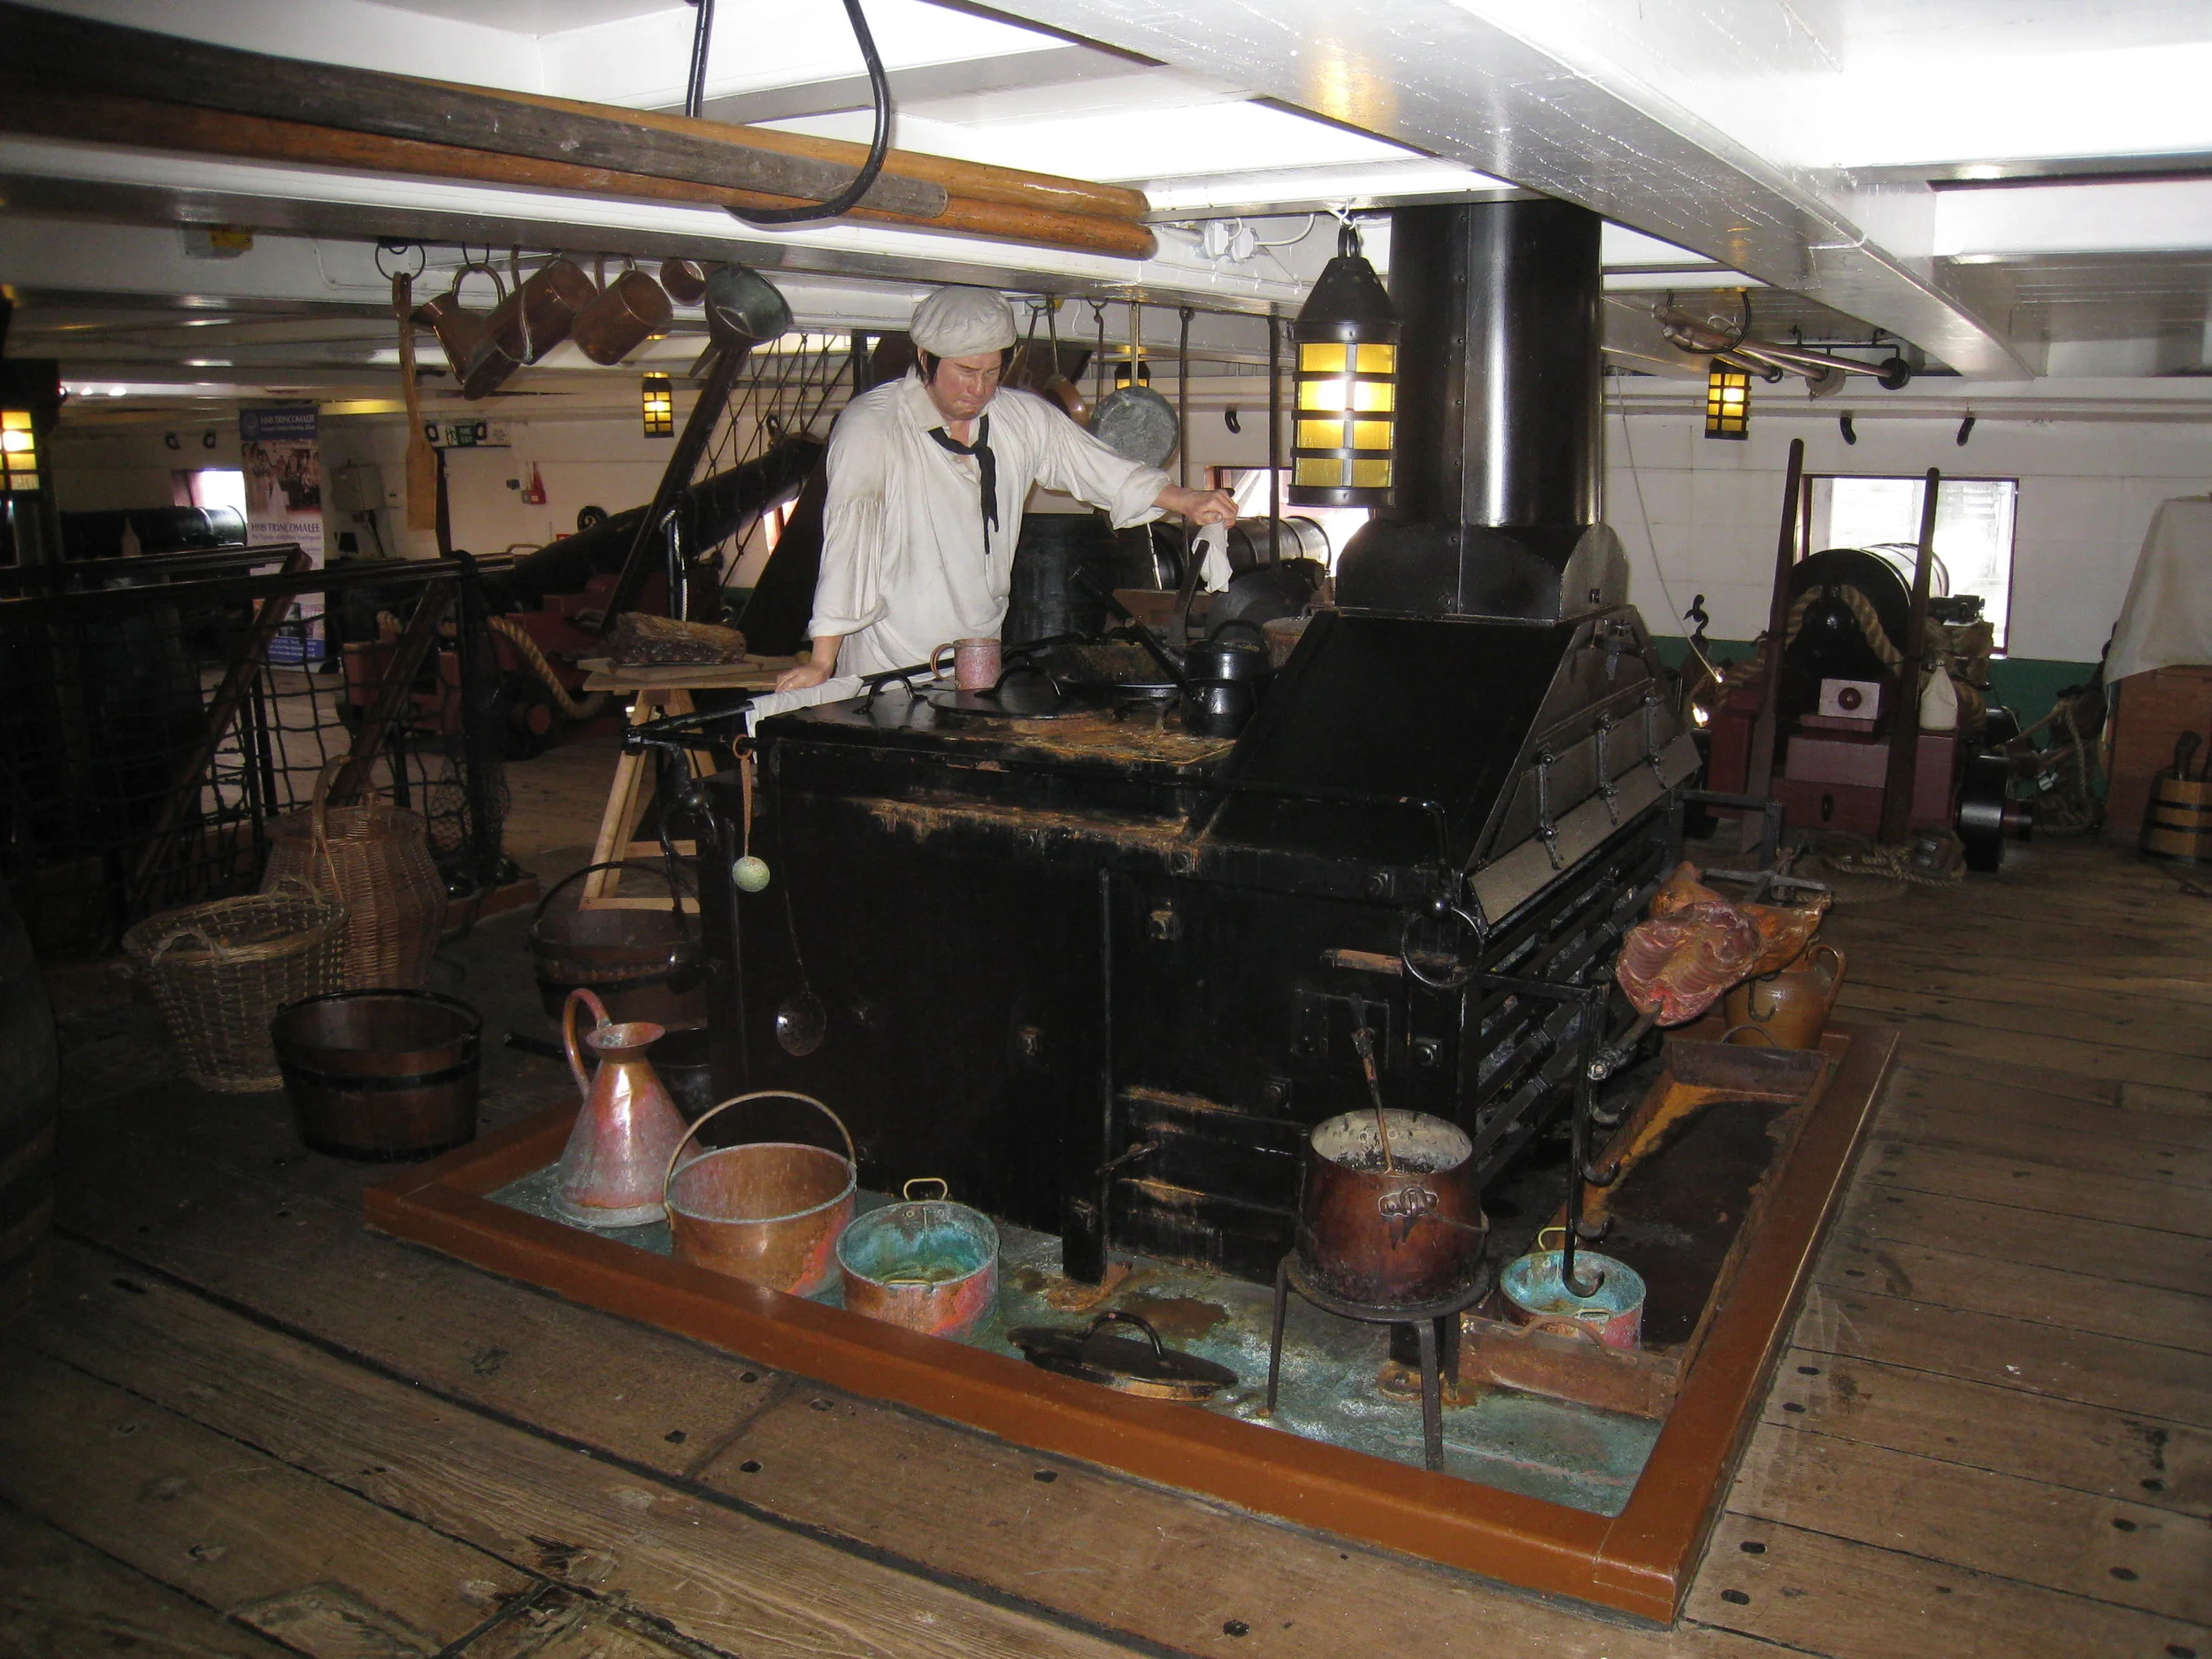
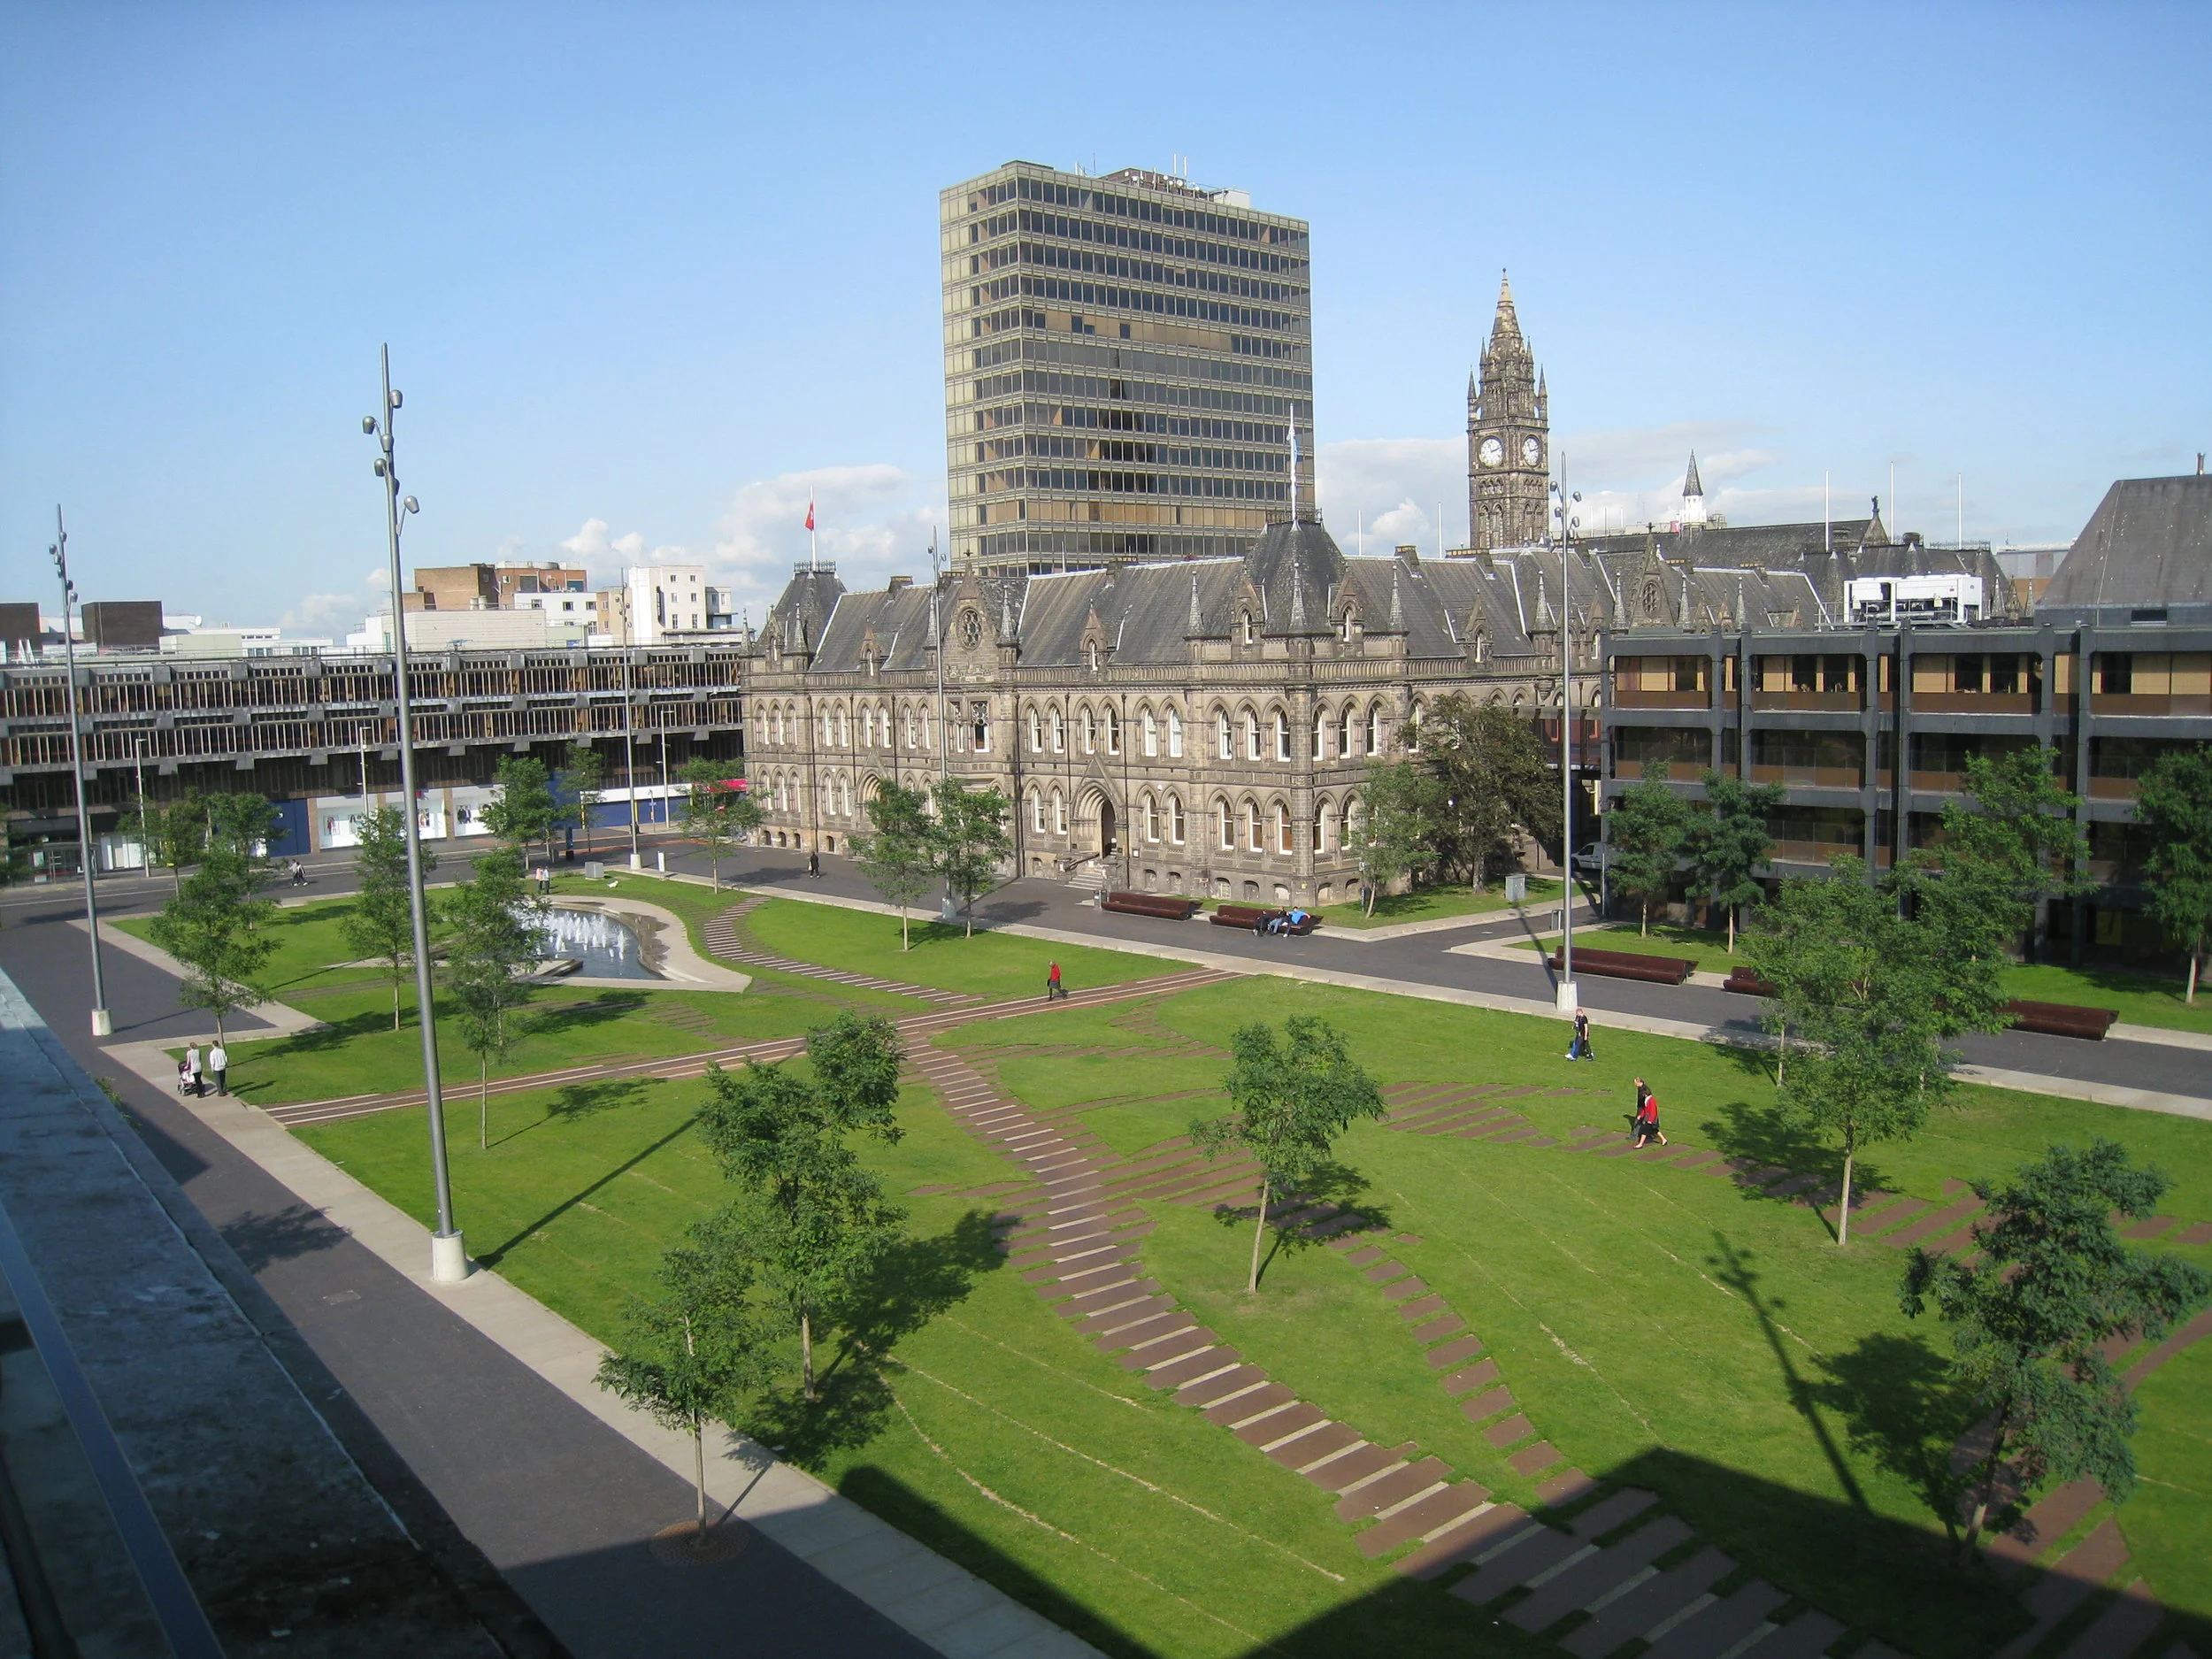
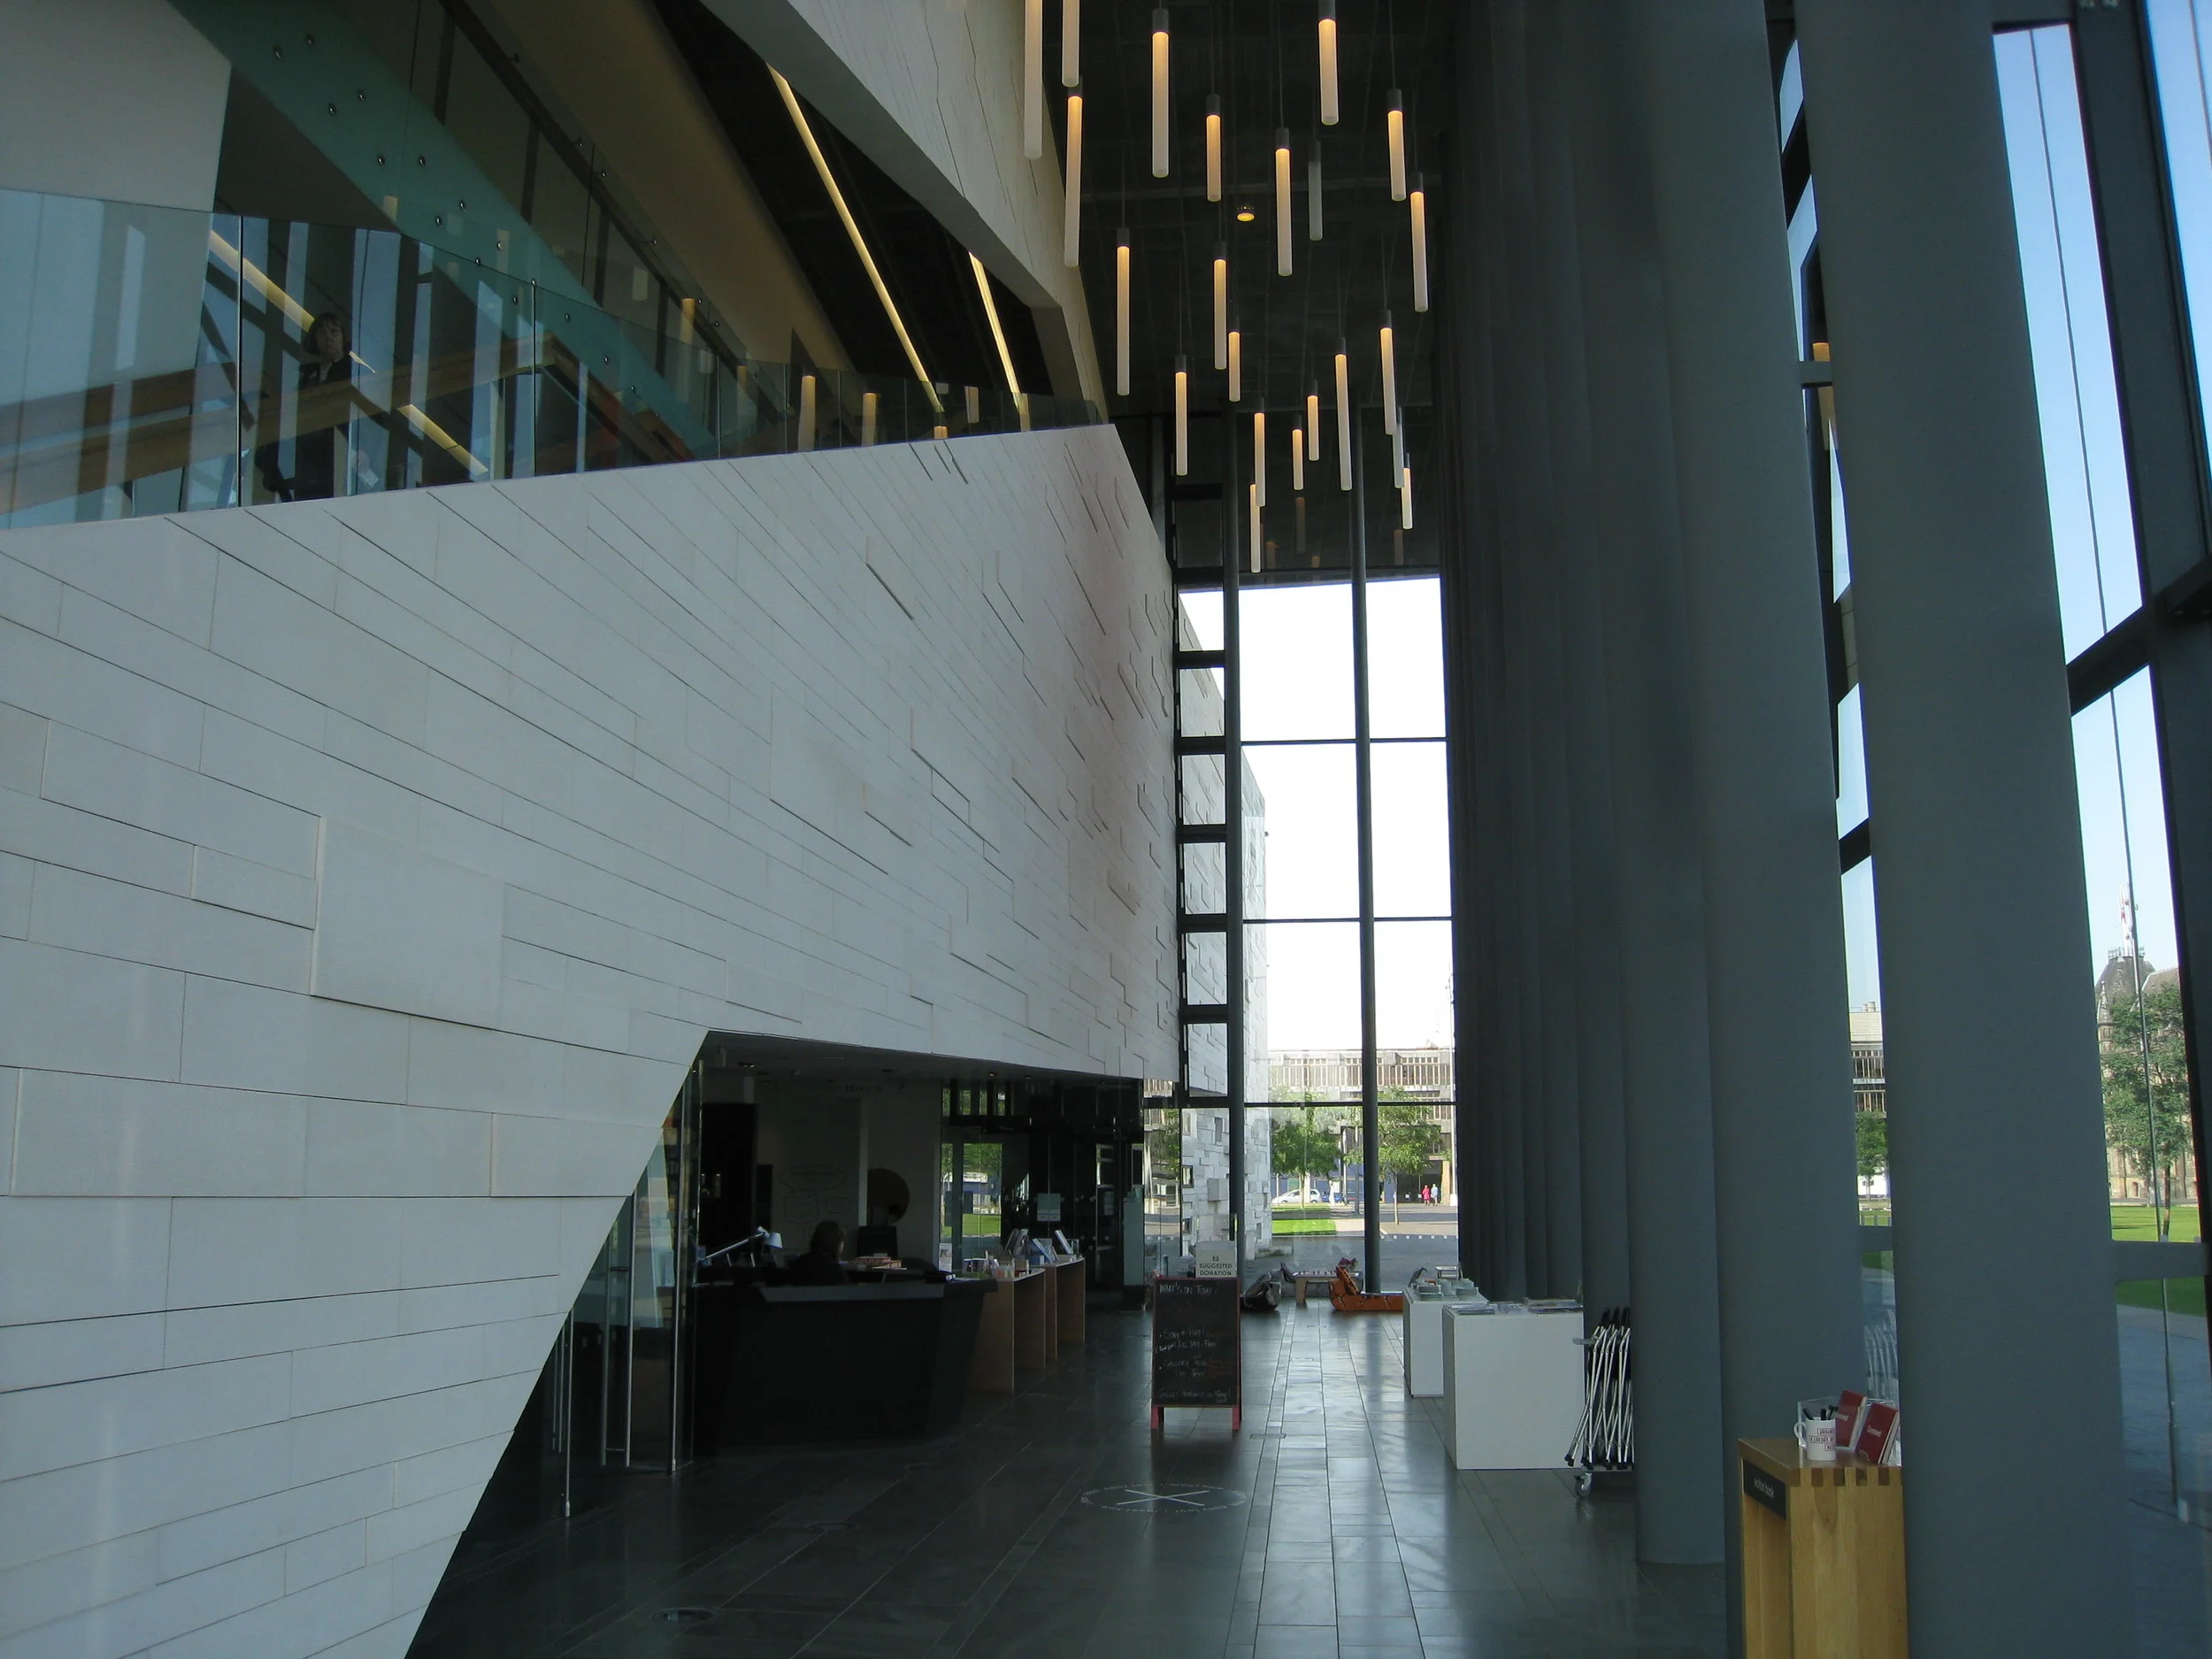
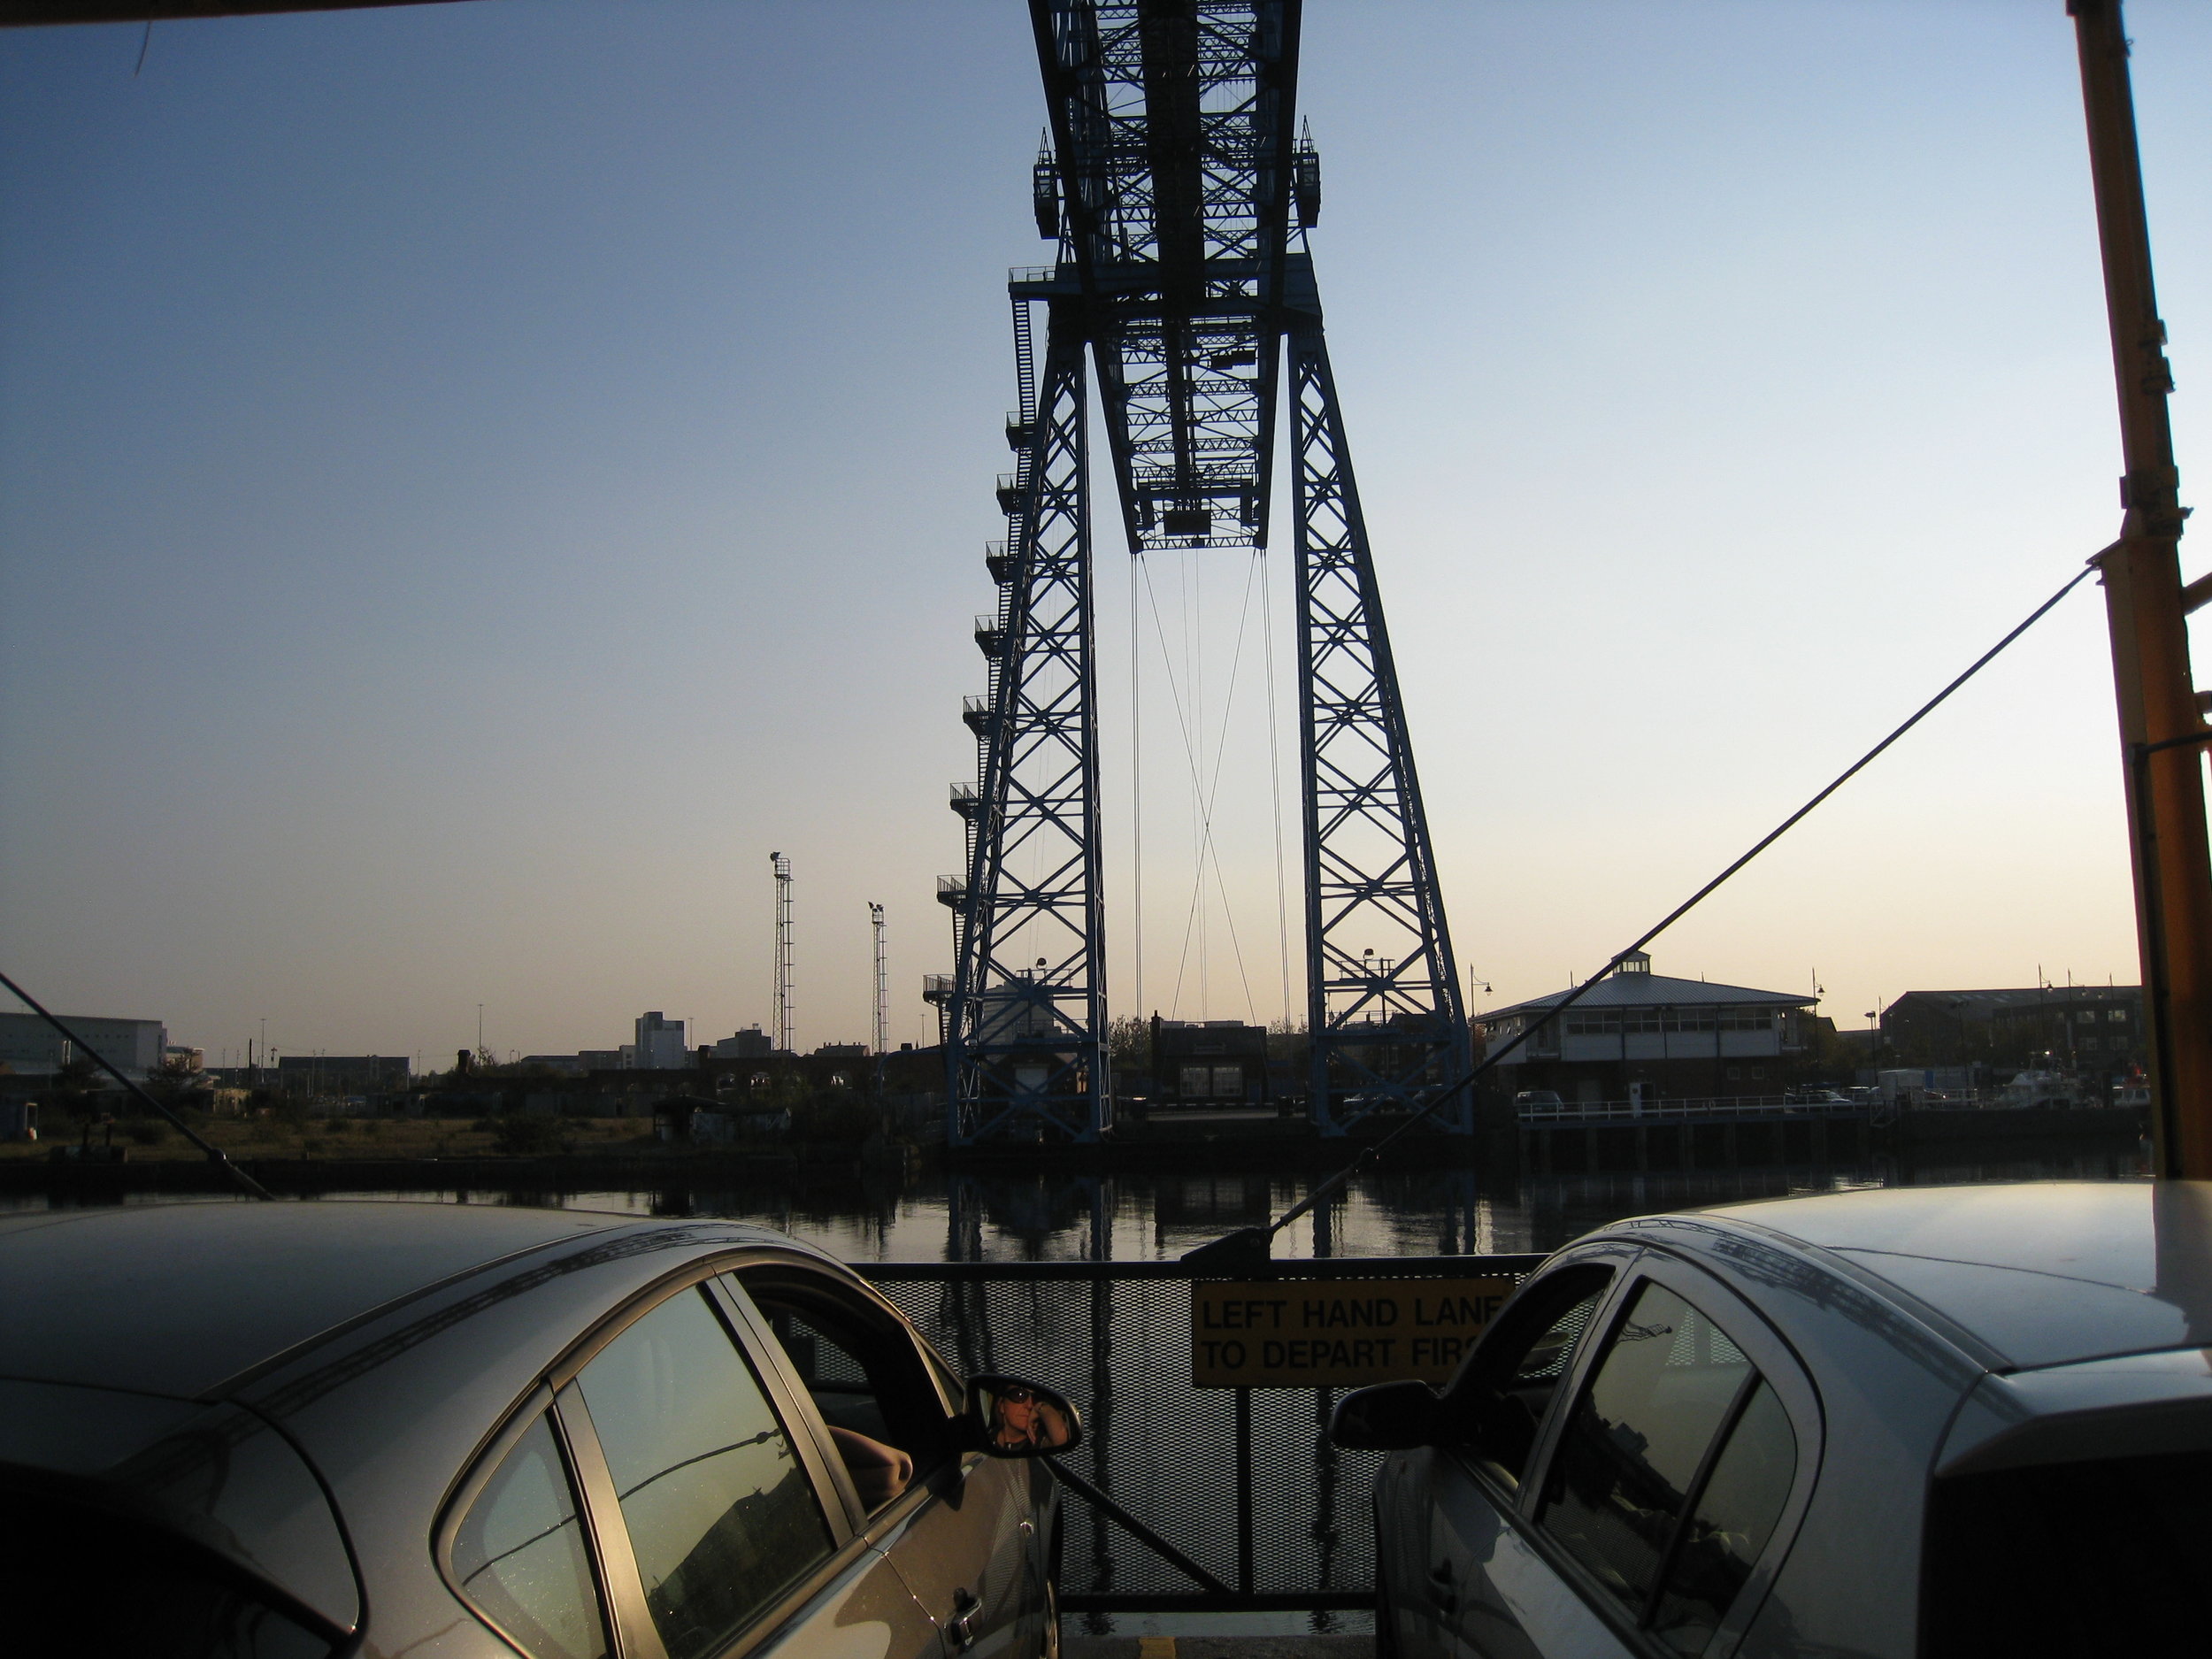
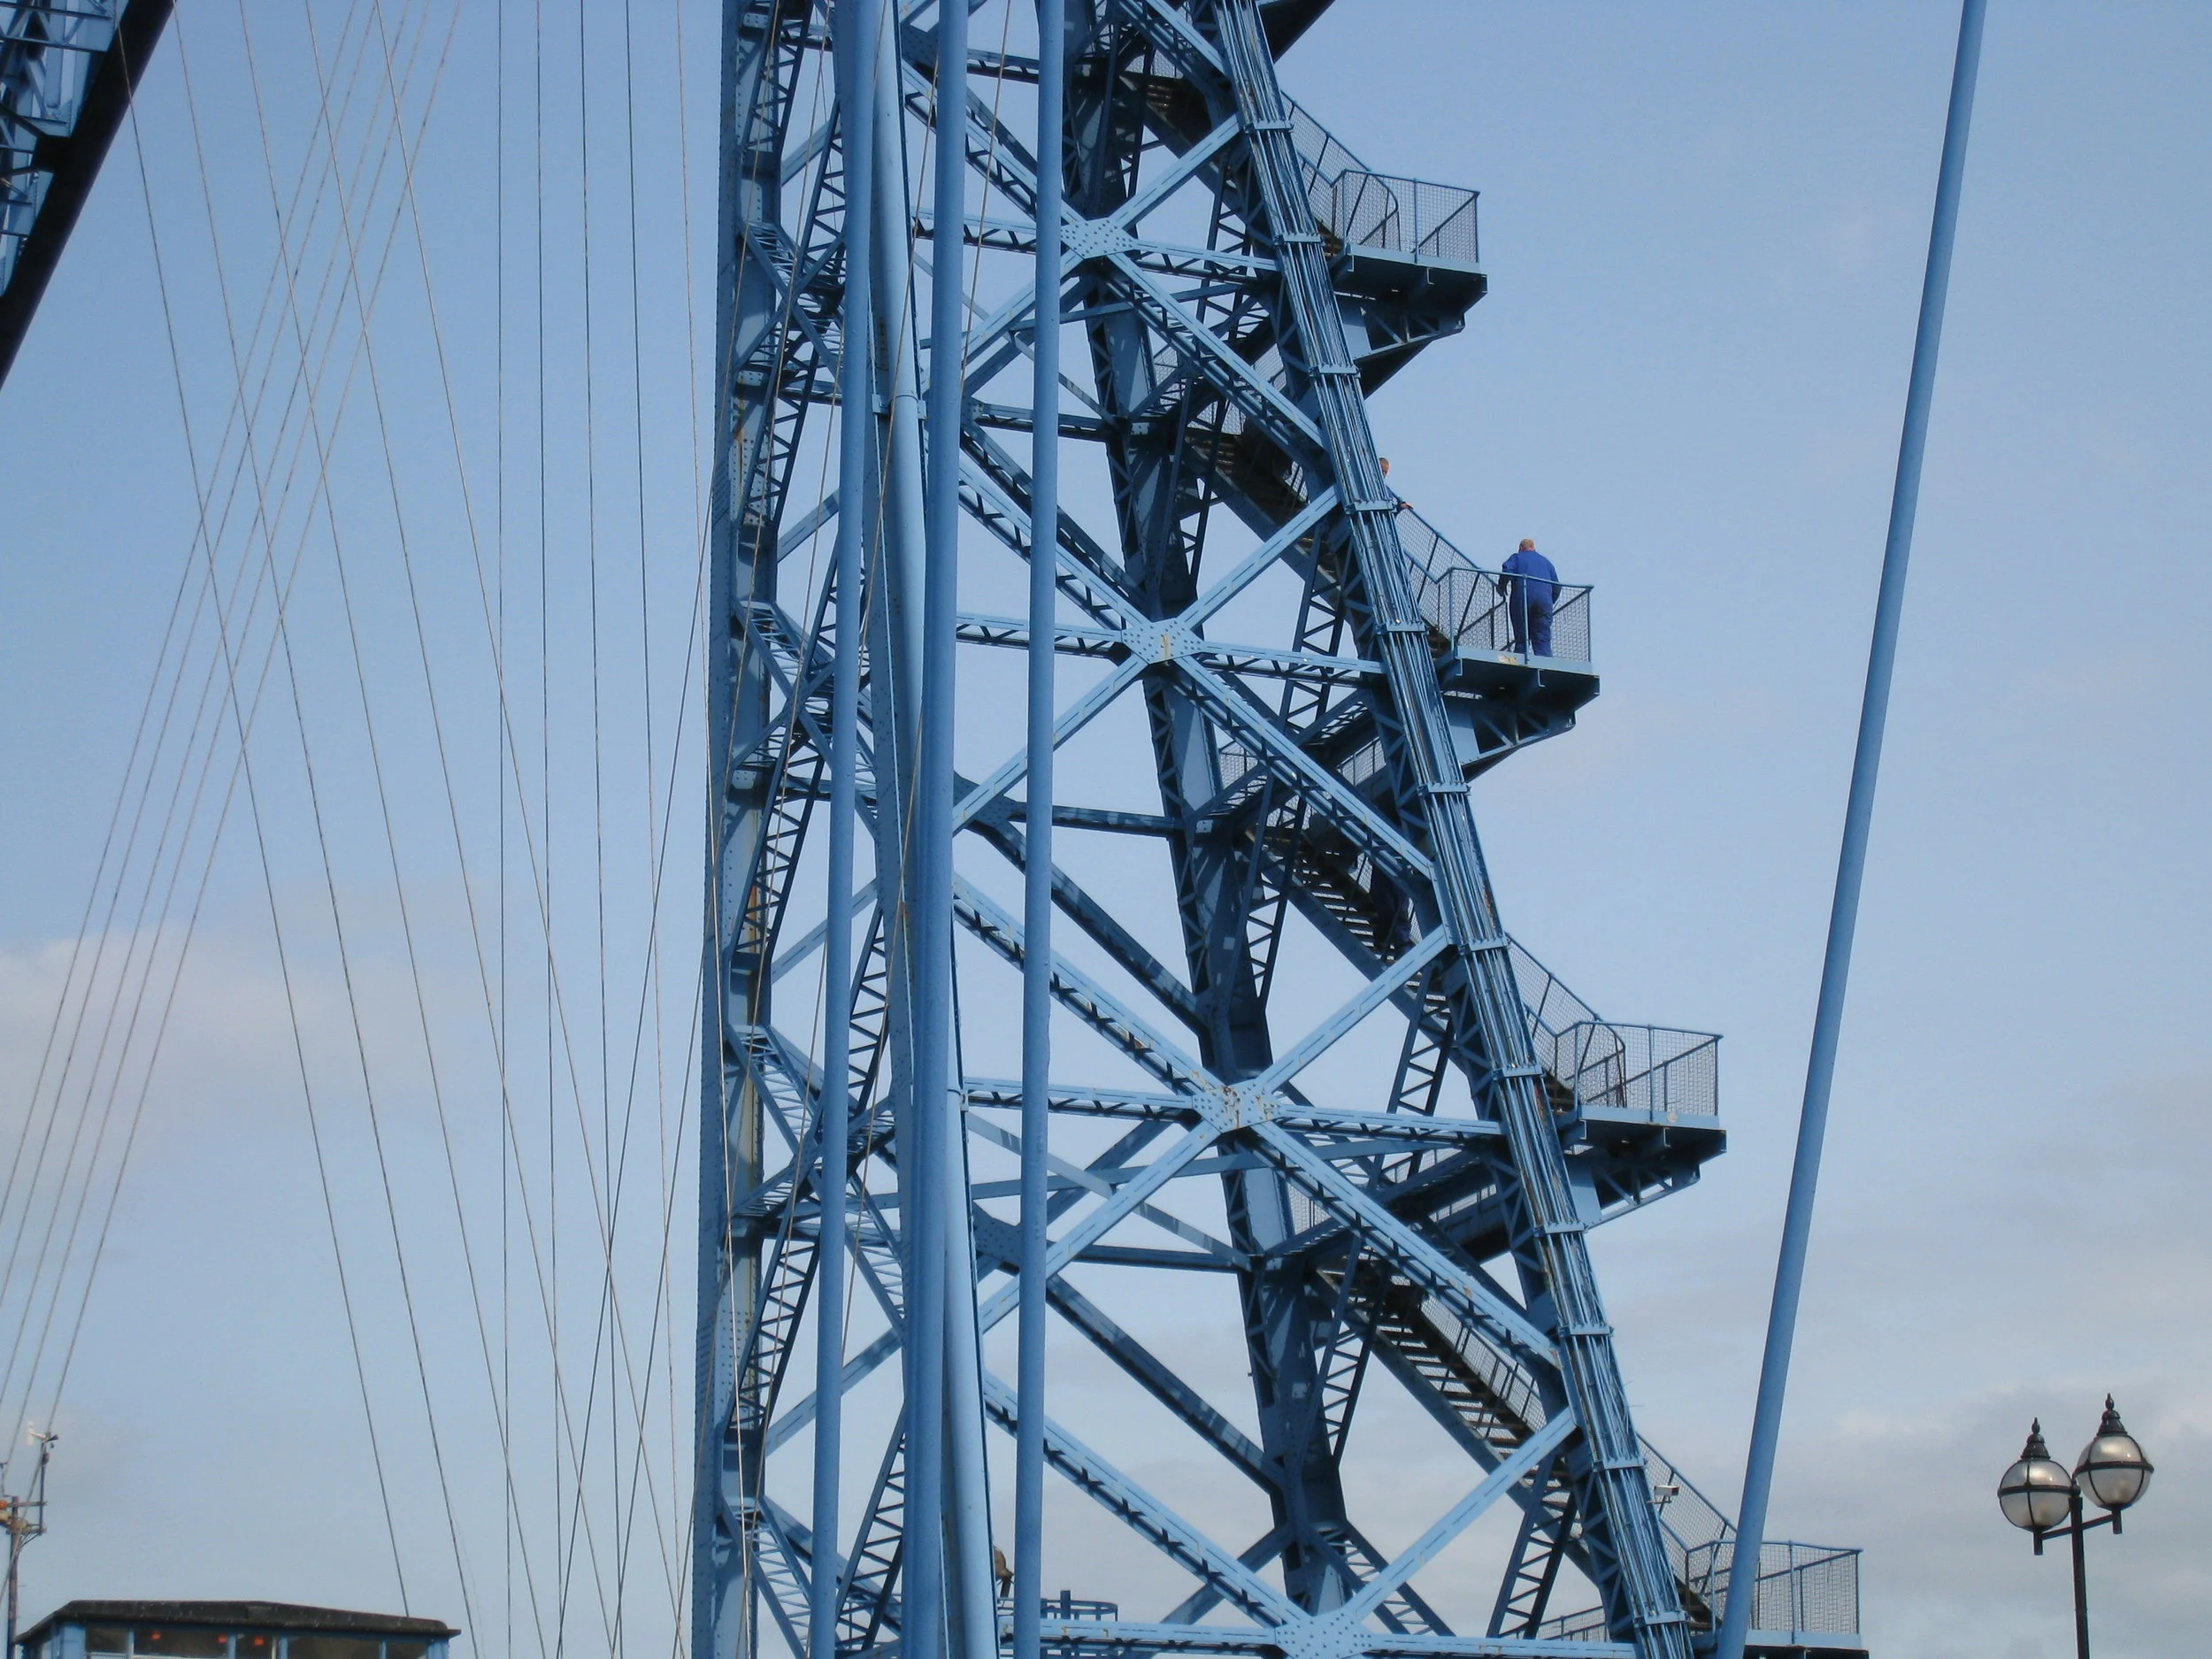
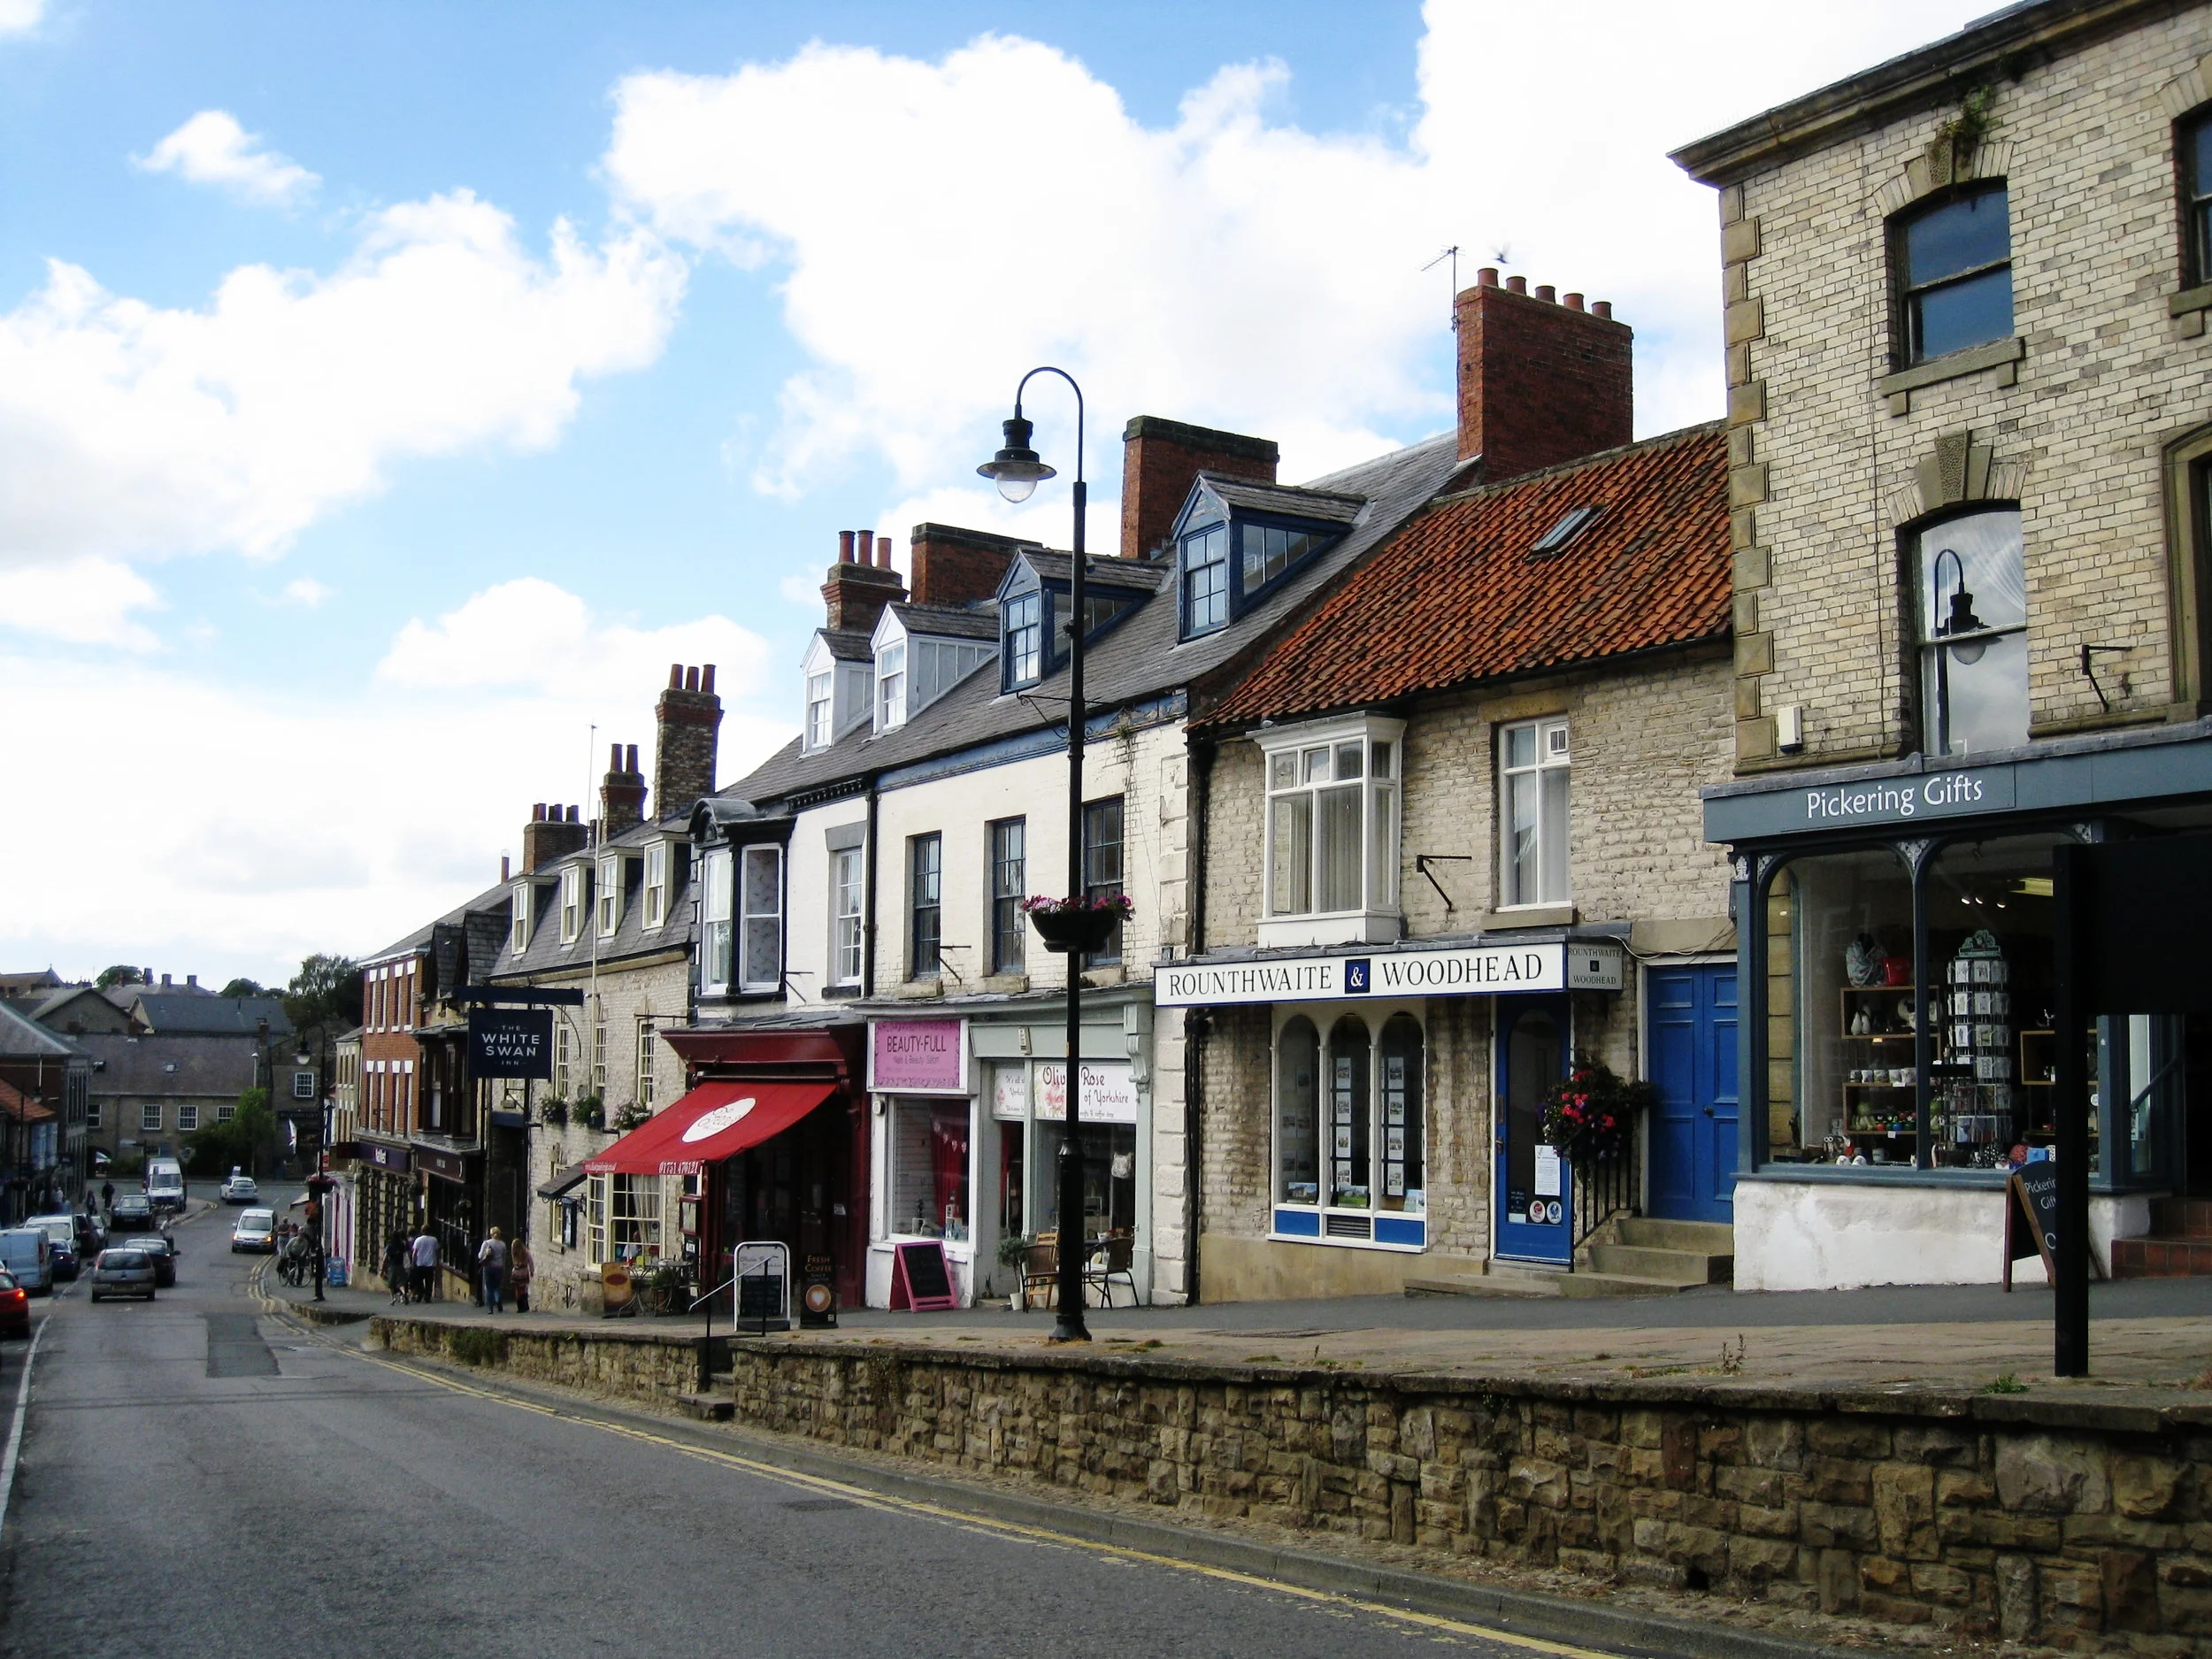
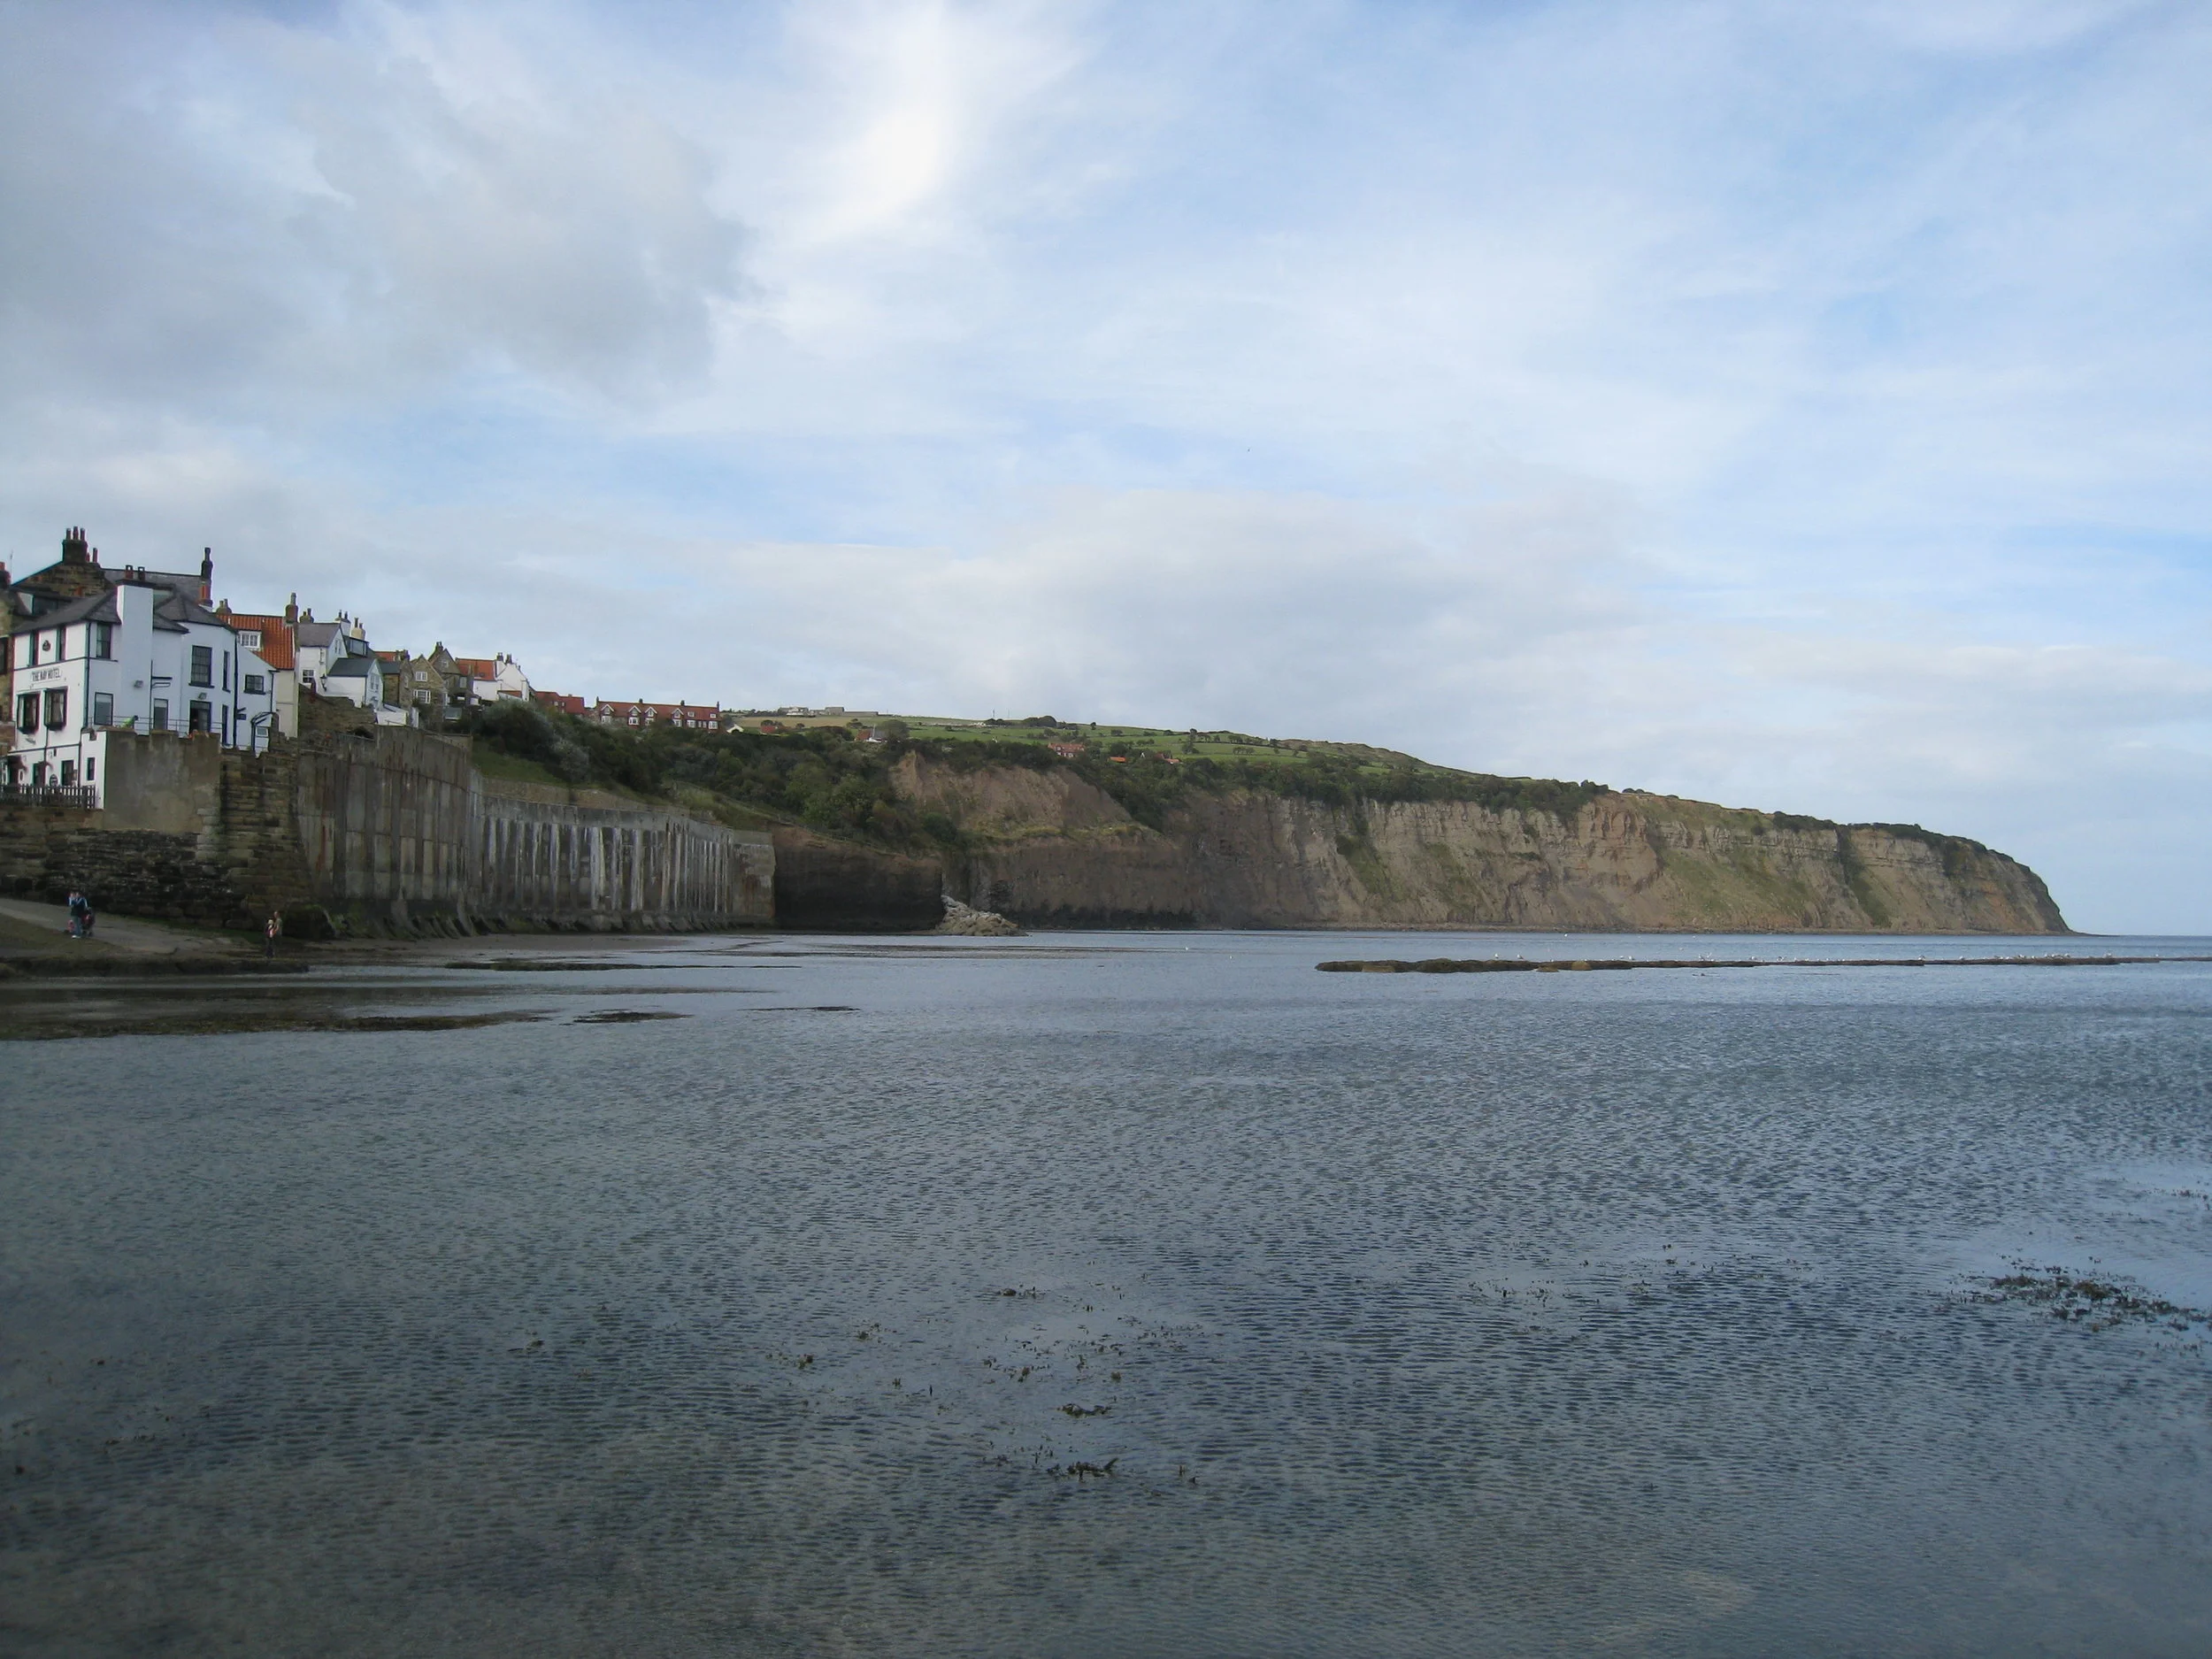
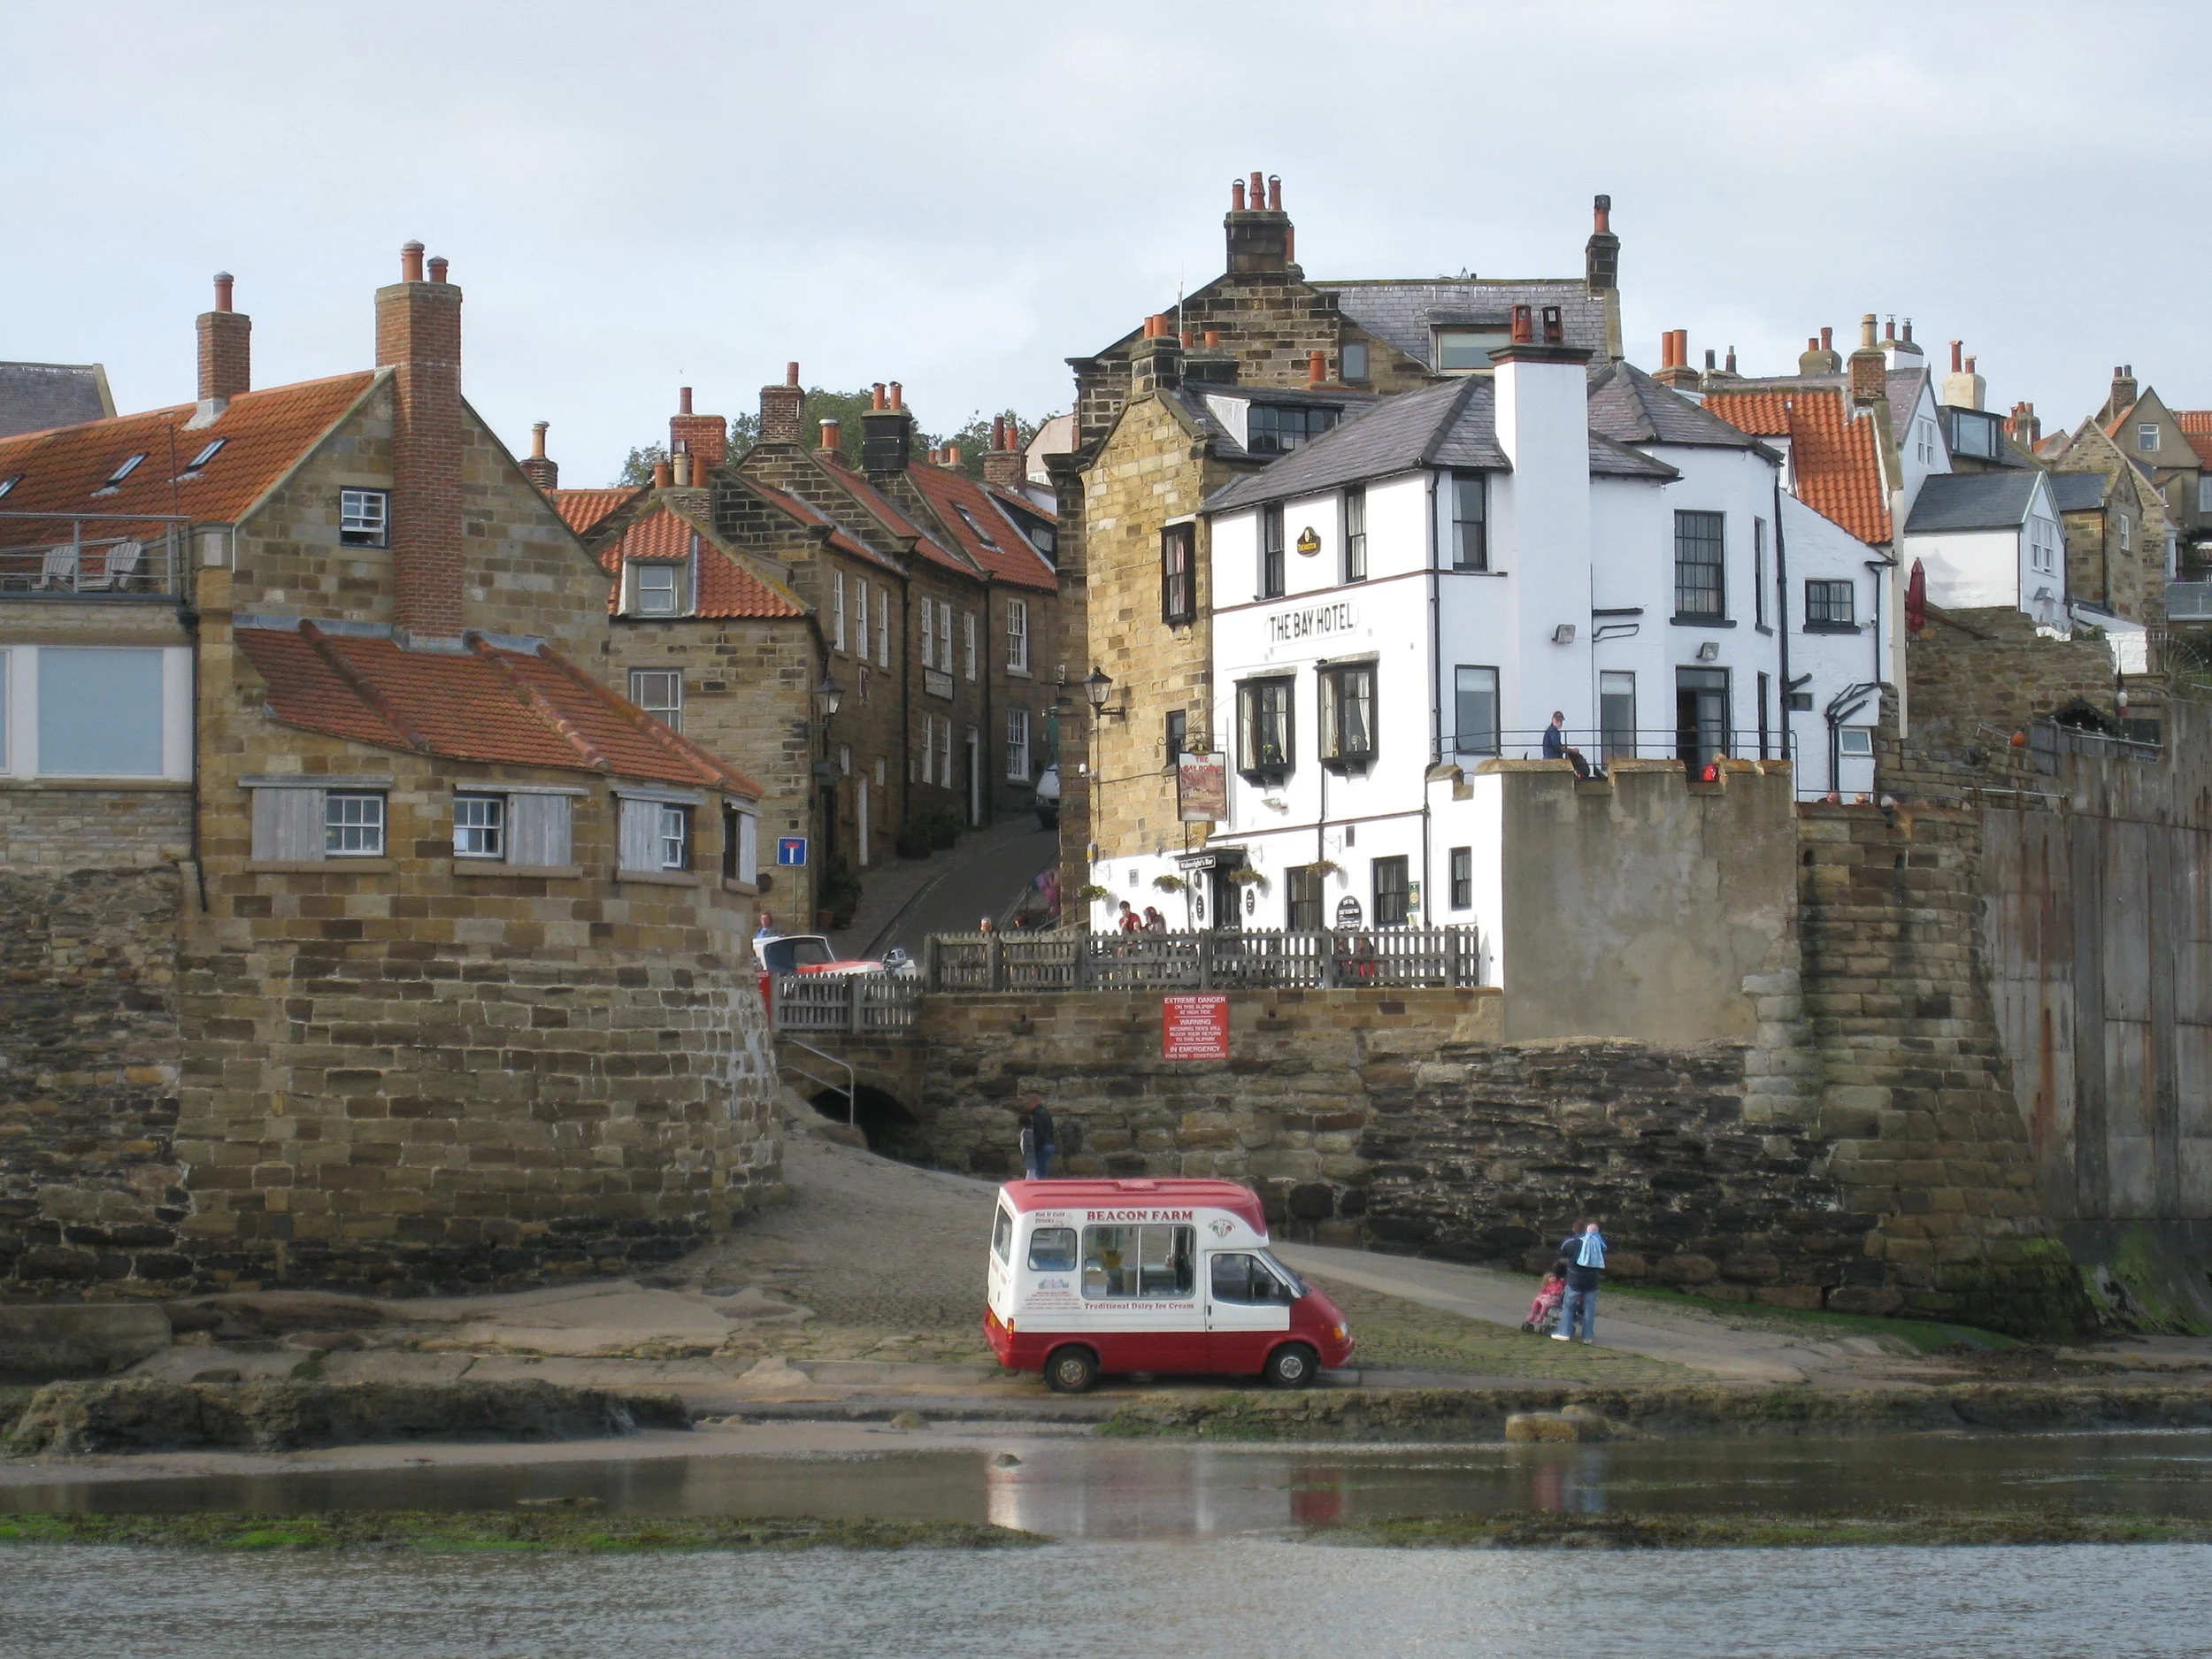
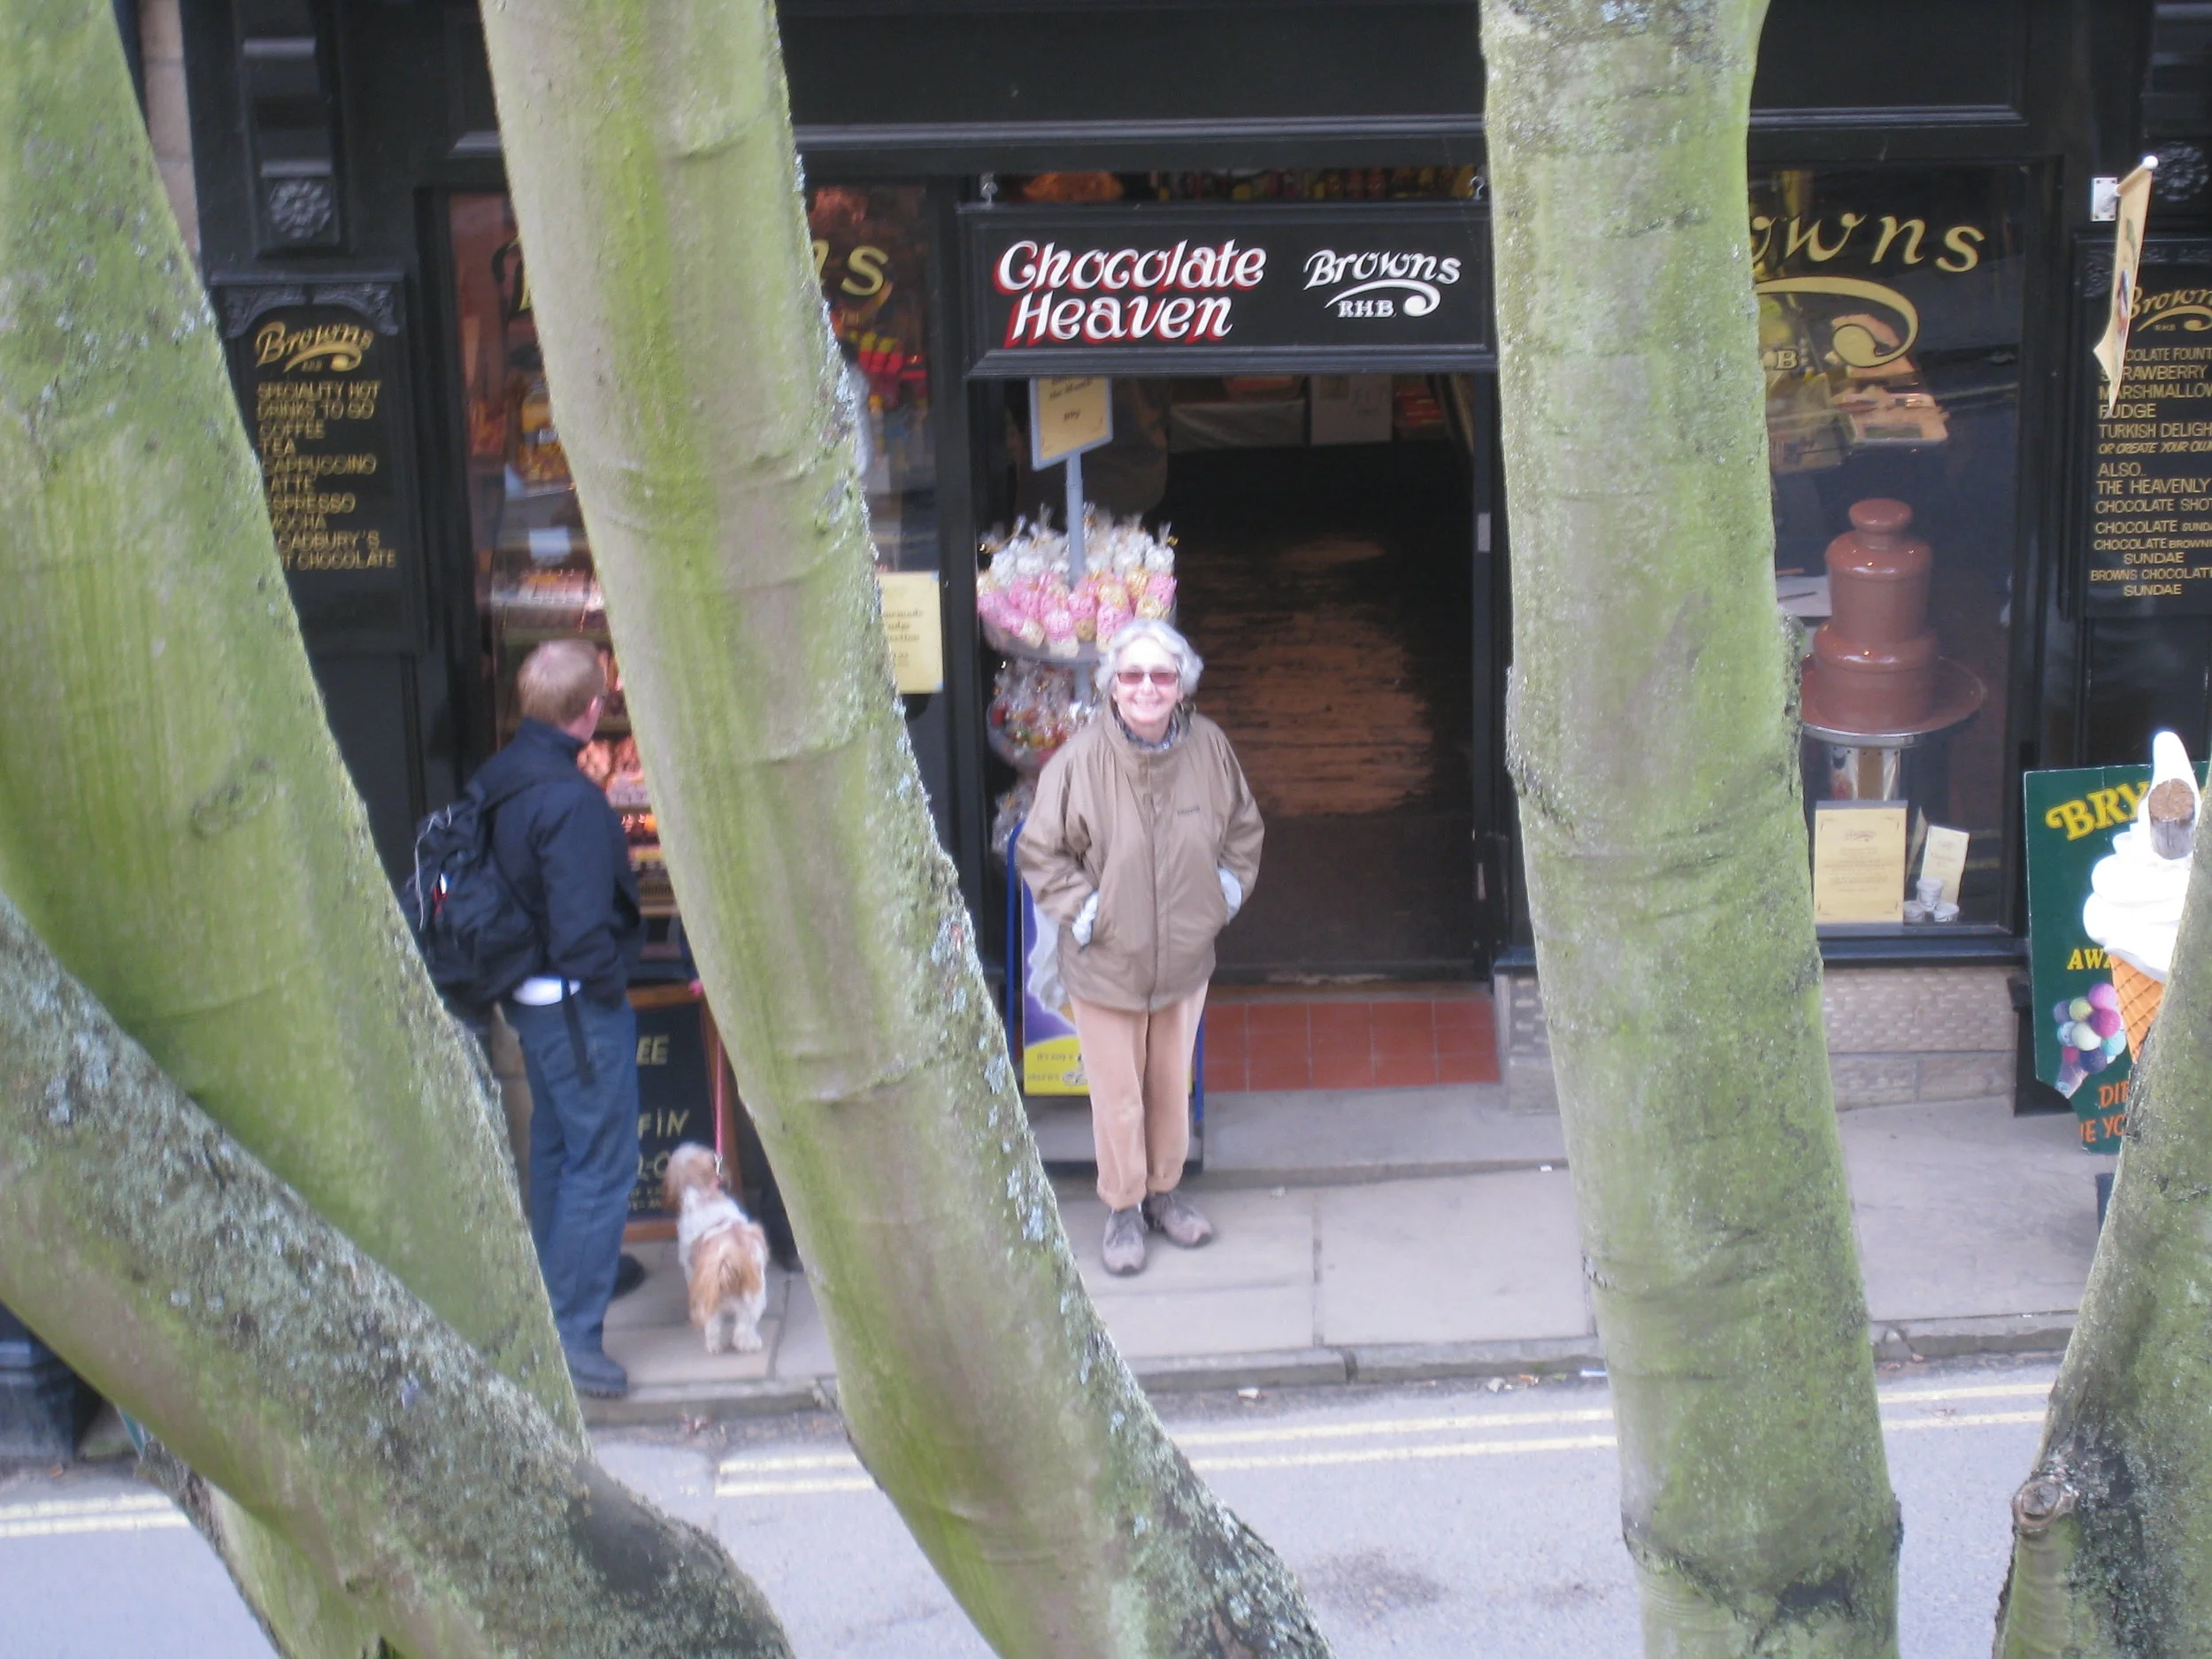
View fullsize
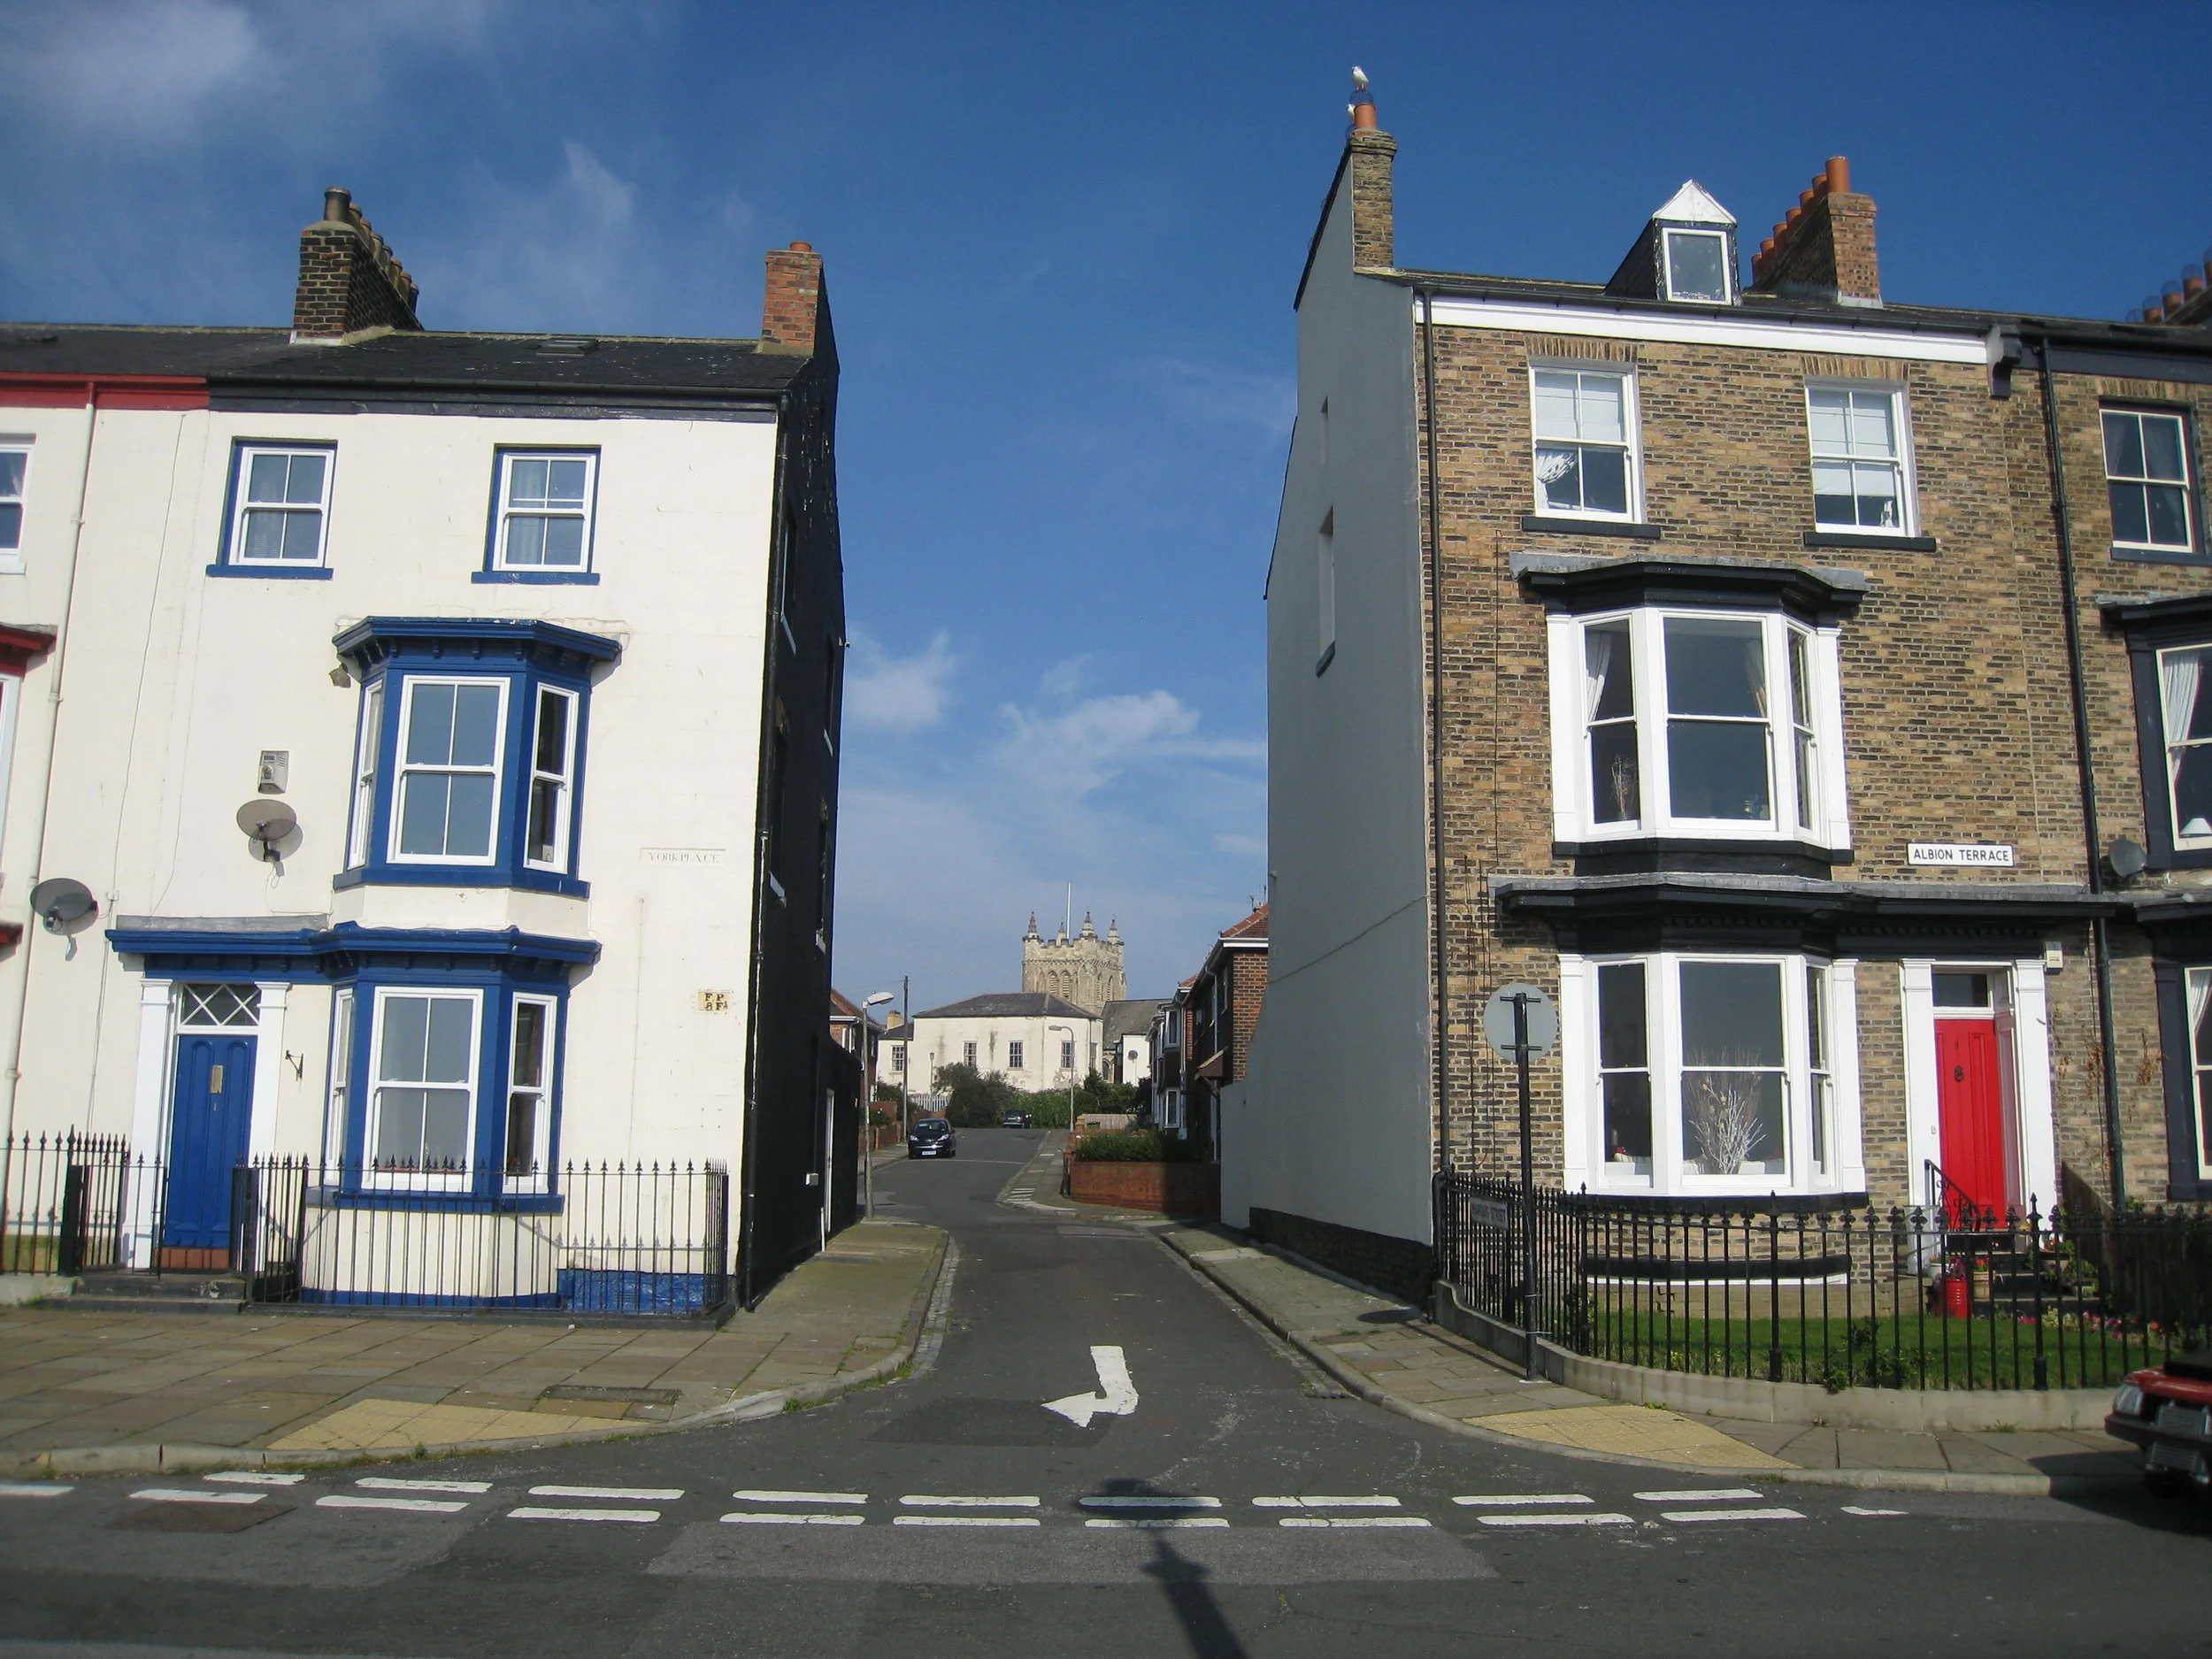
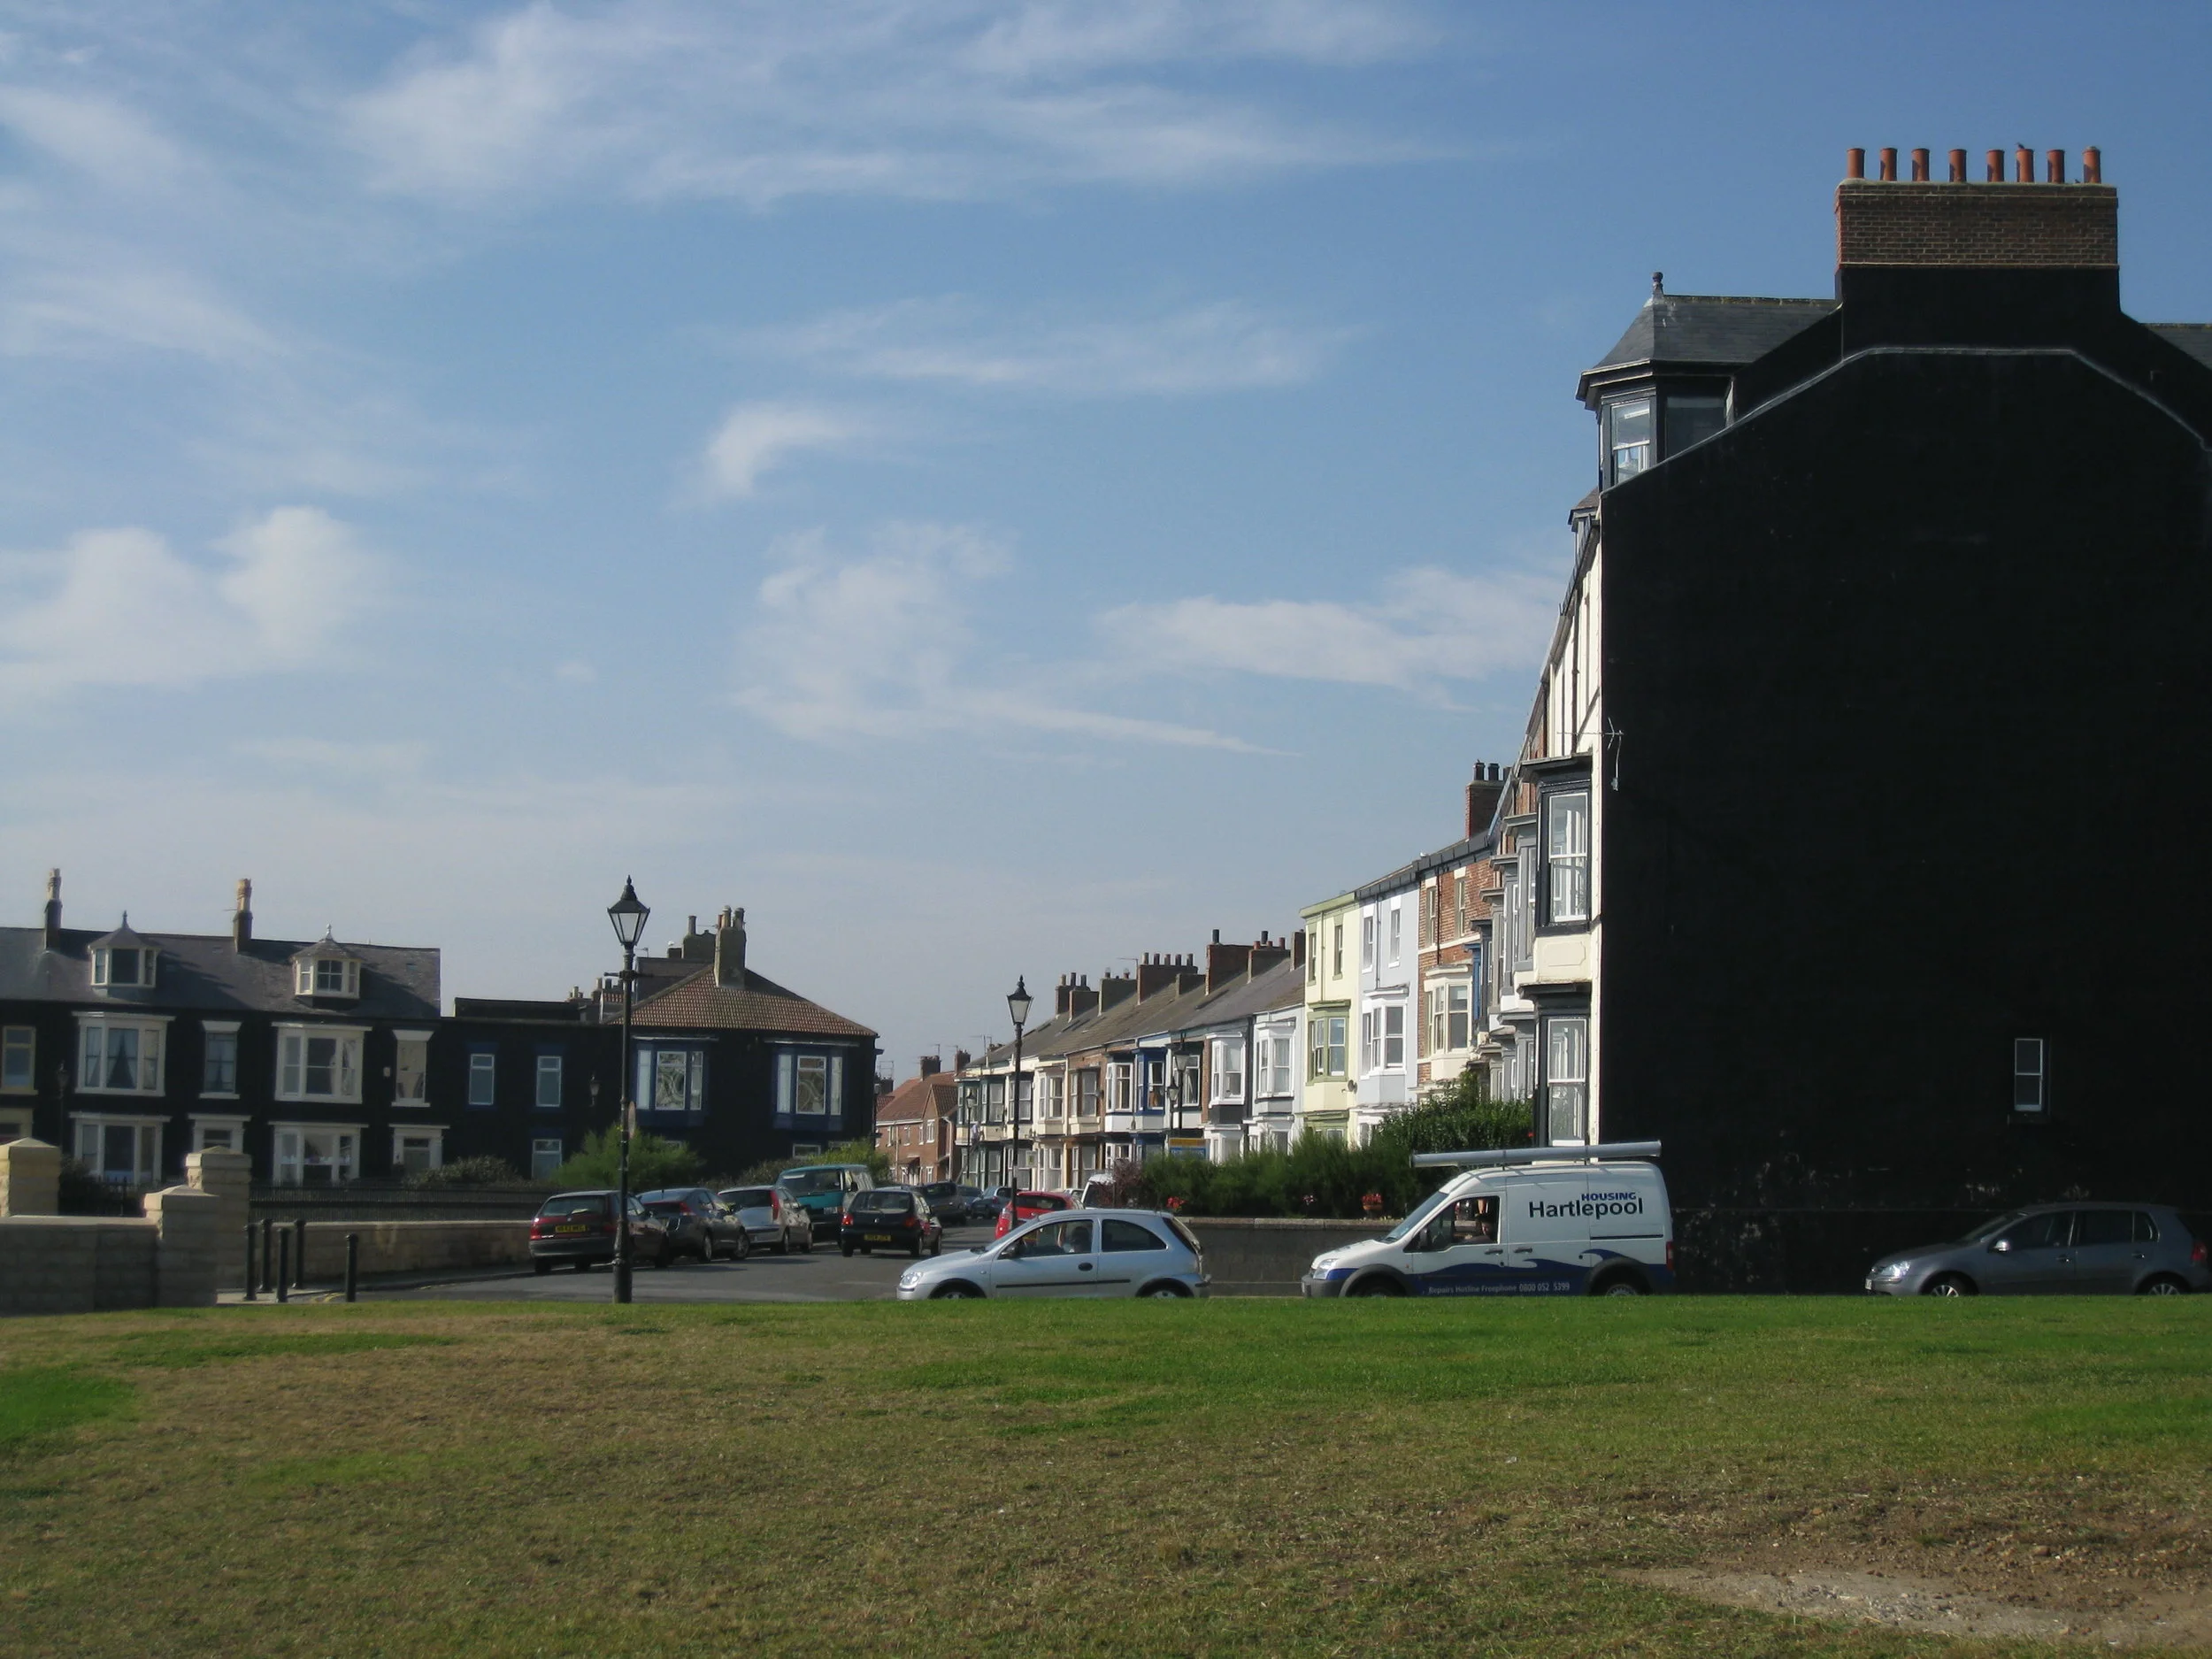
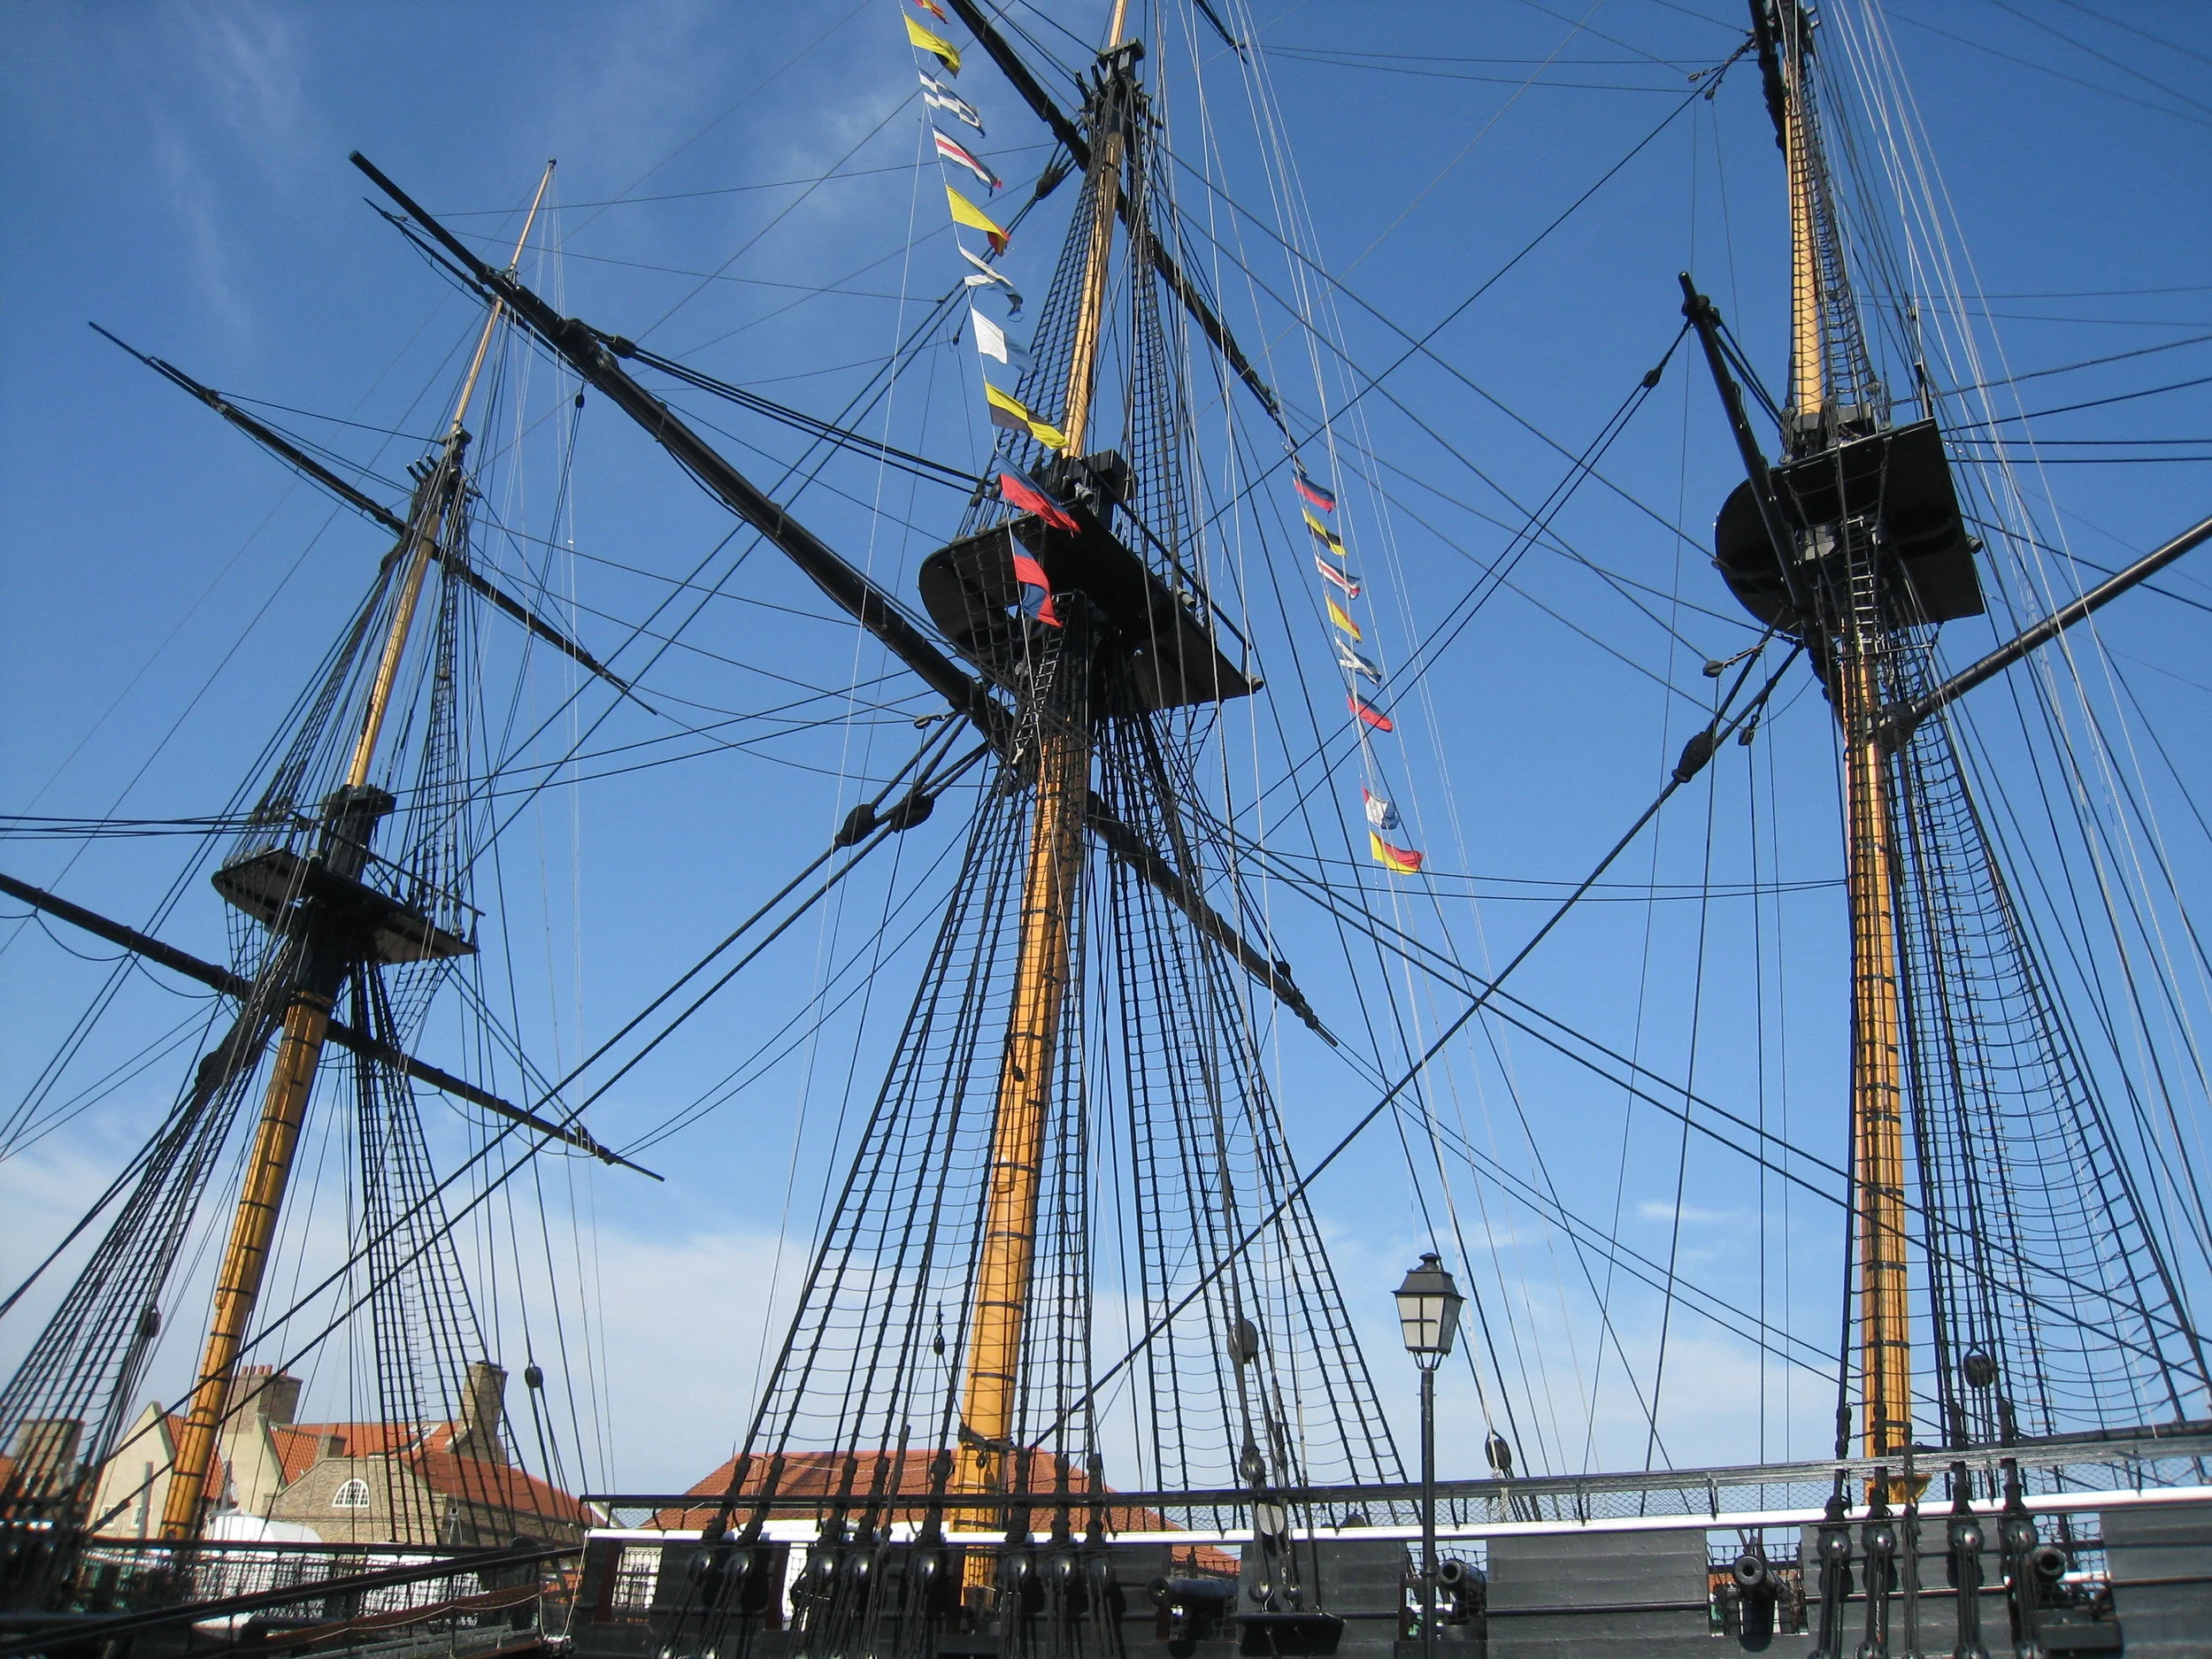
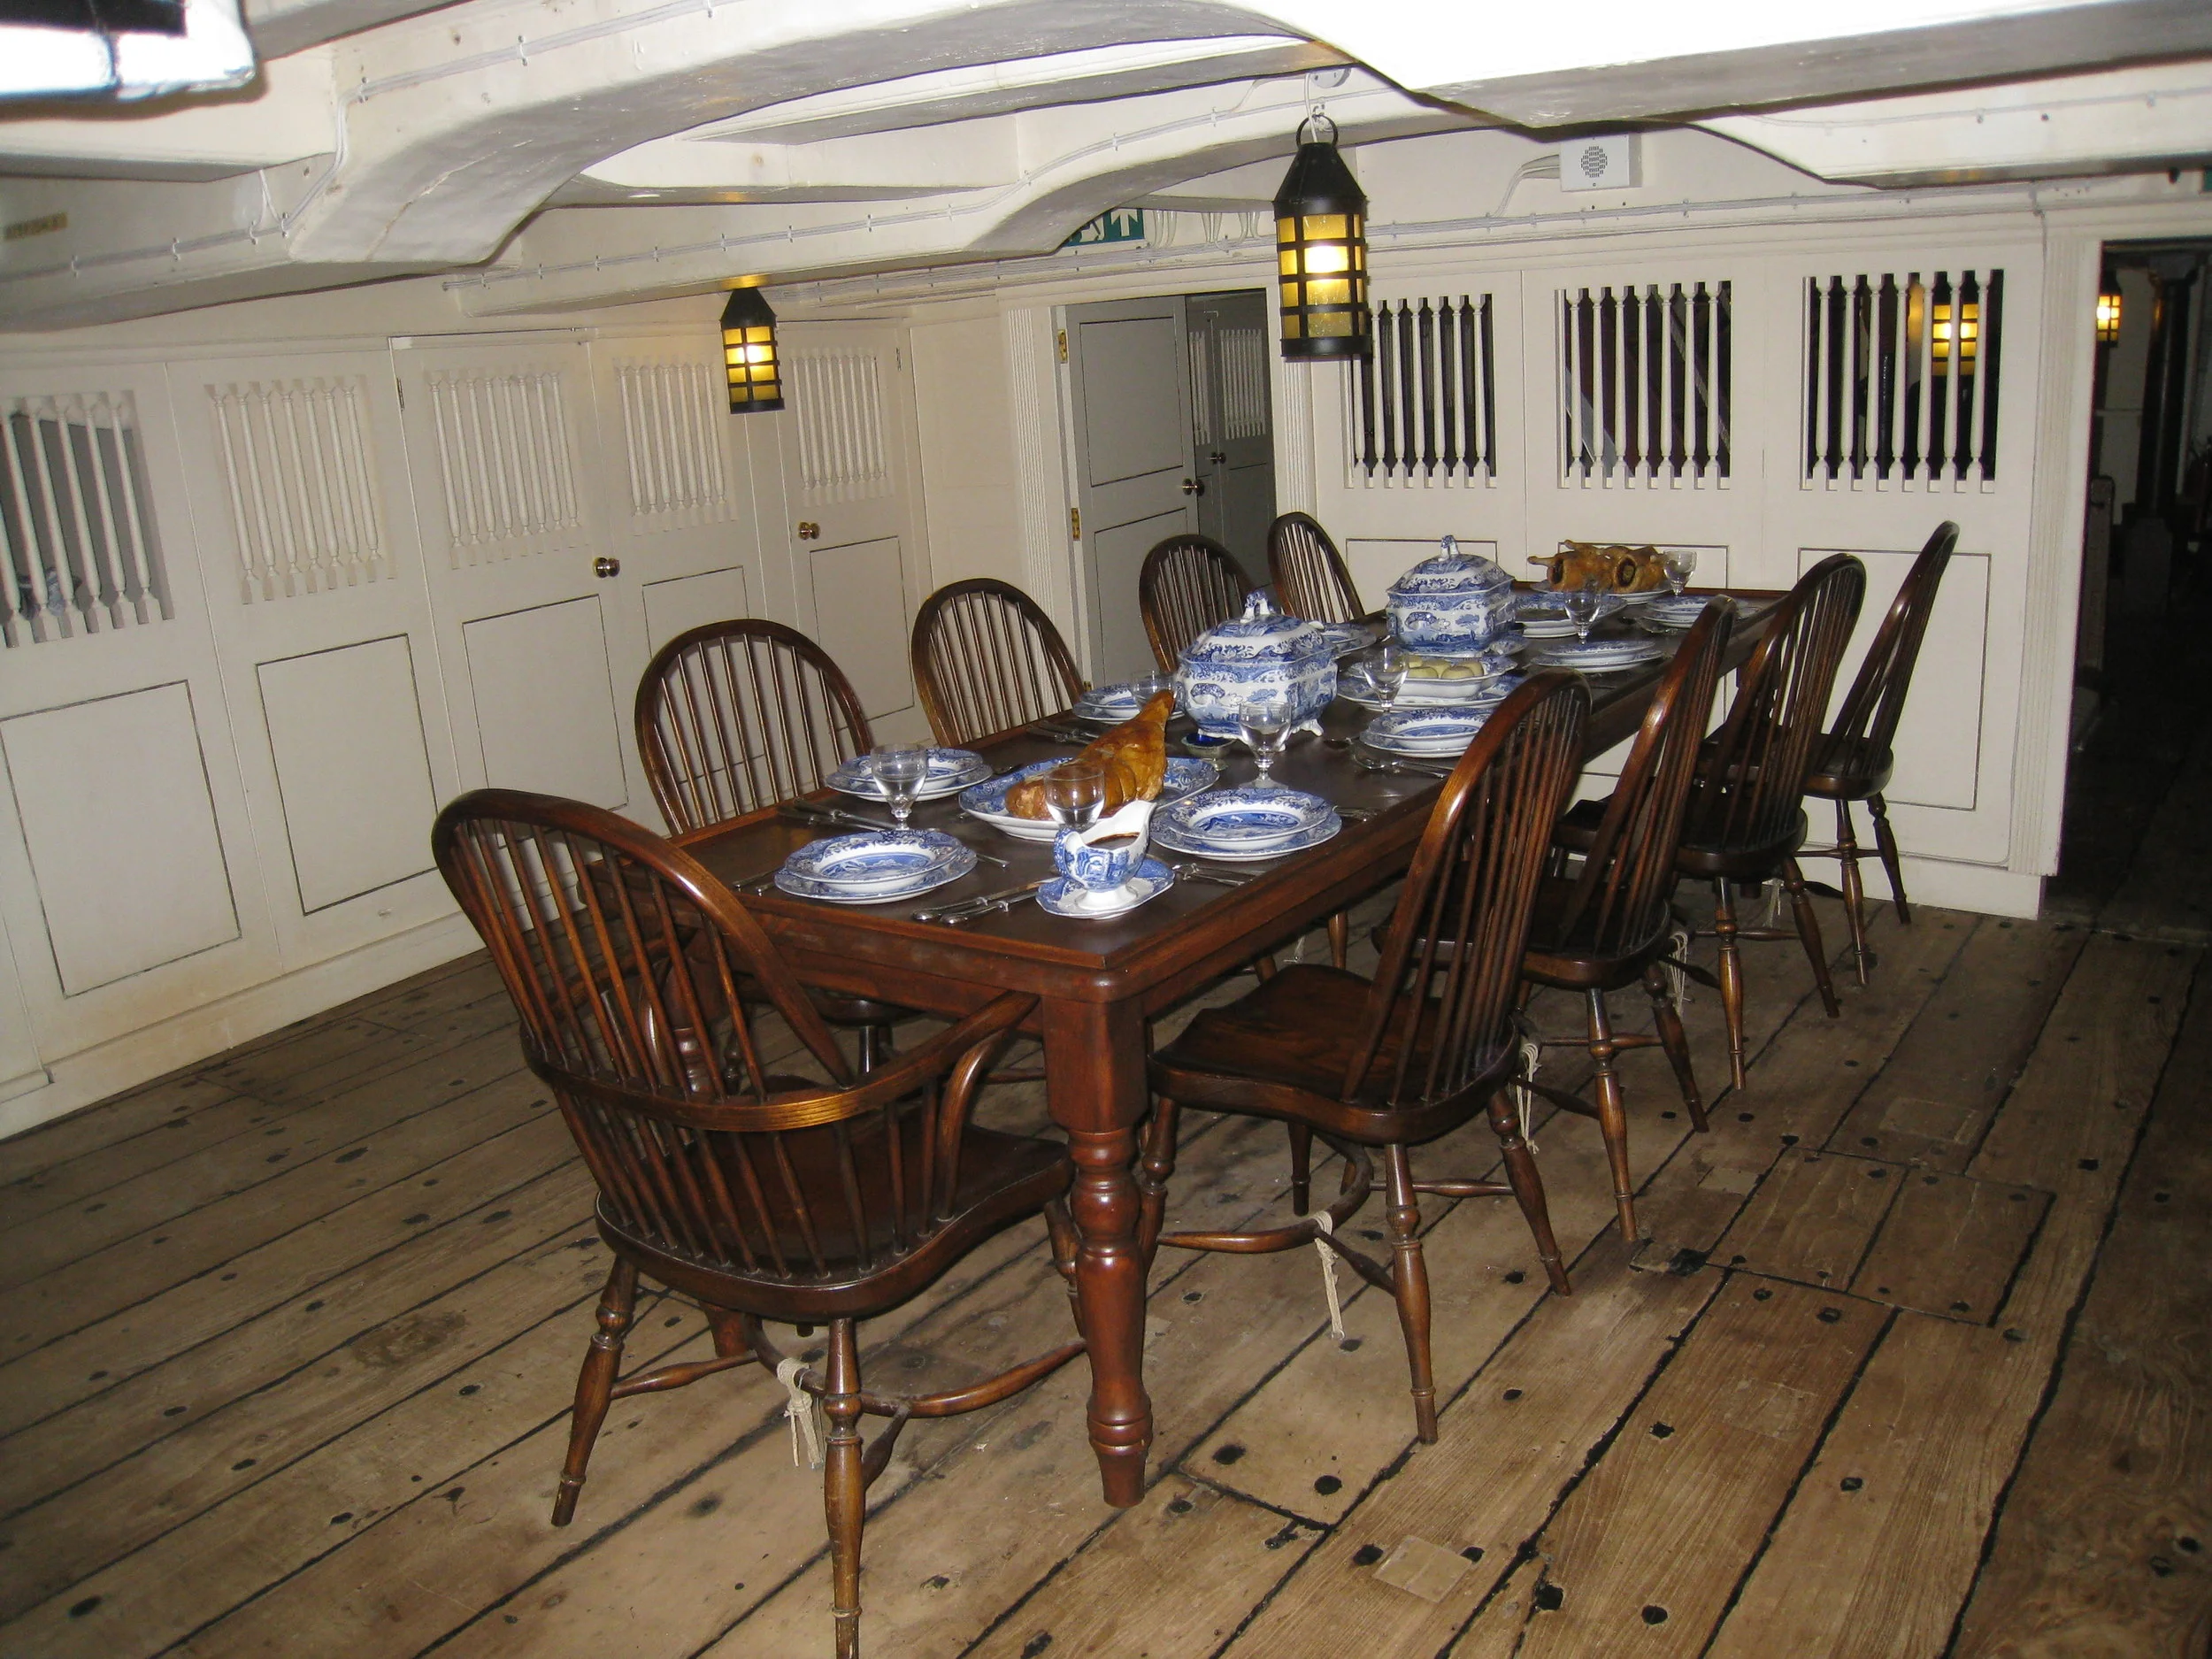
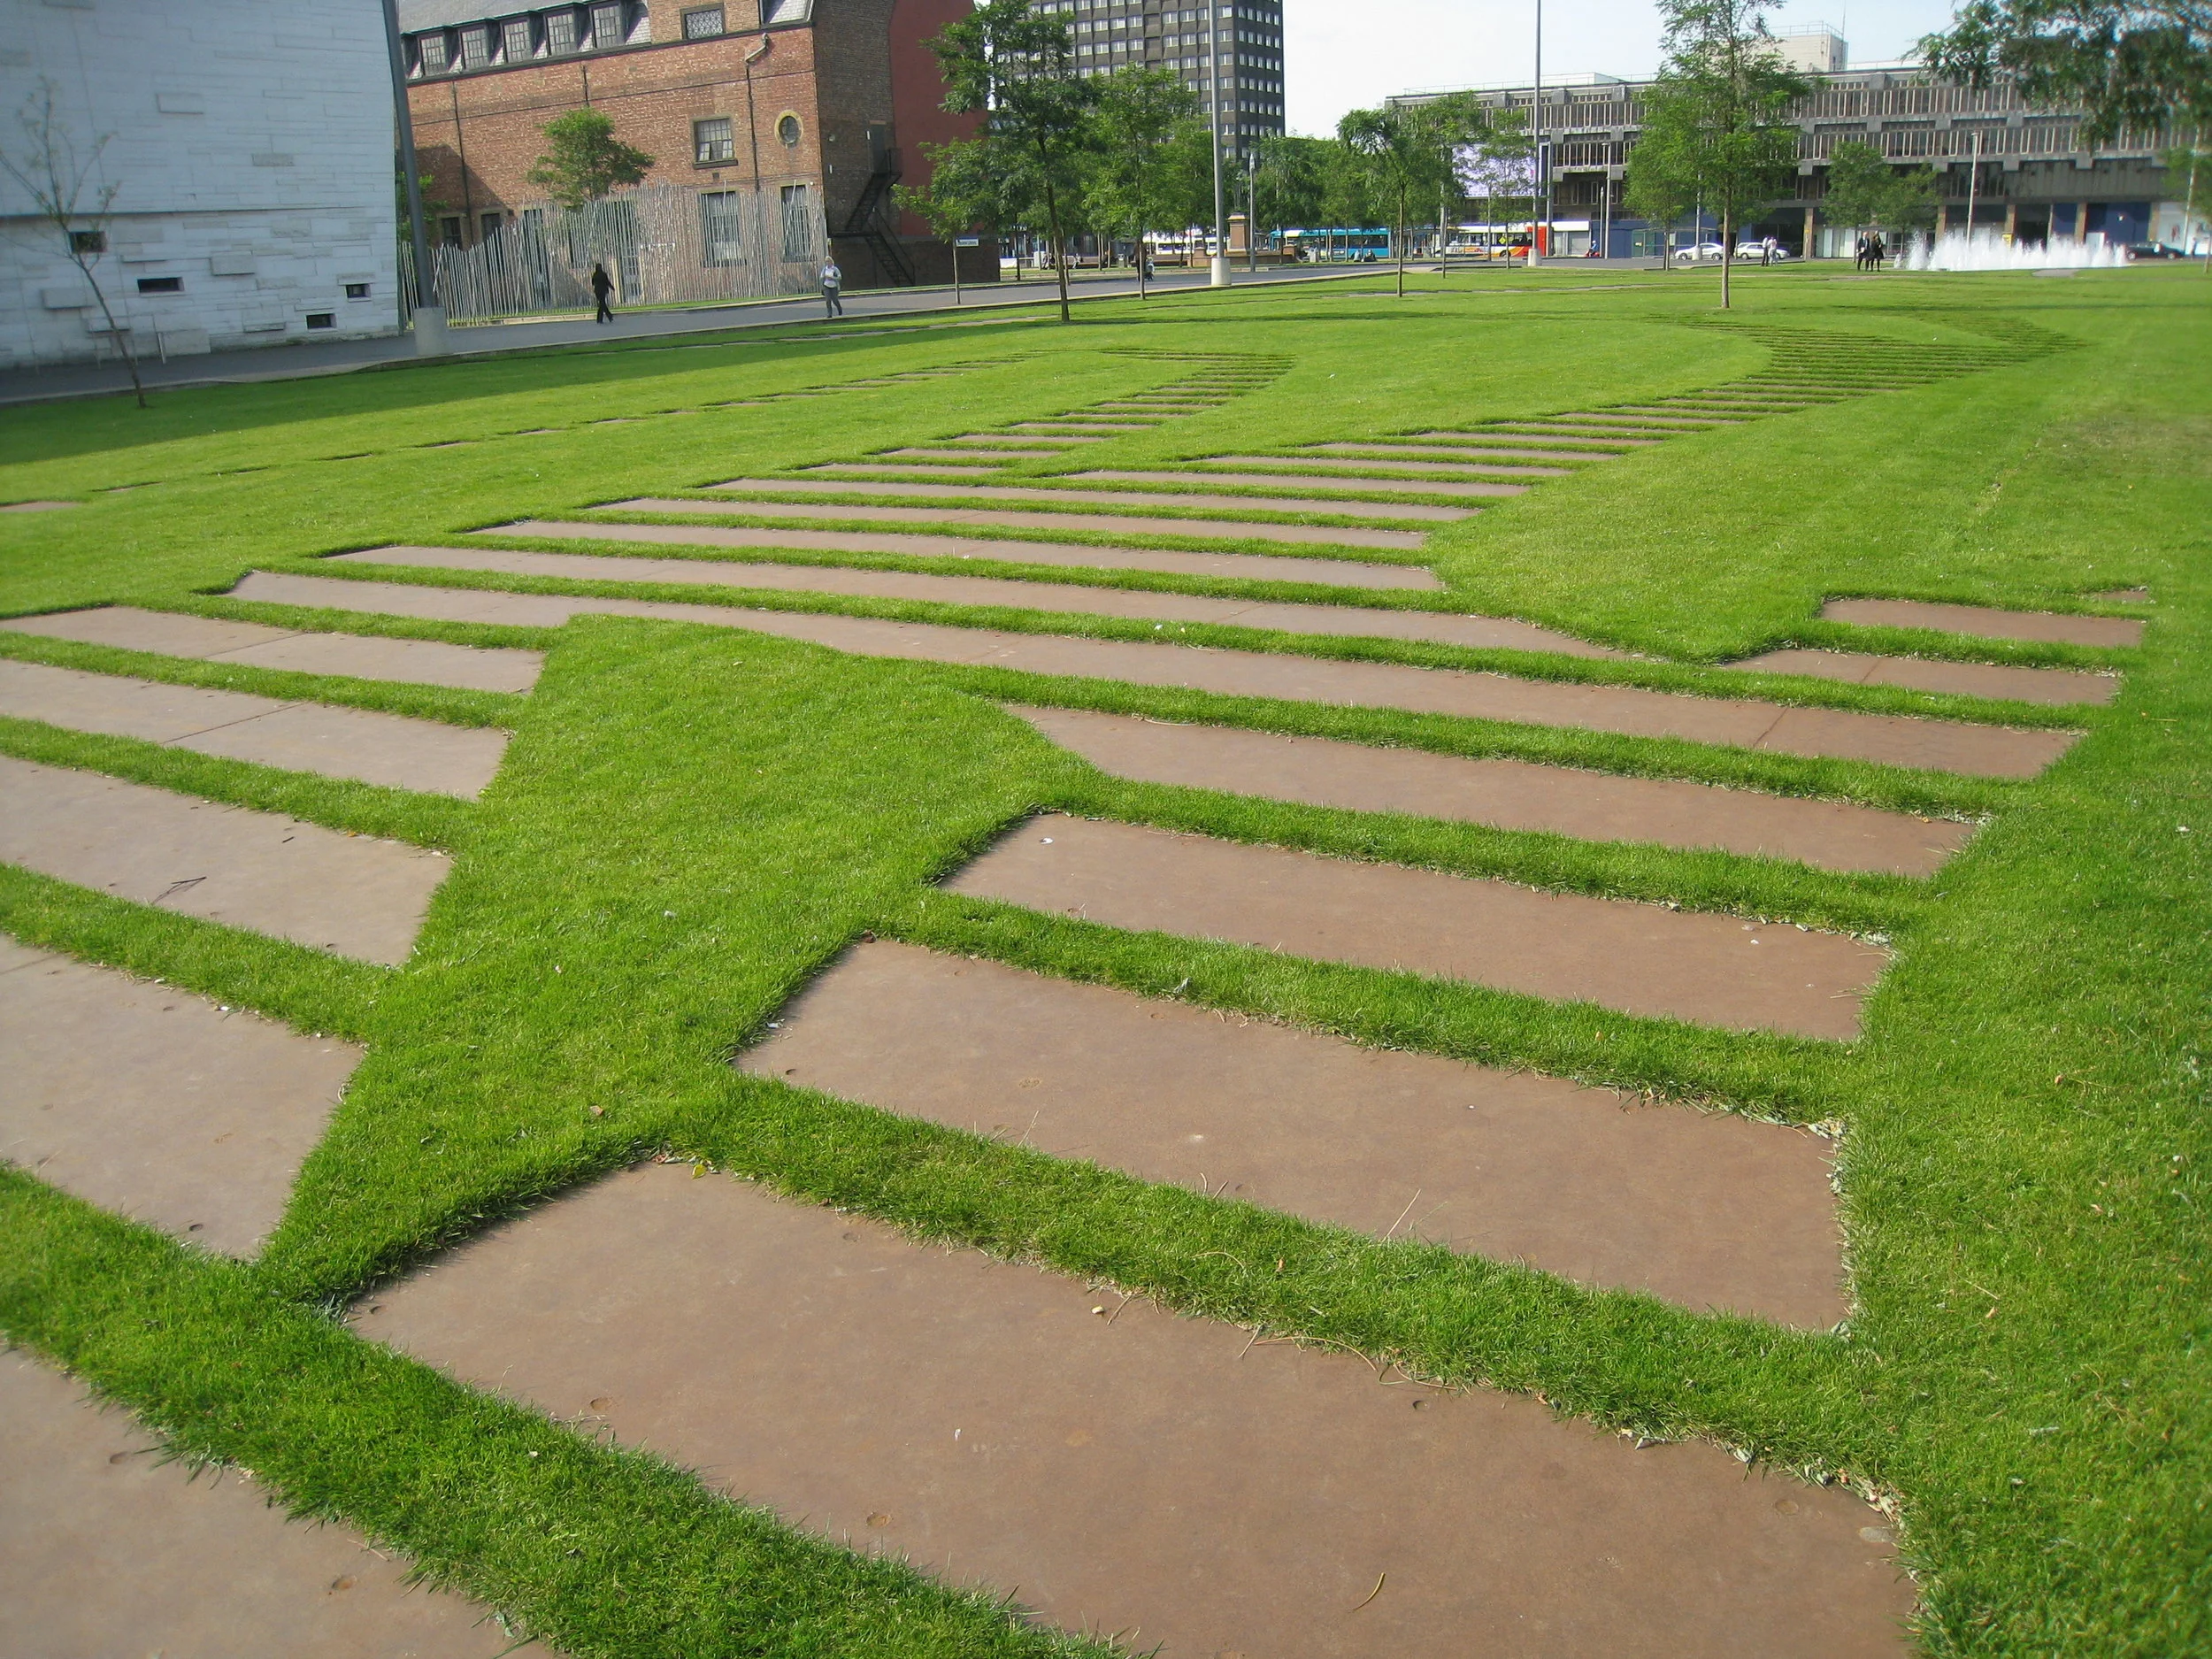
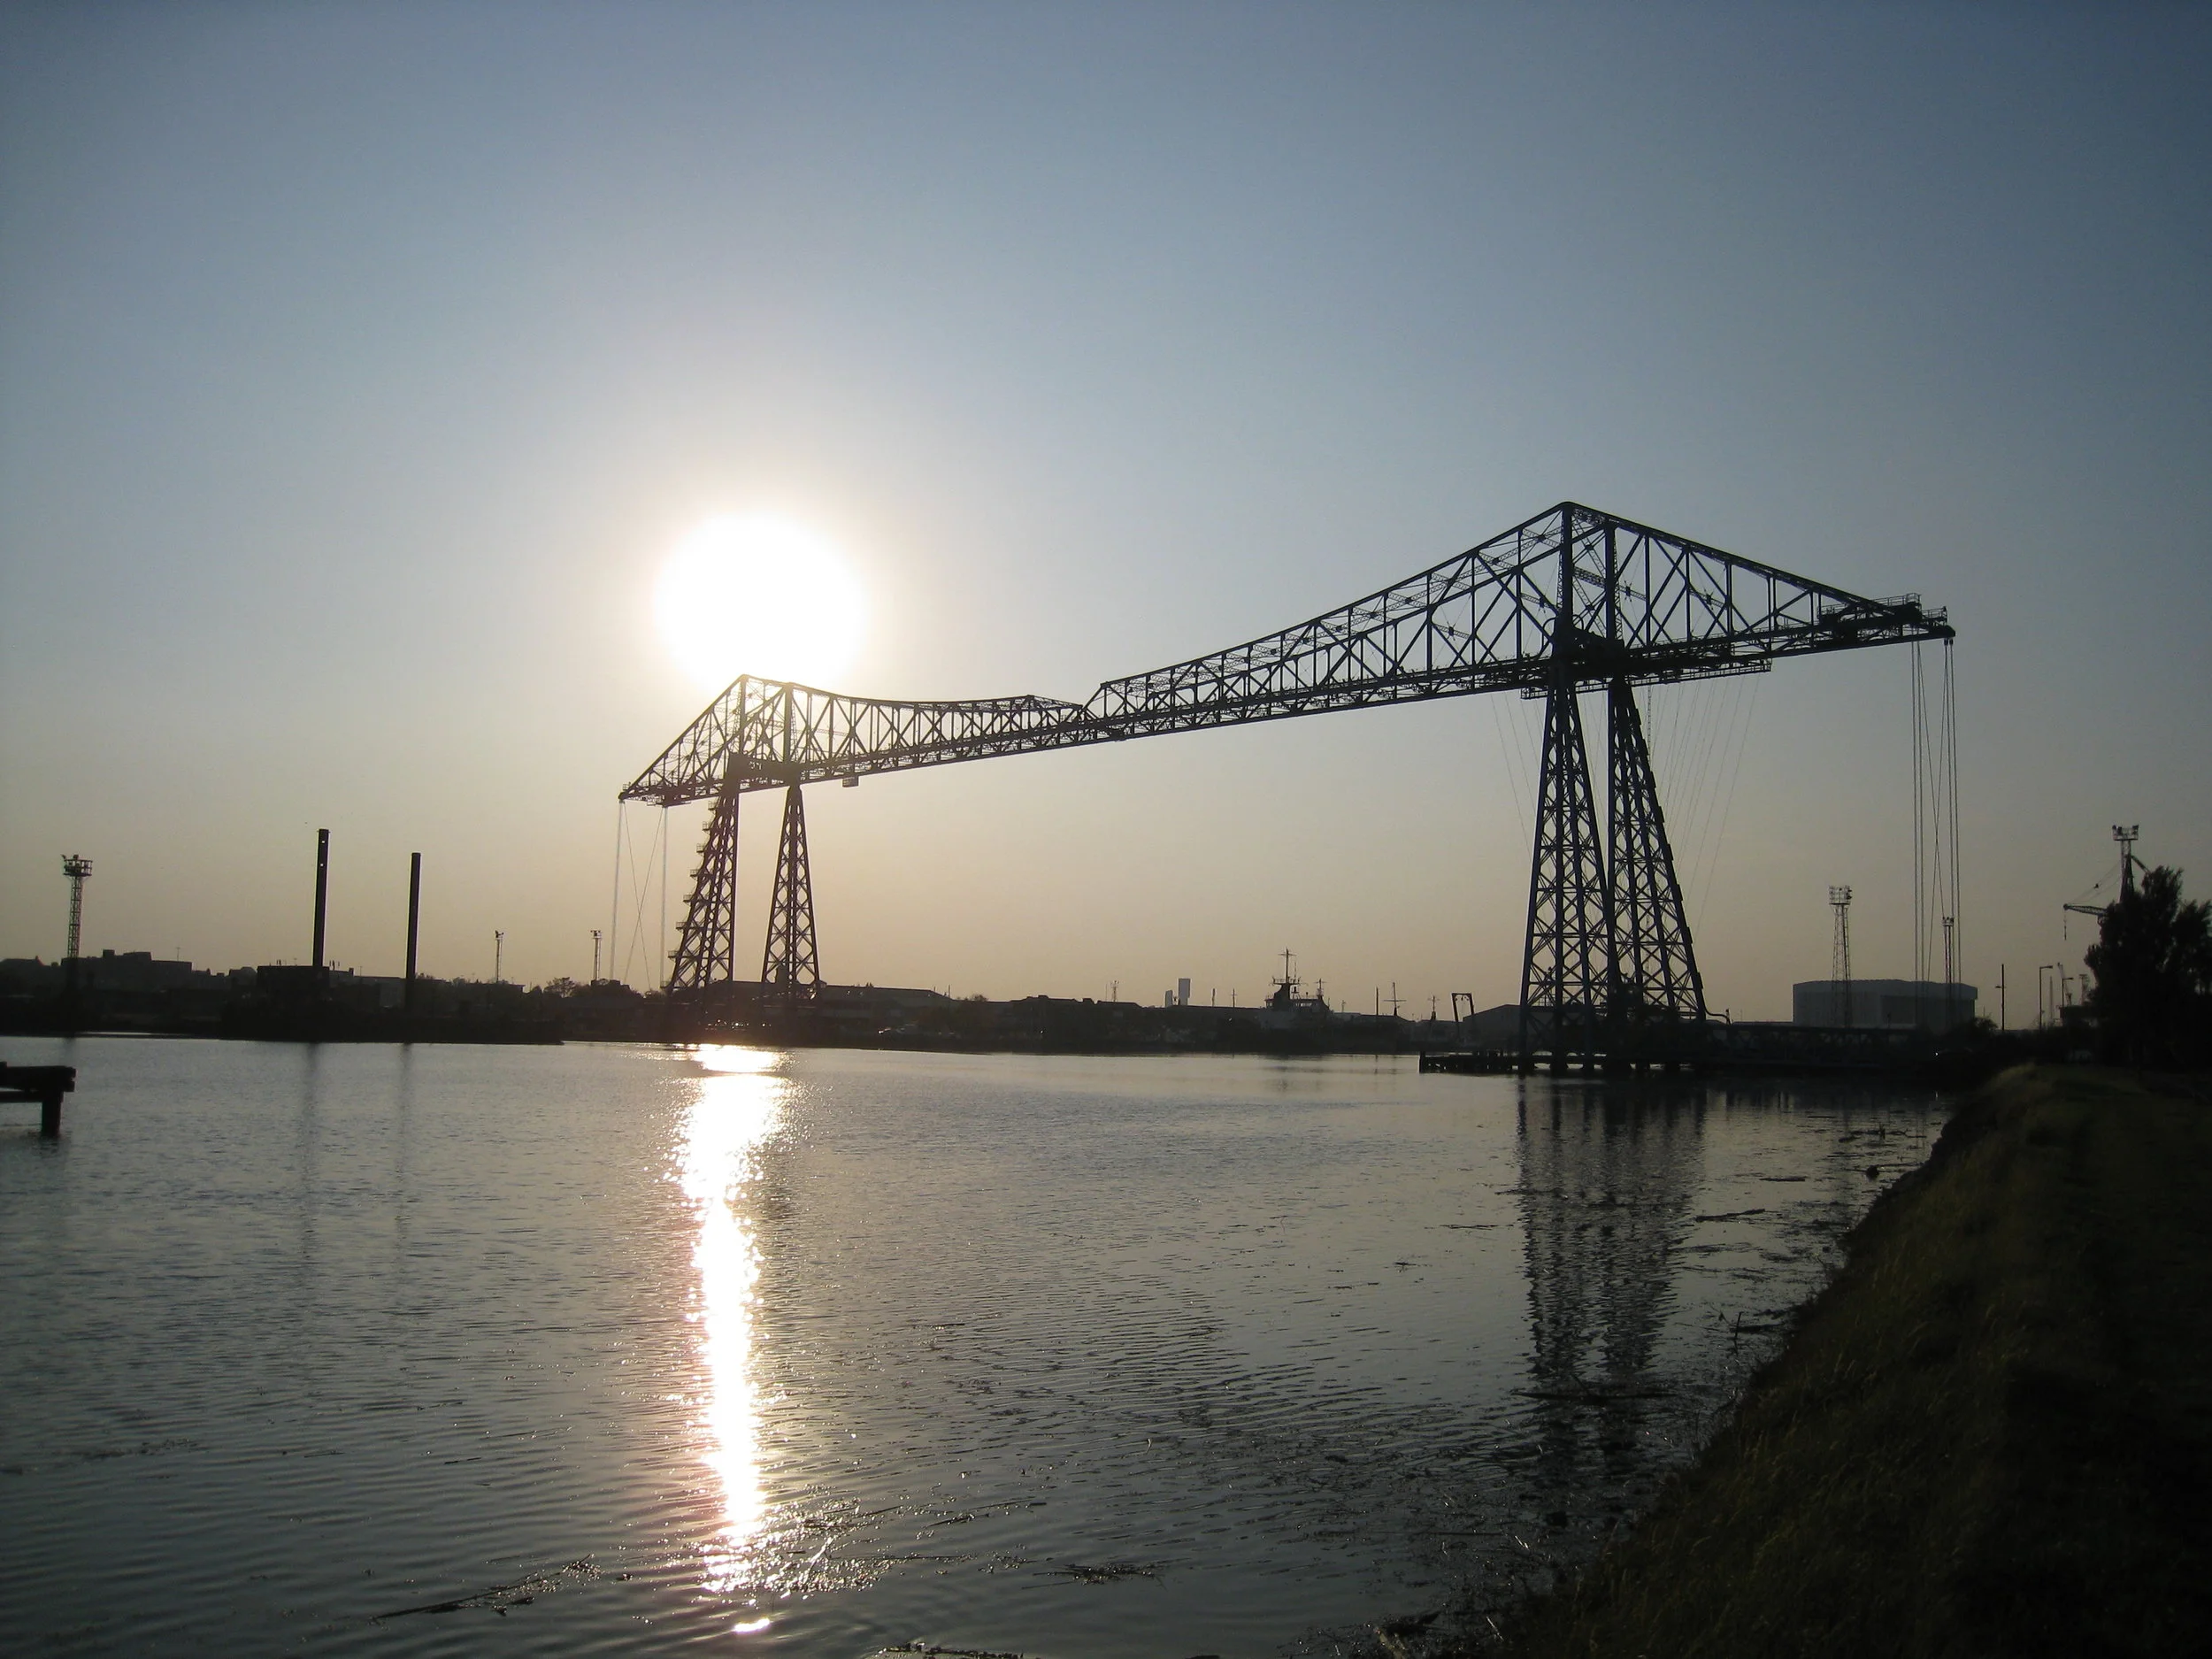
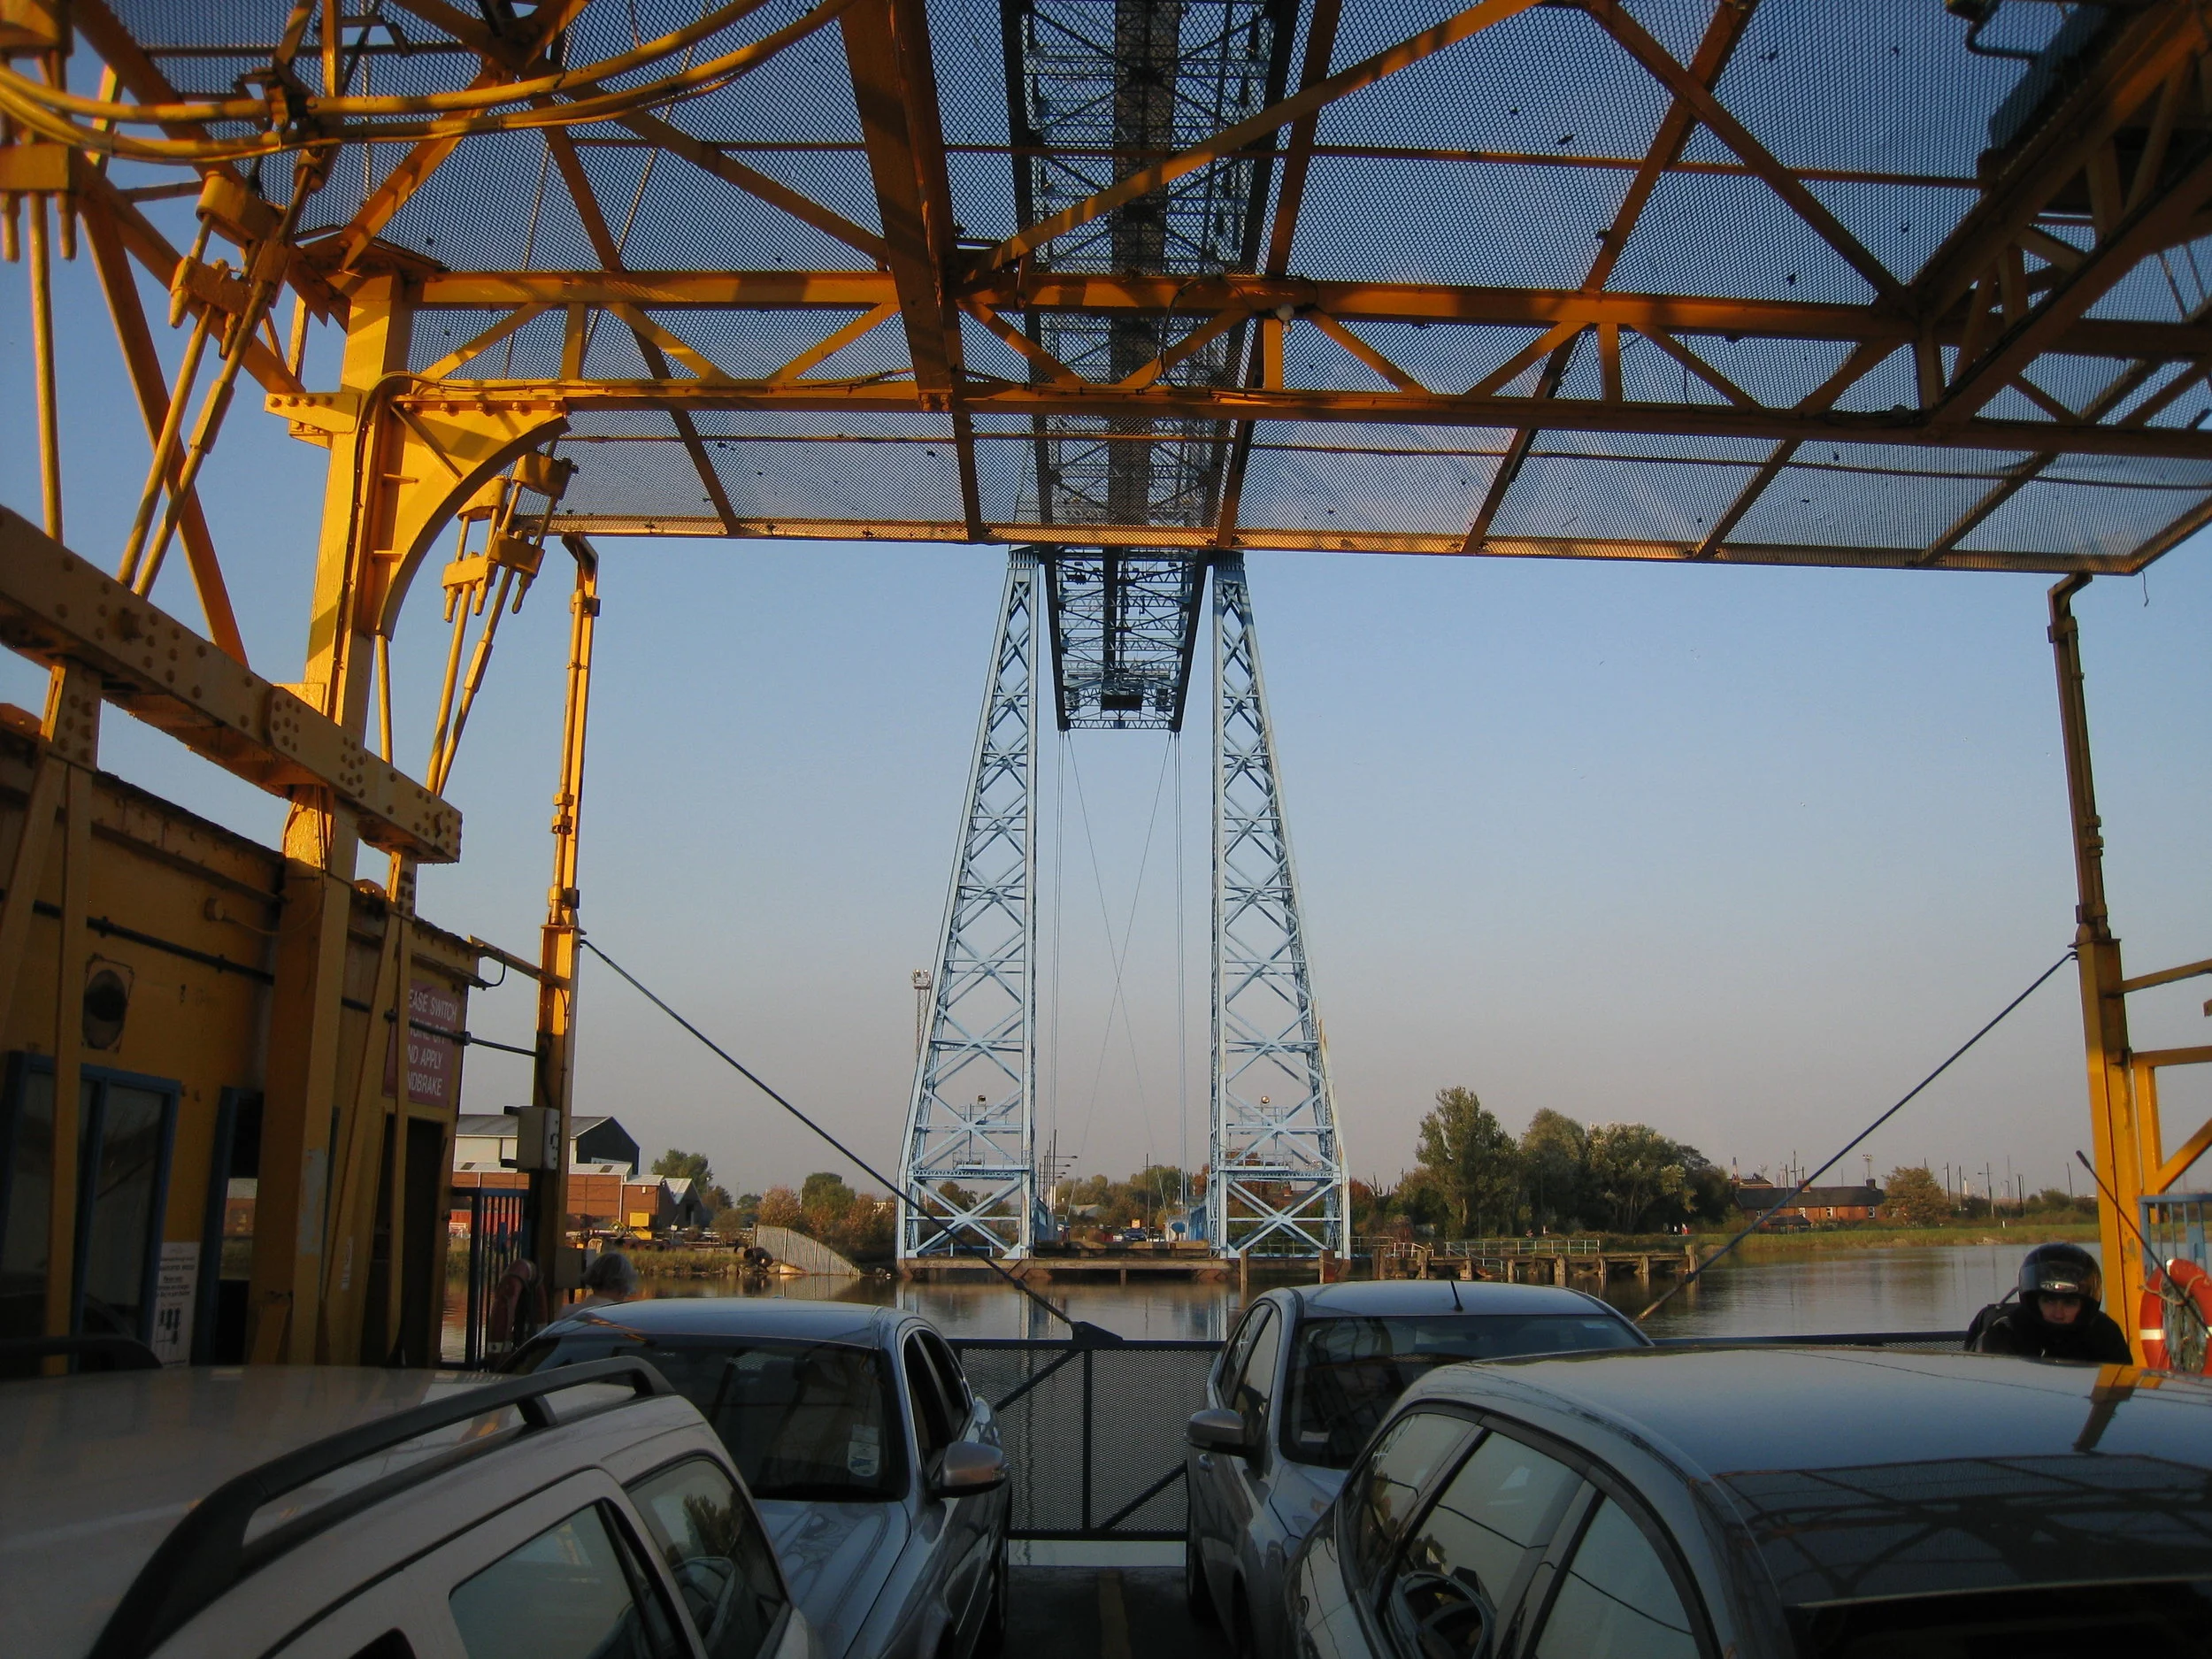
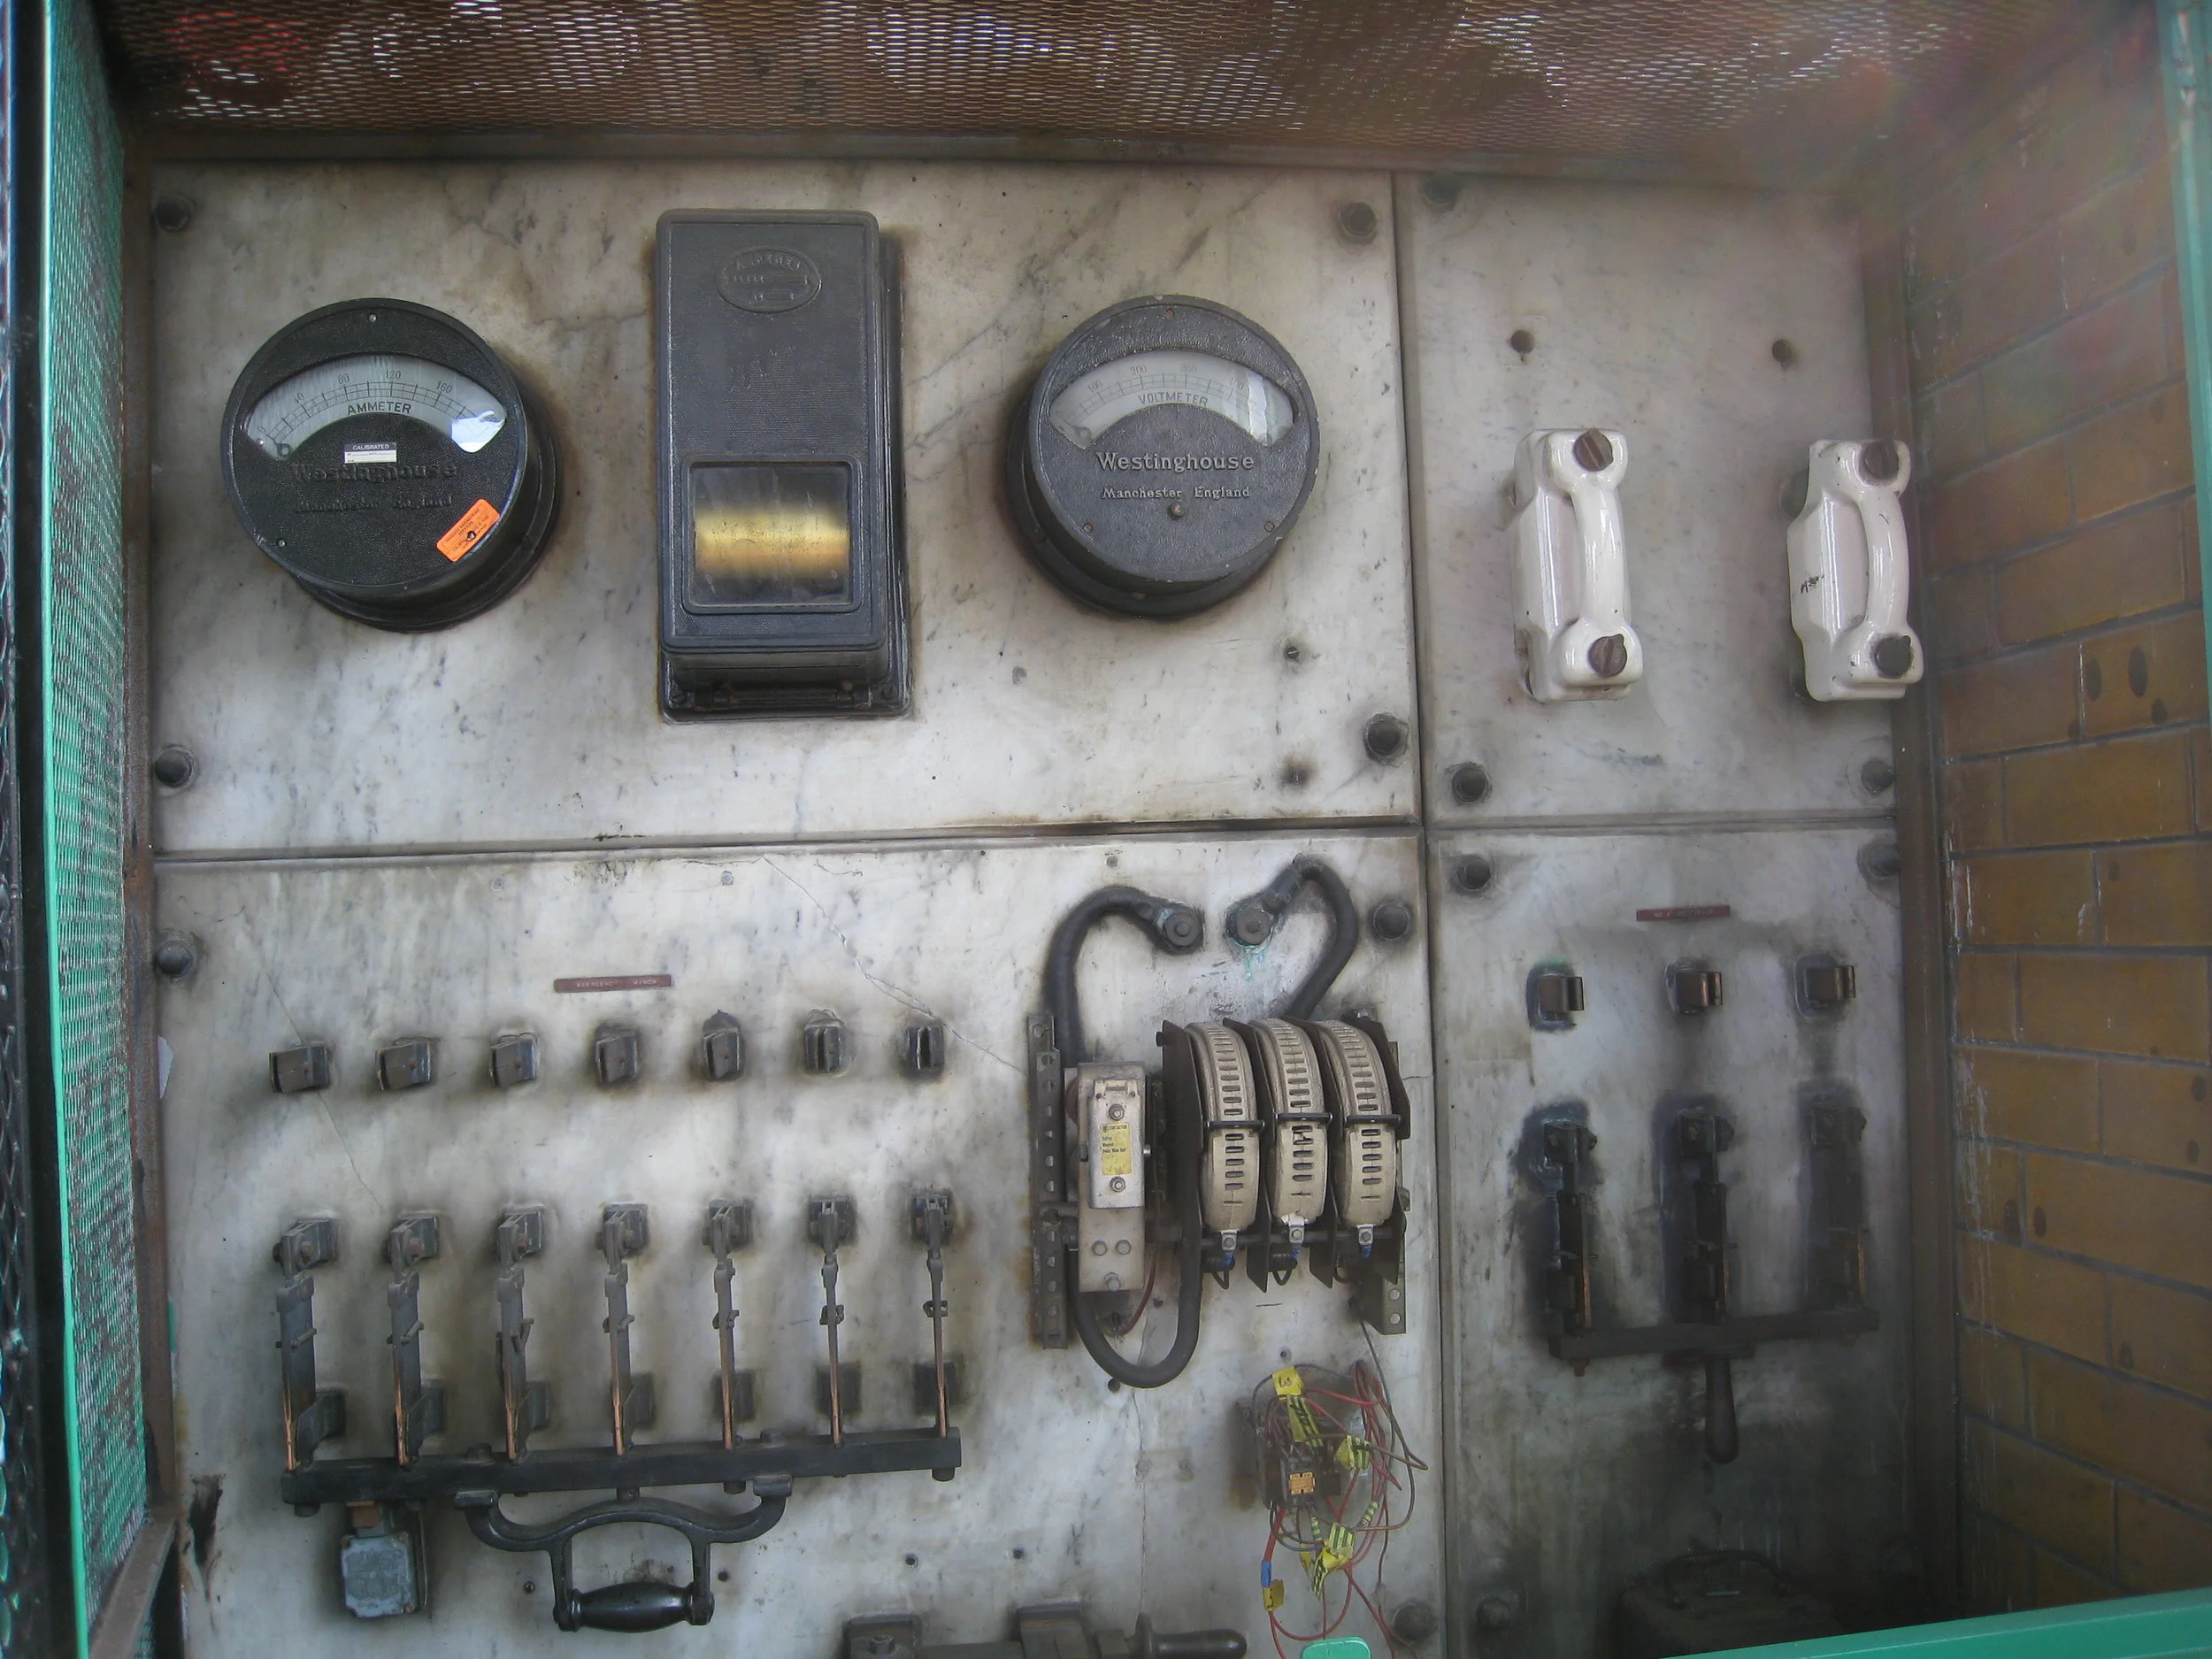
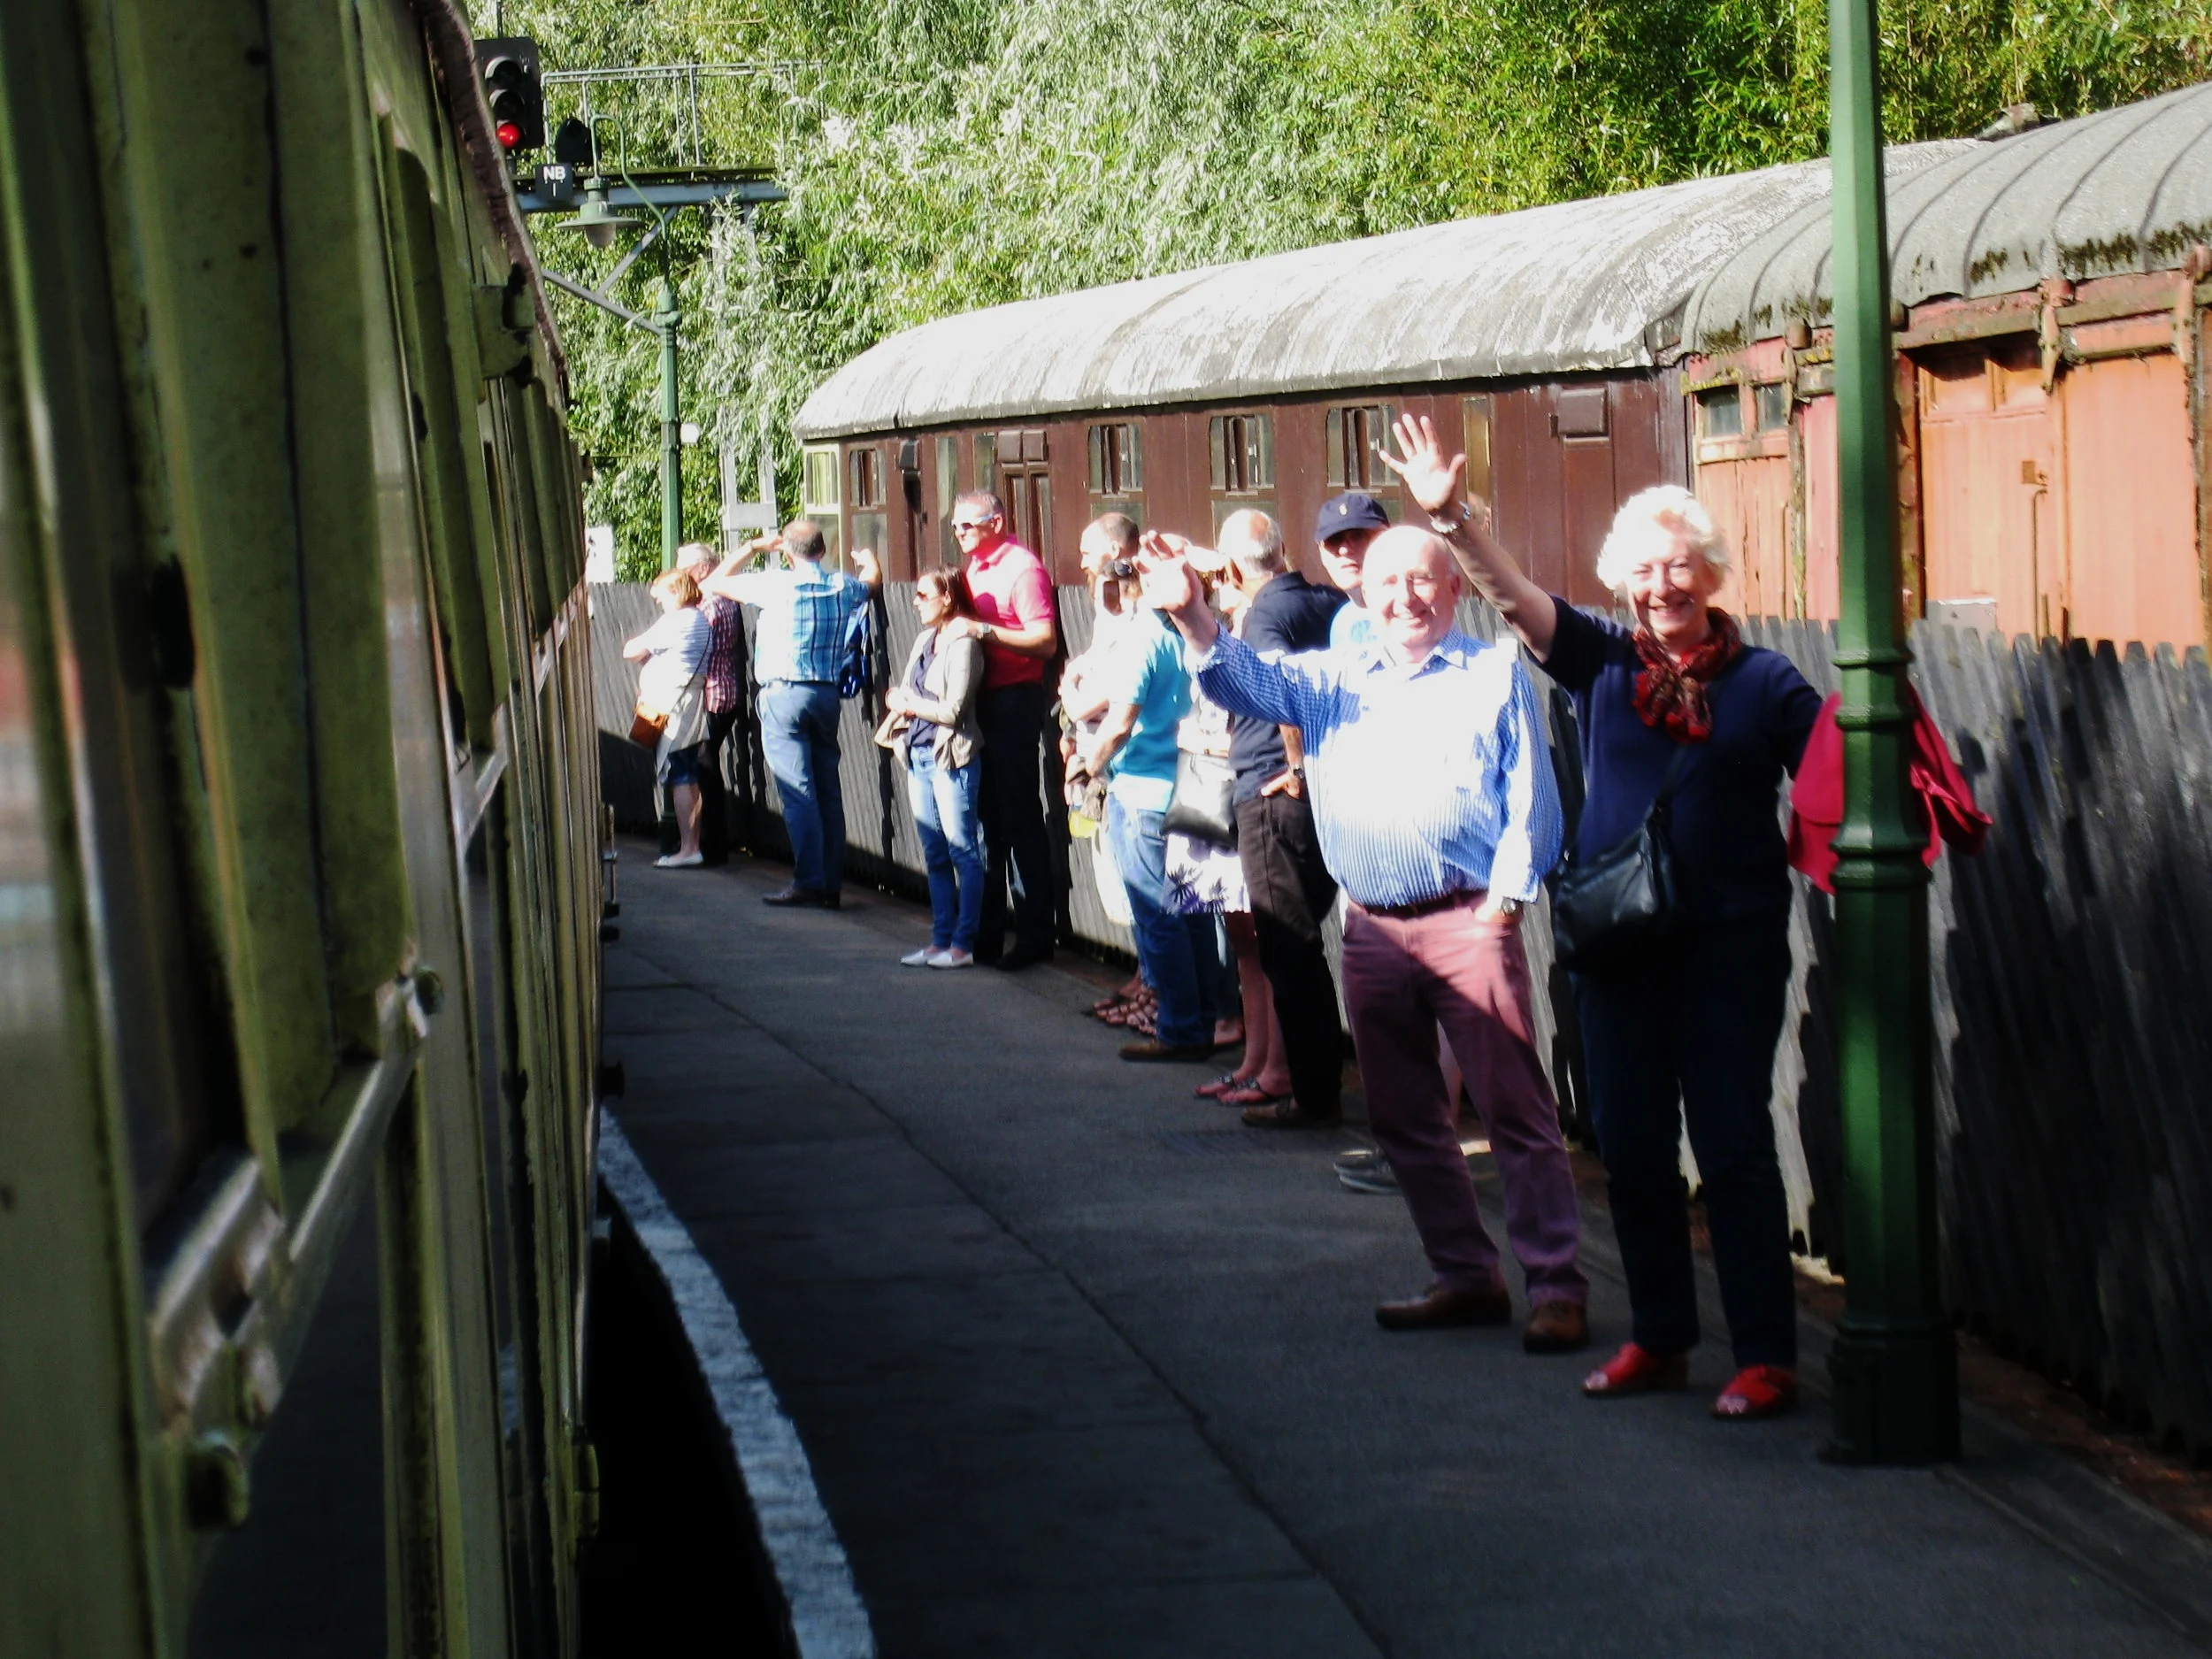
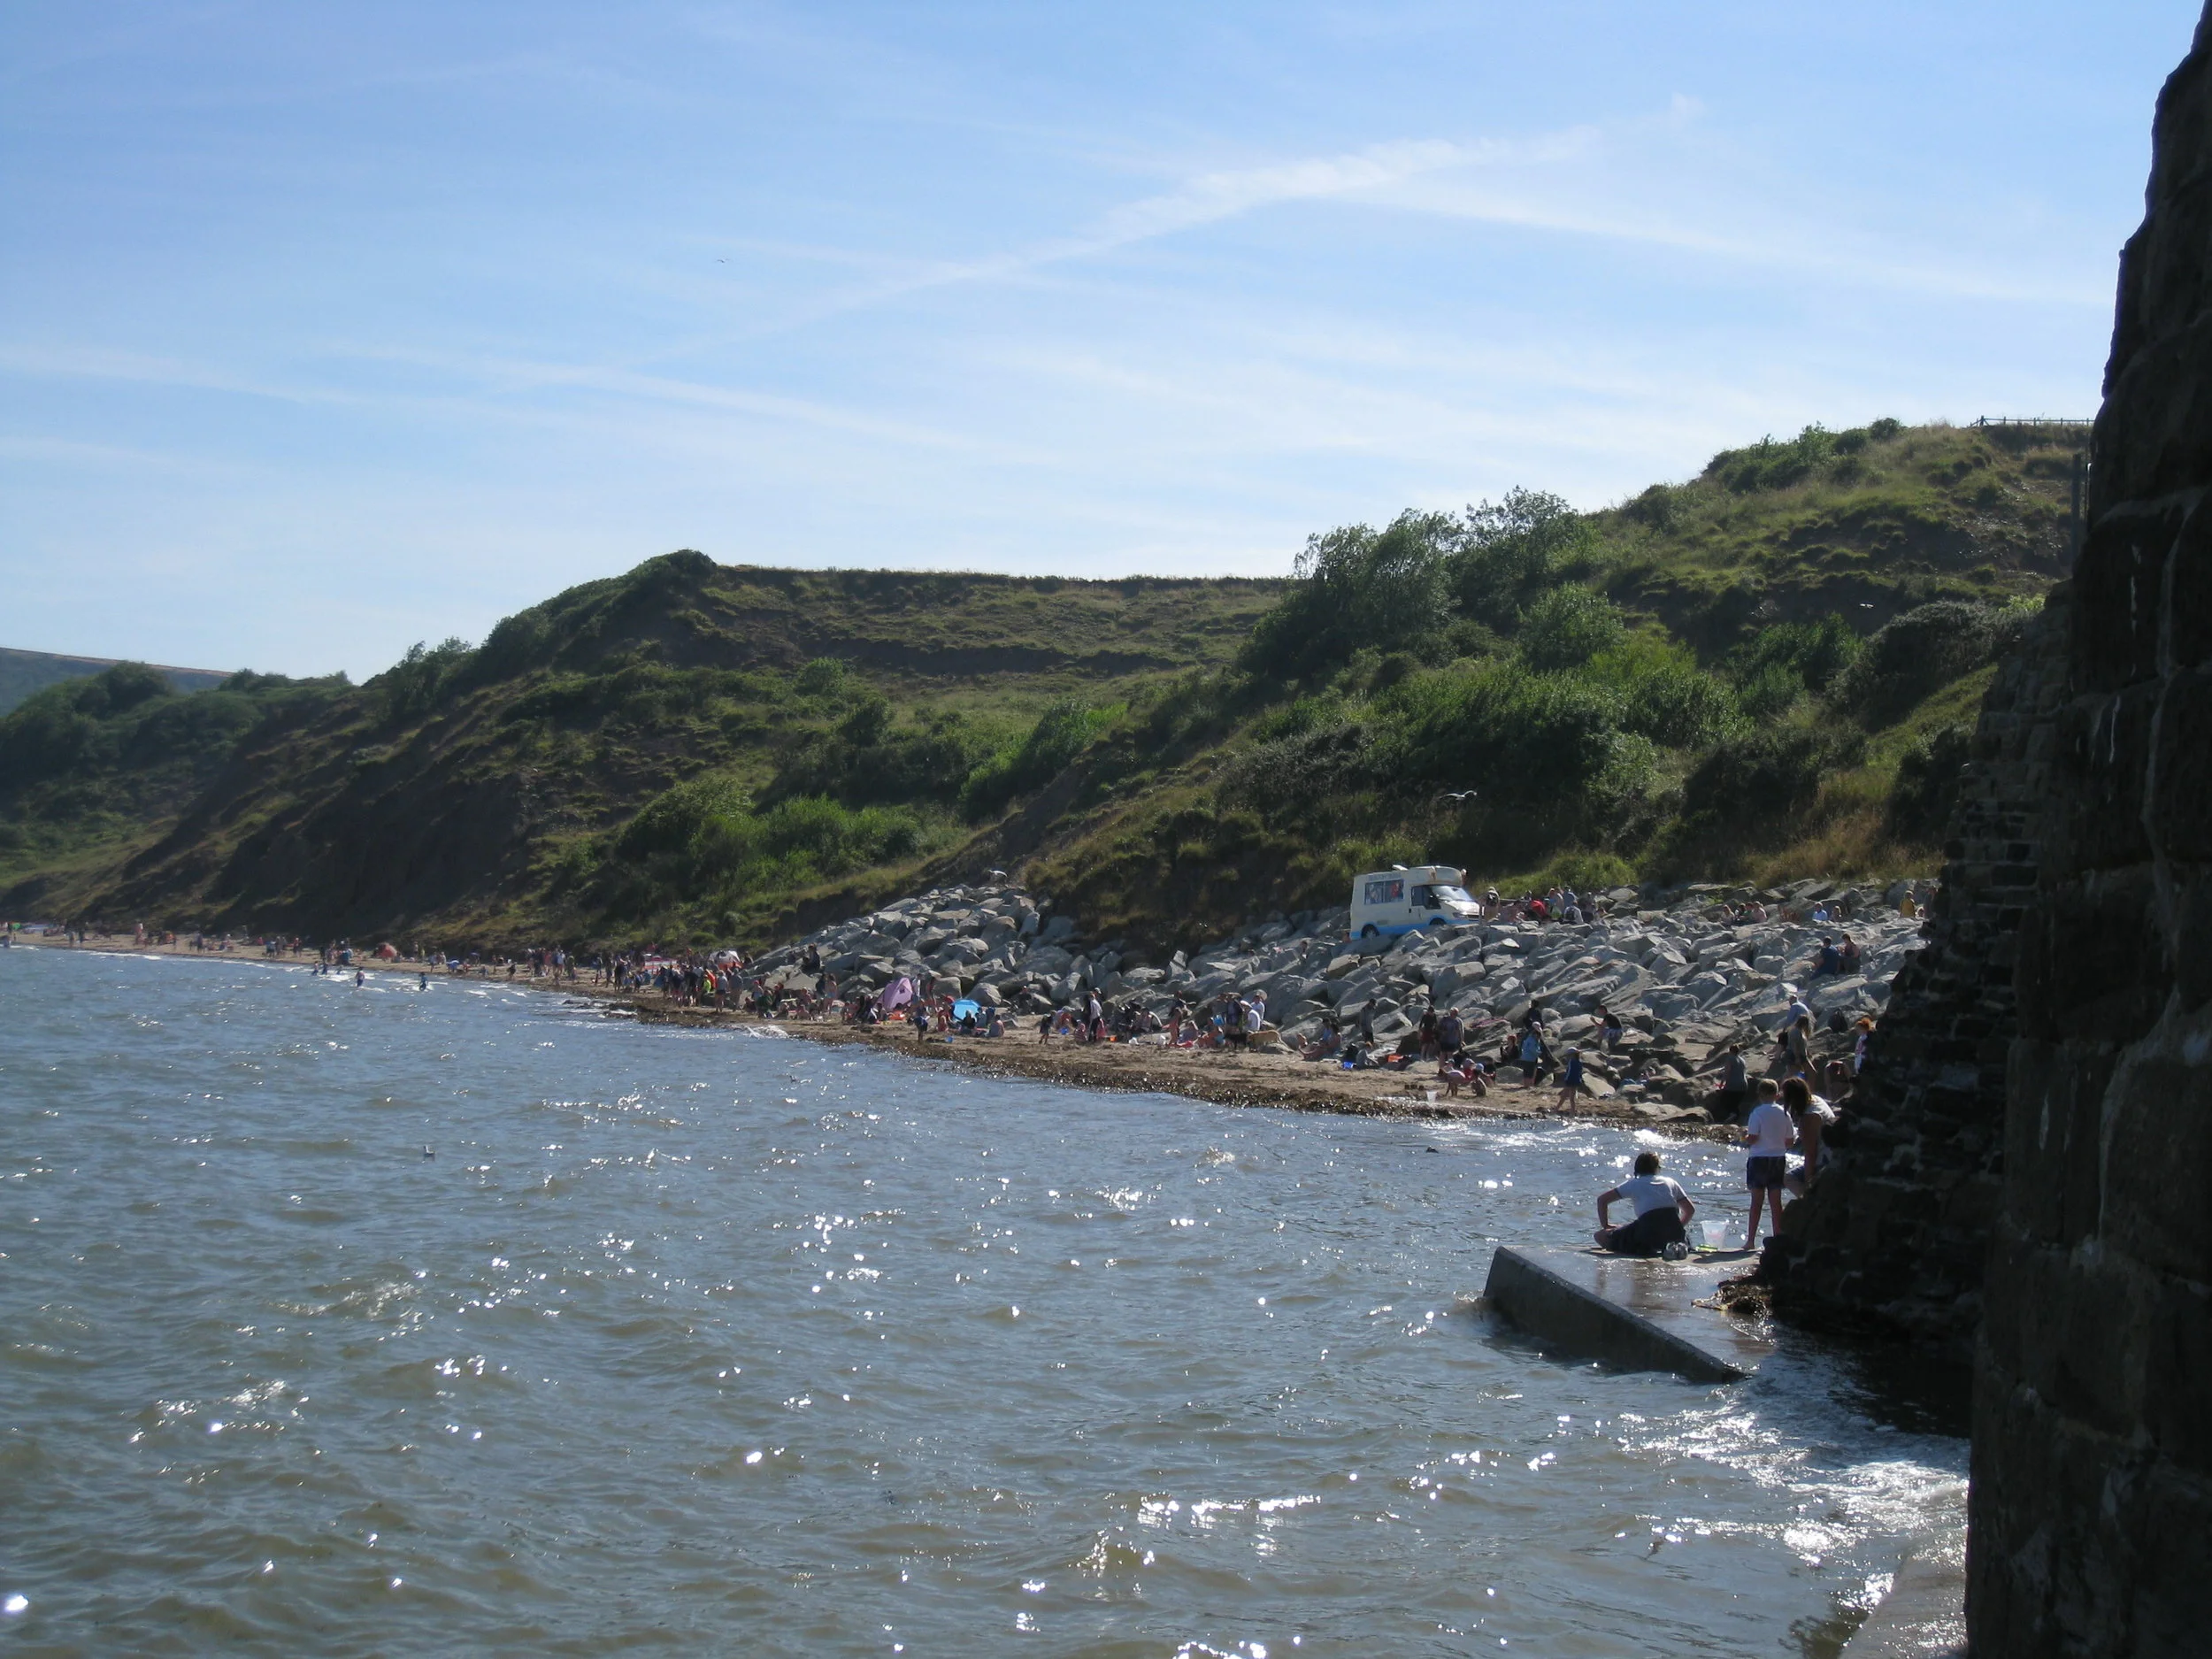
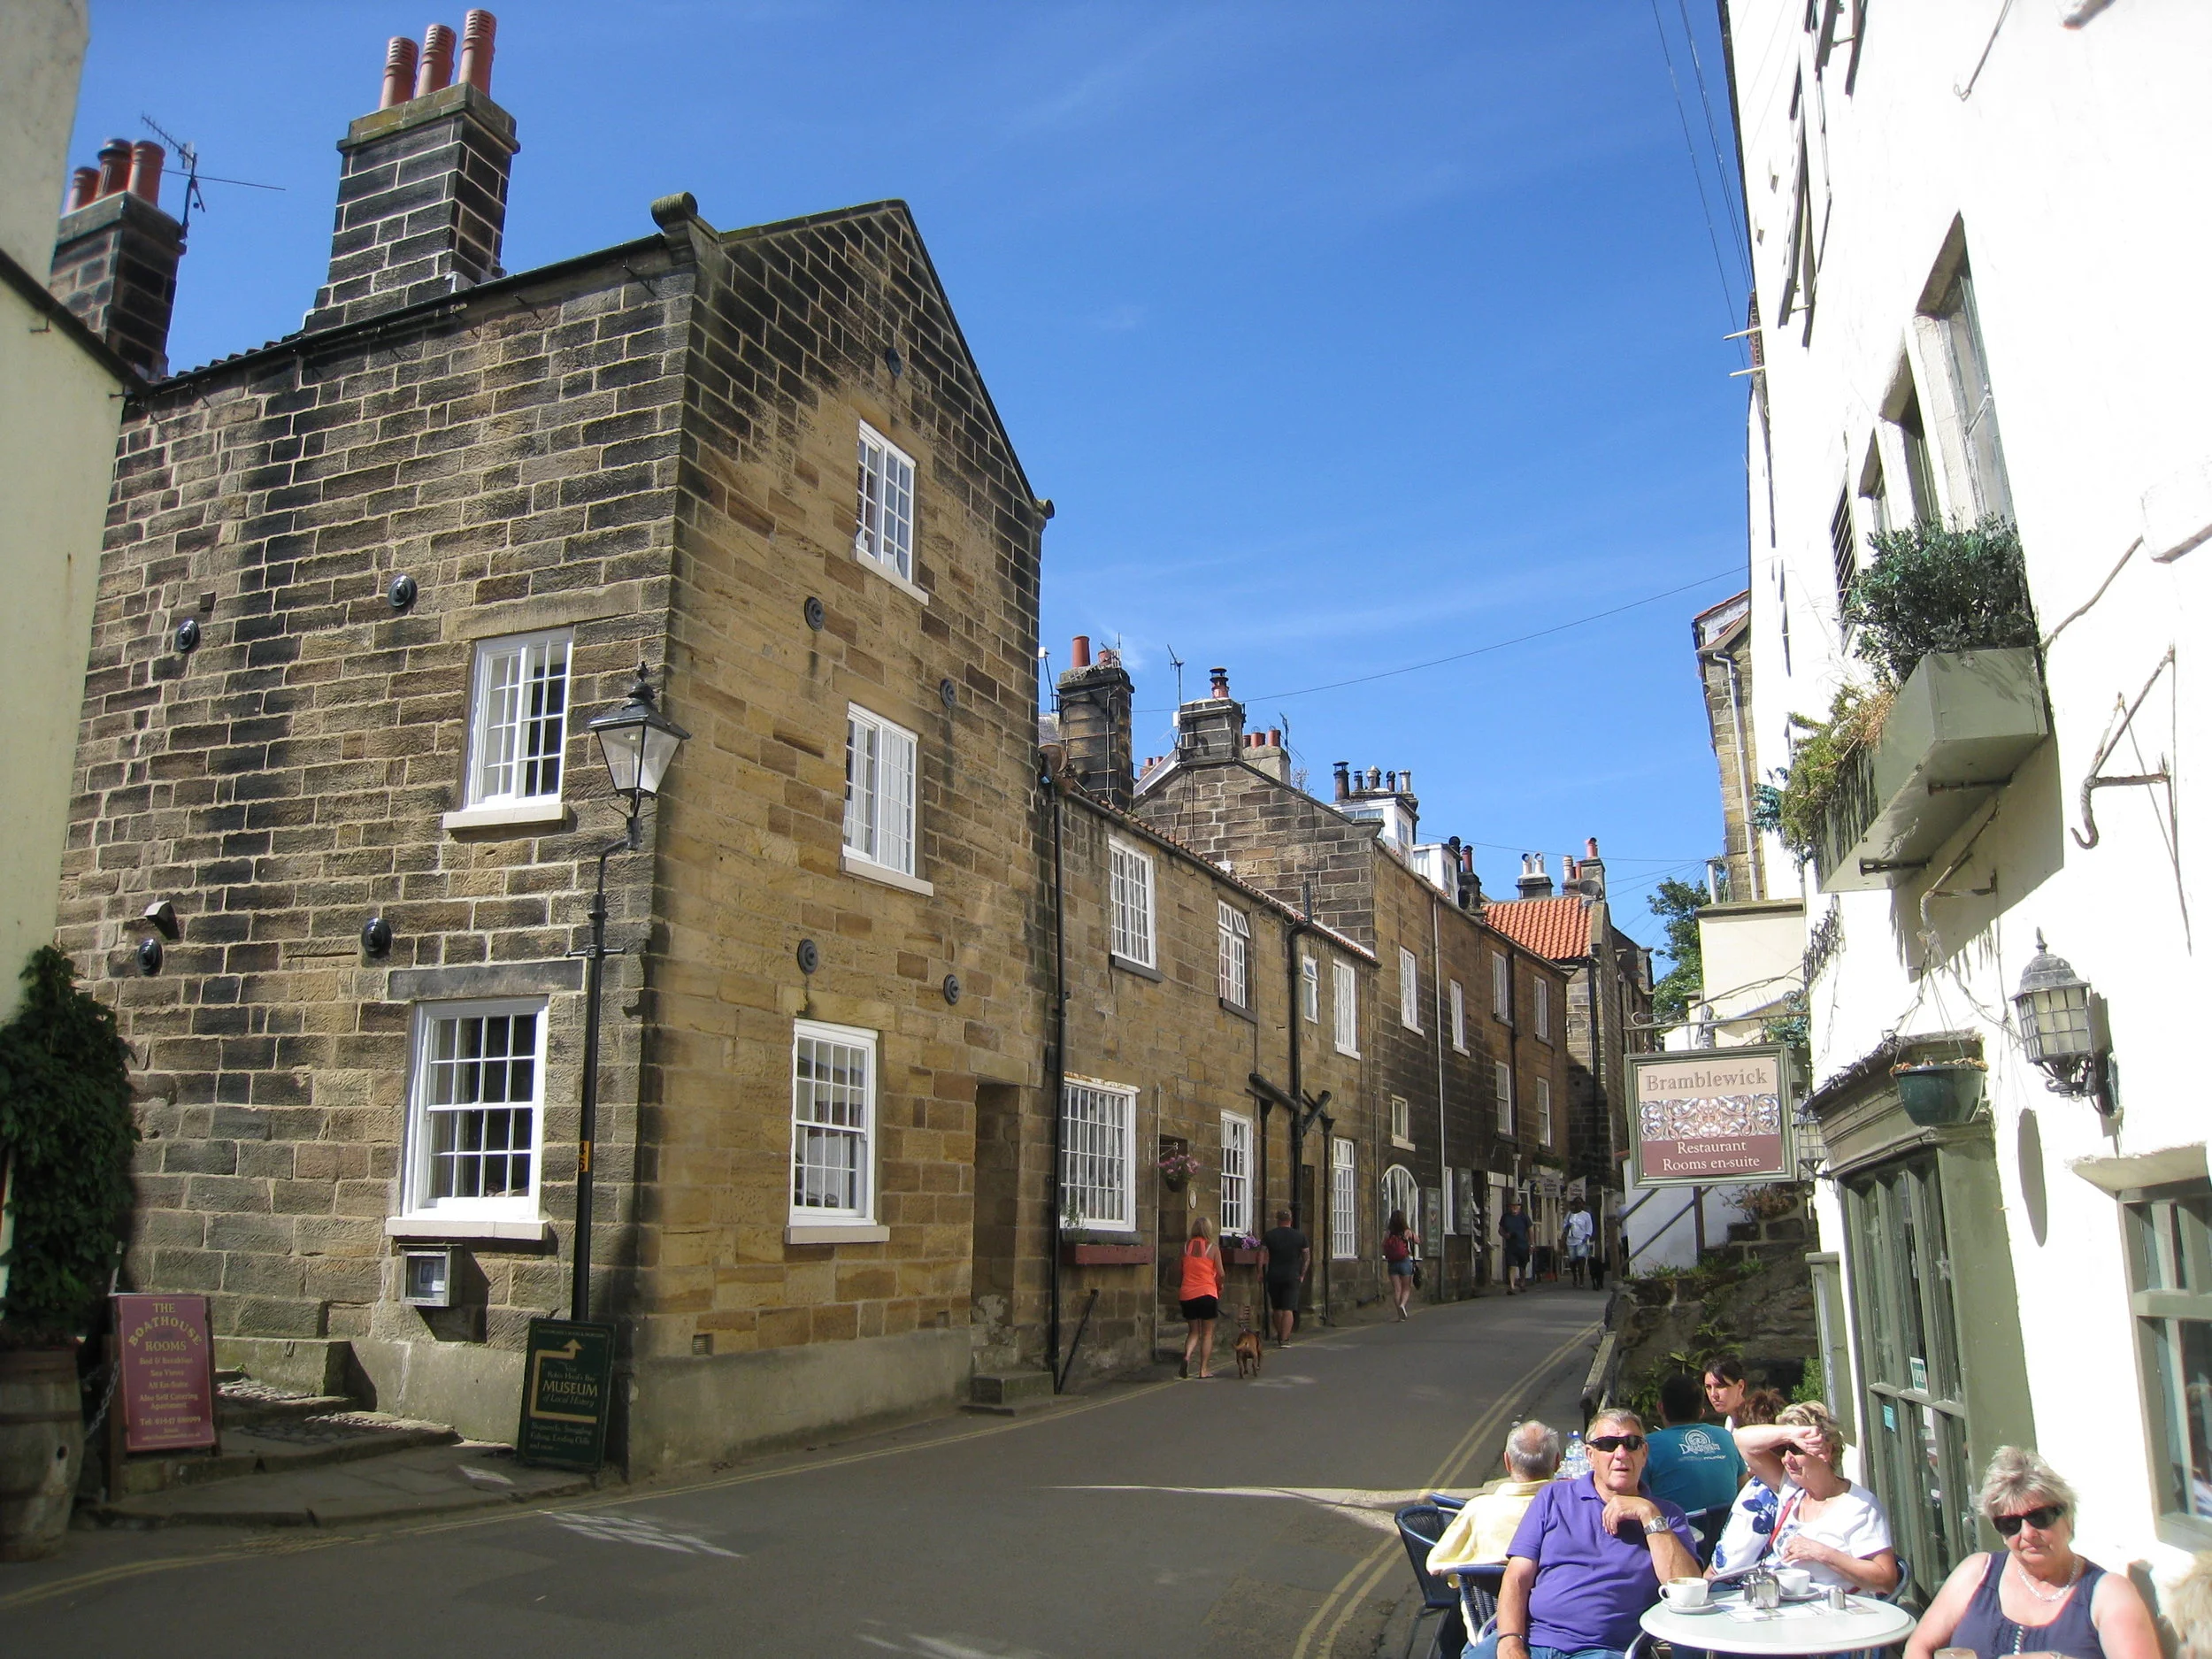
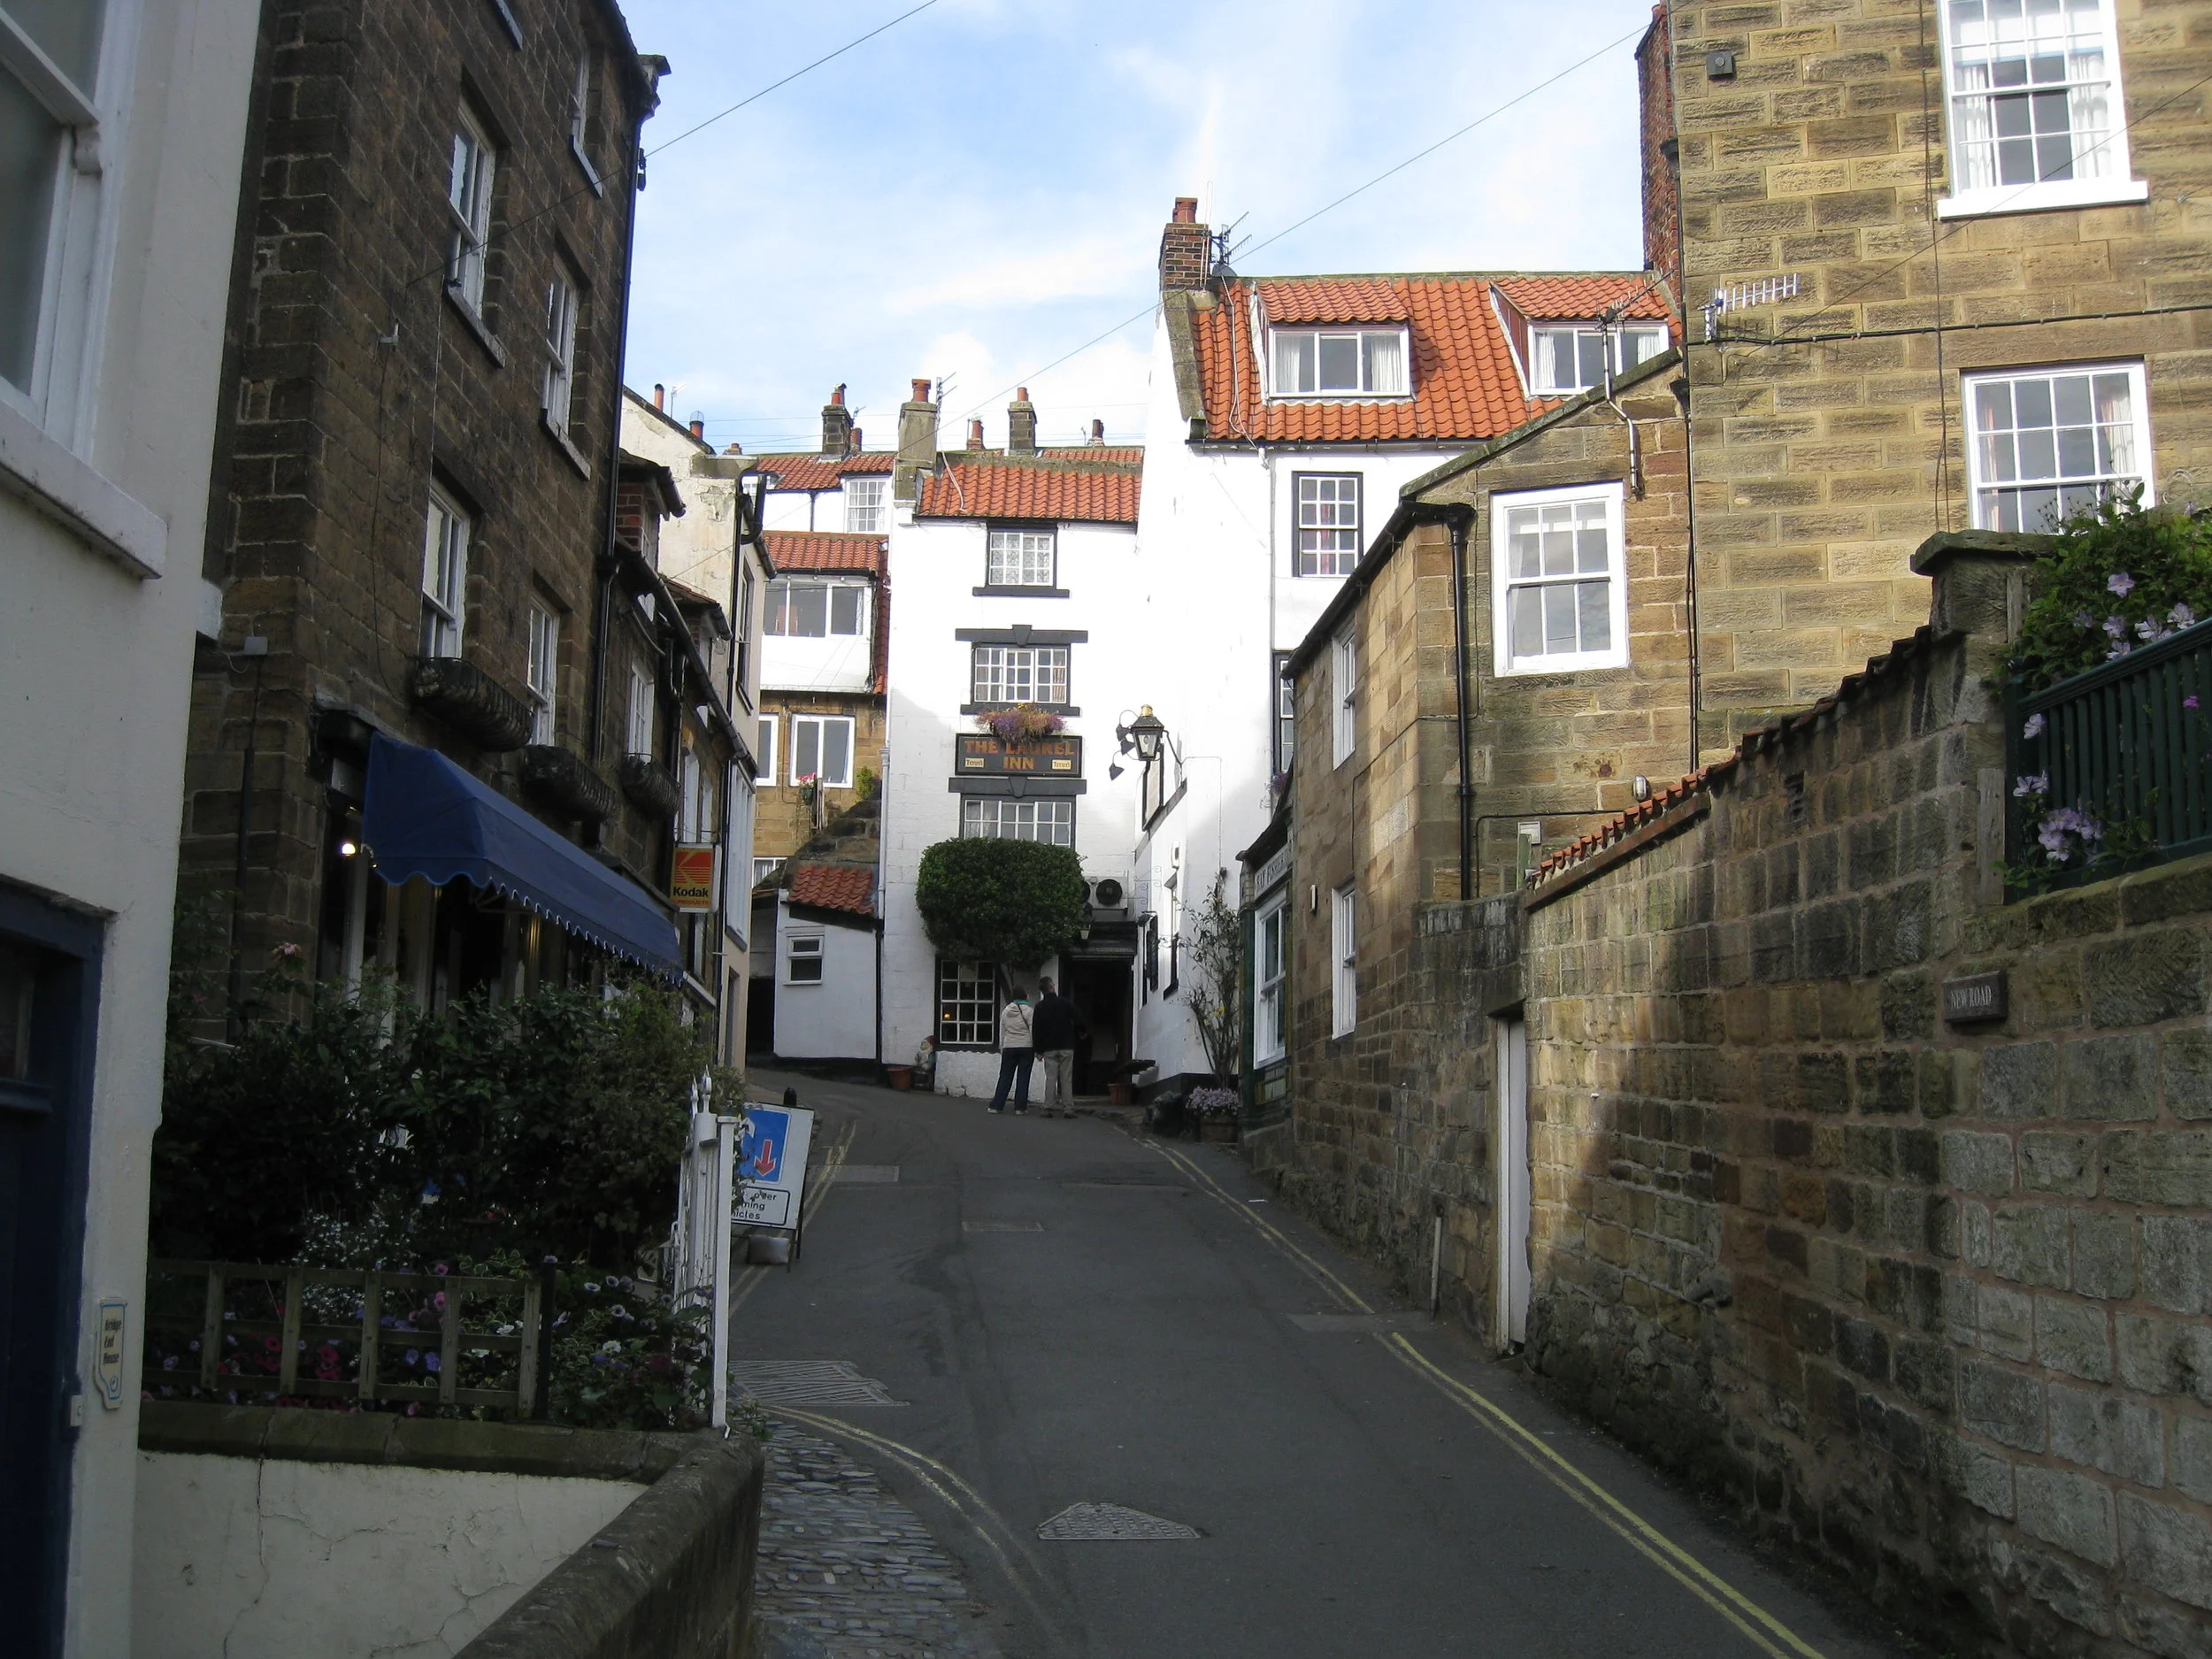
View fullsize
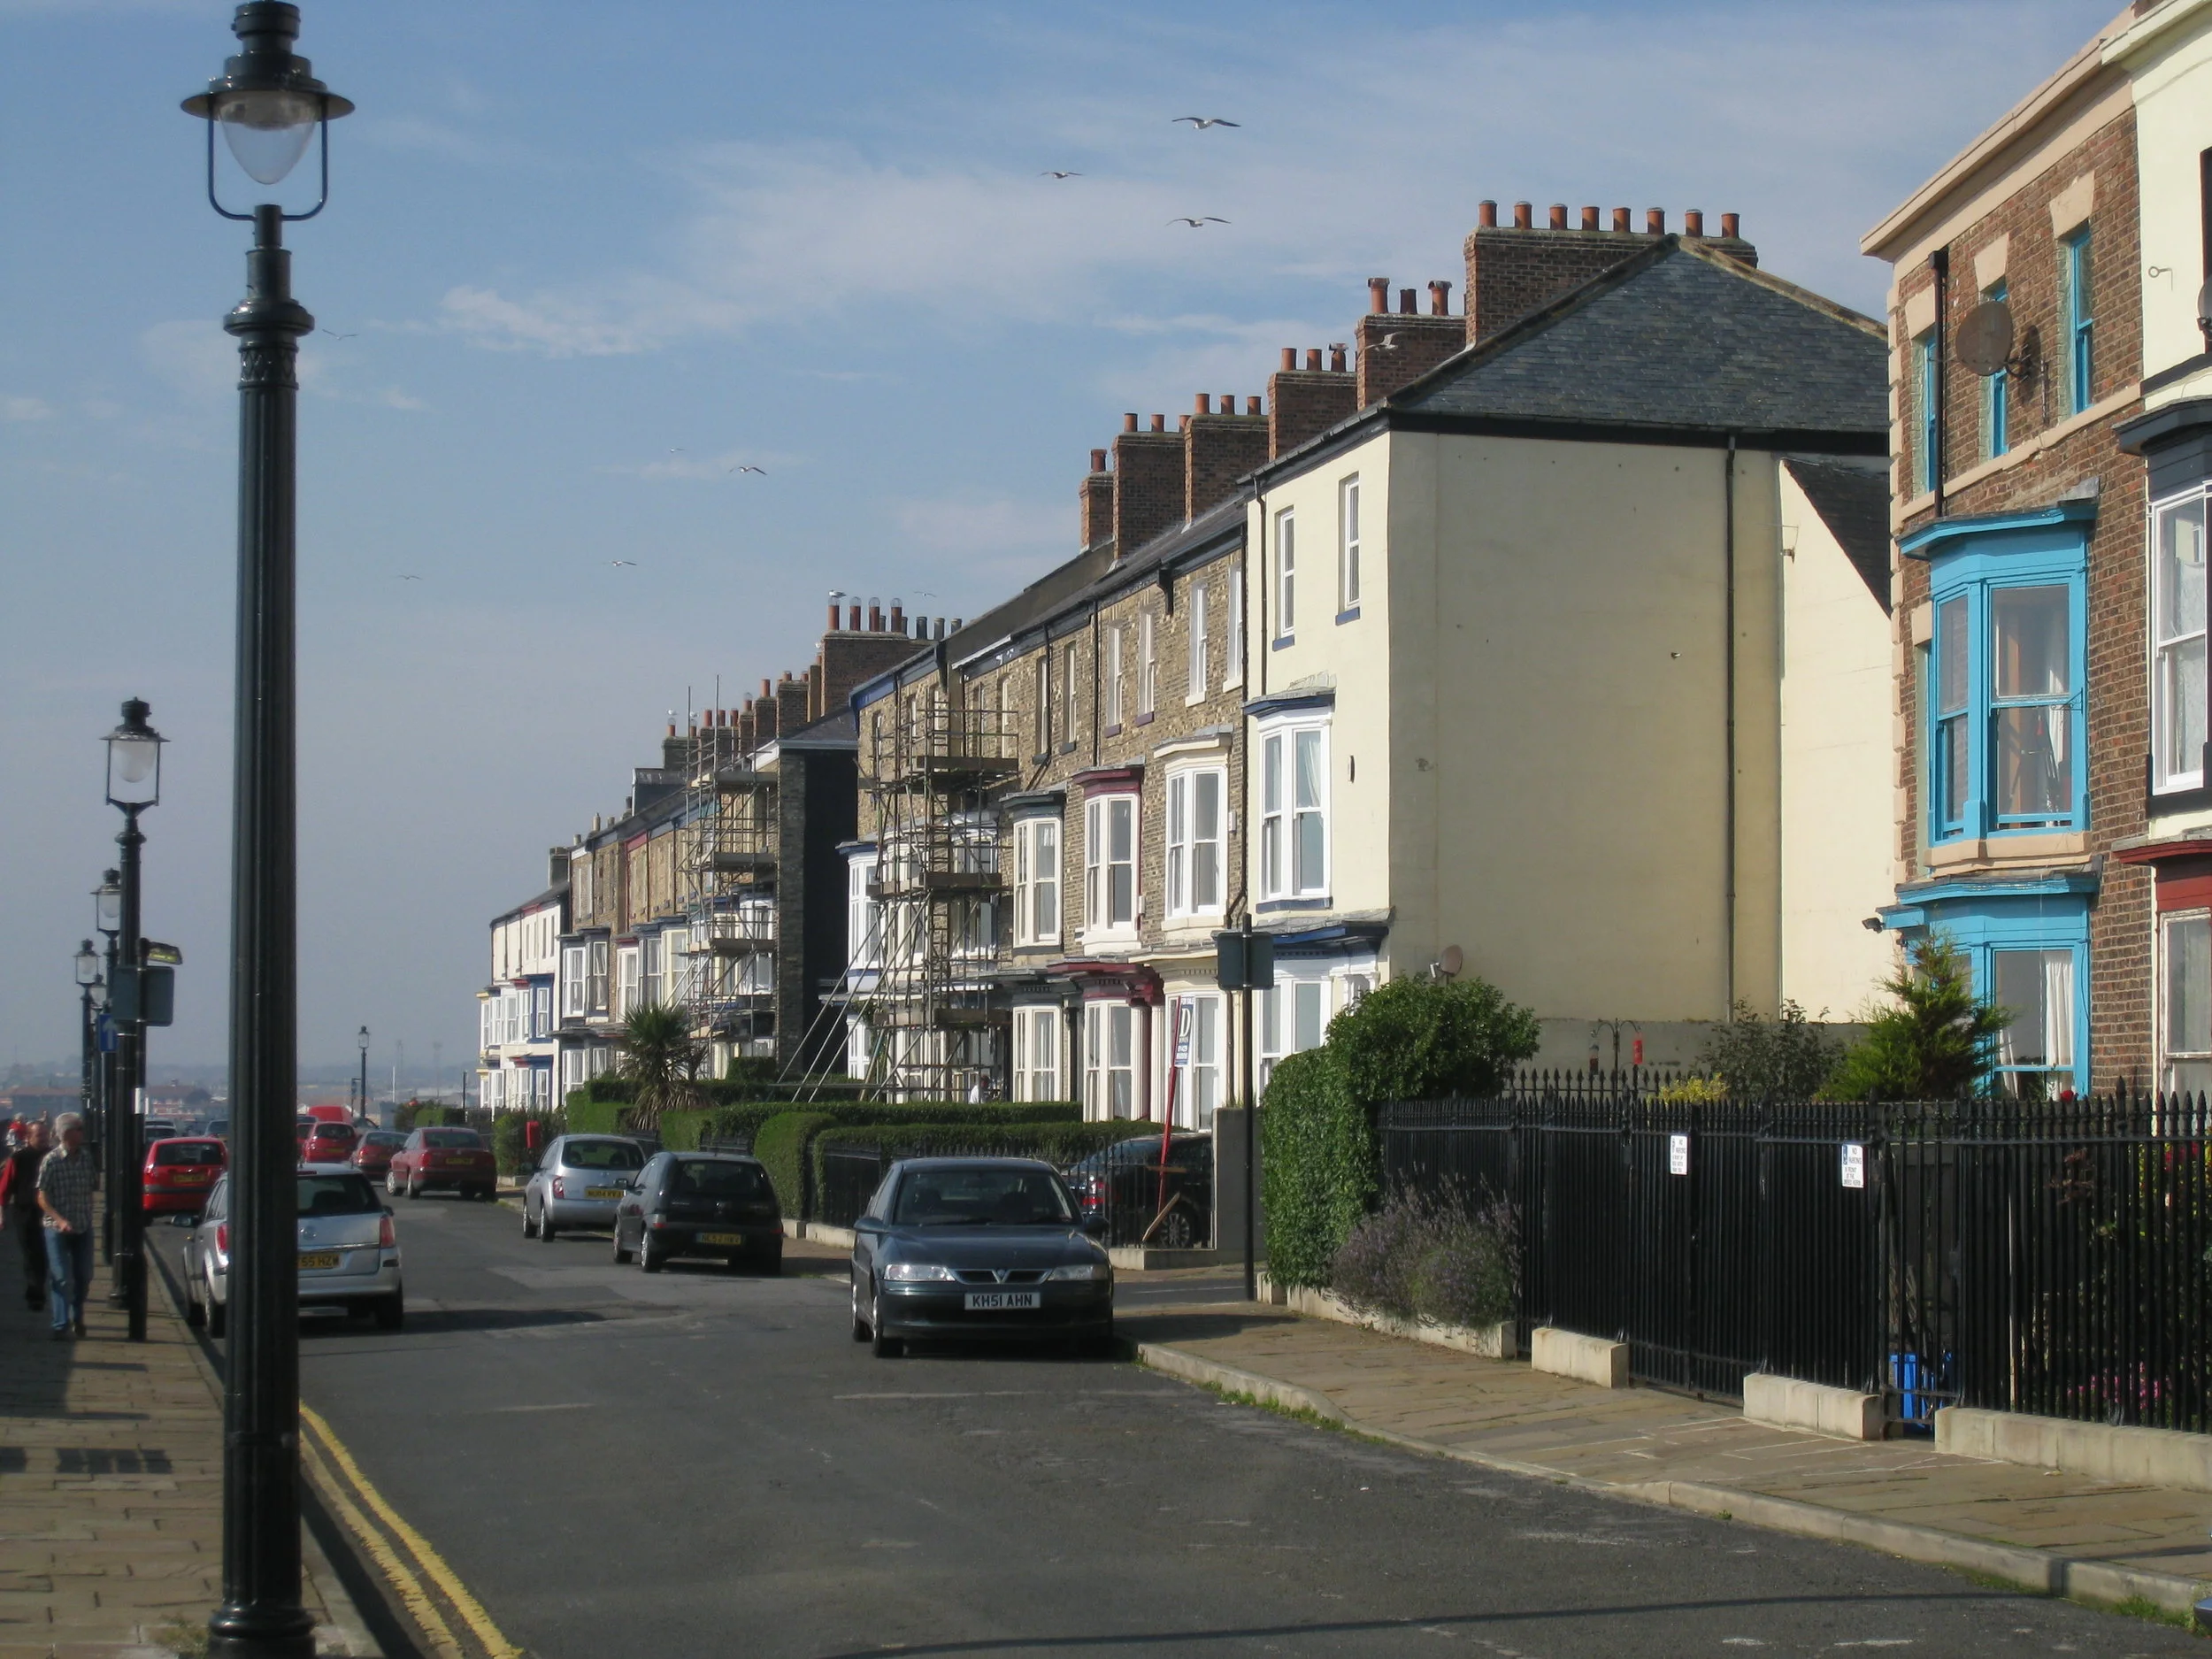
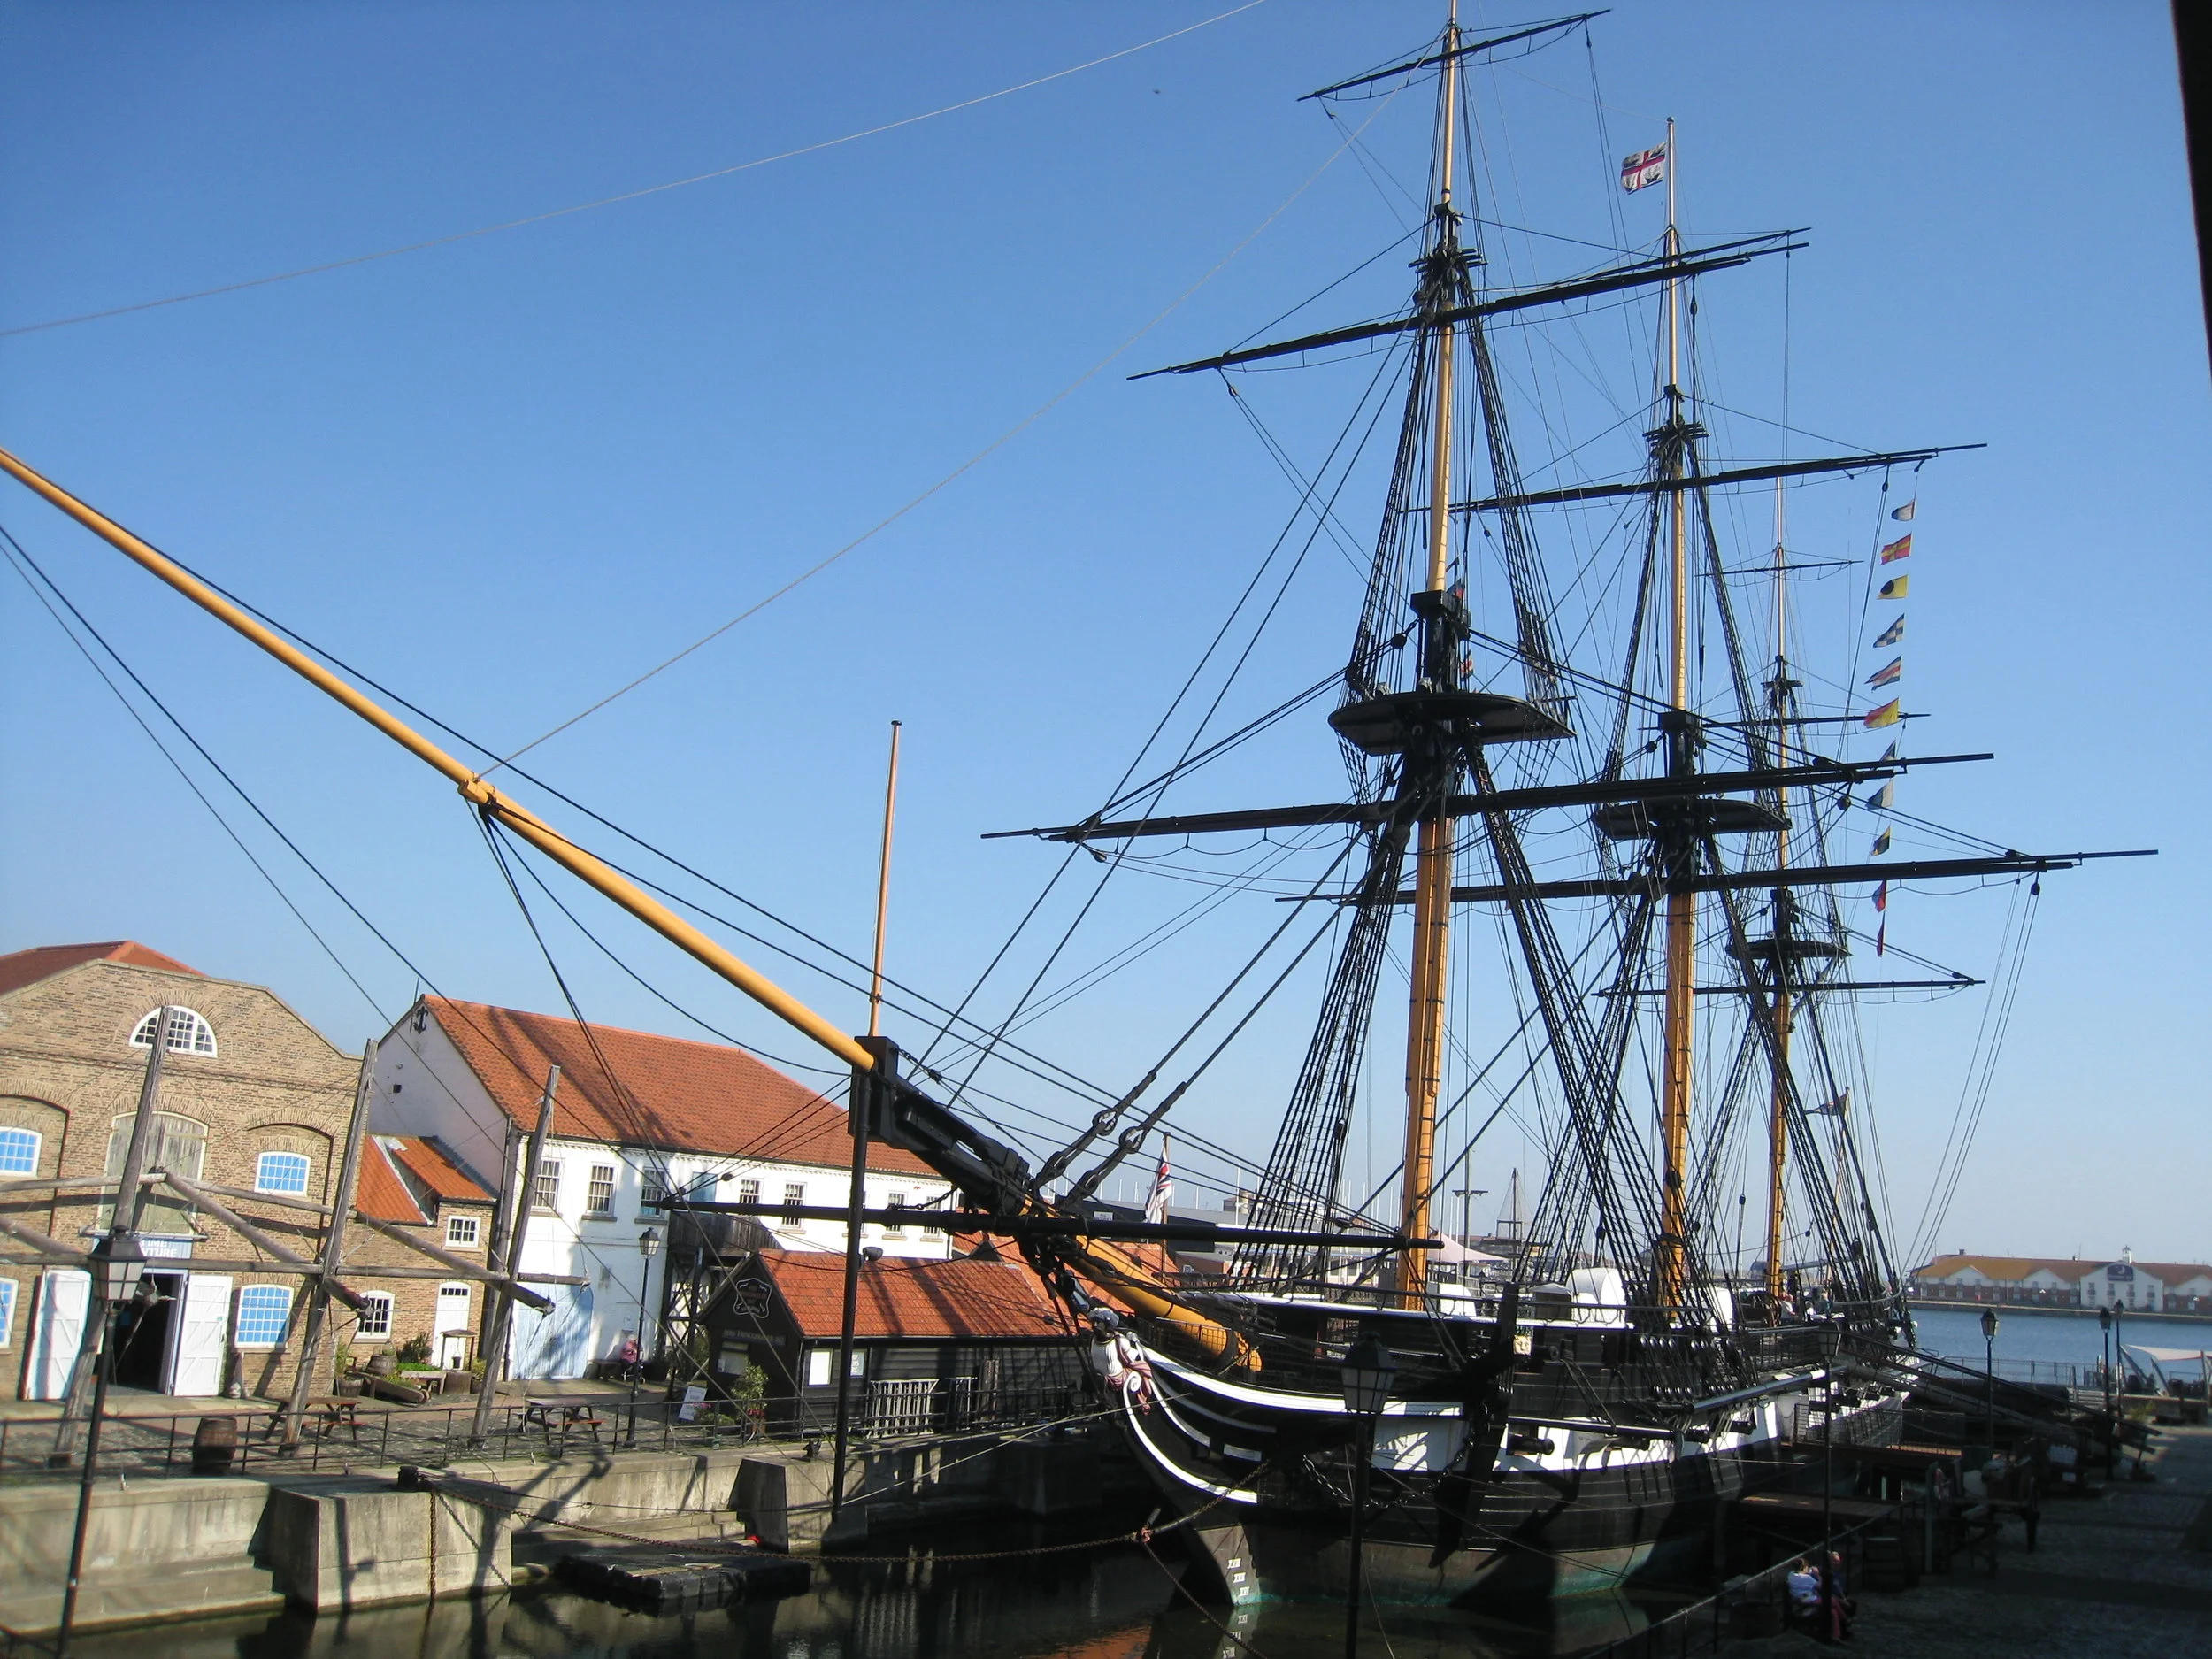
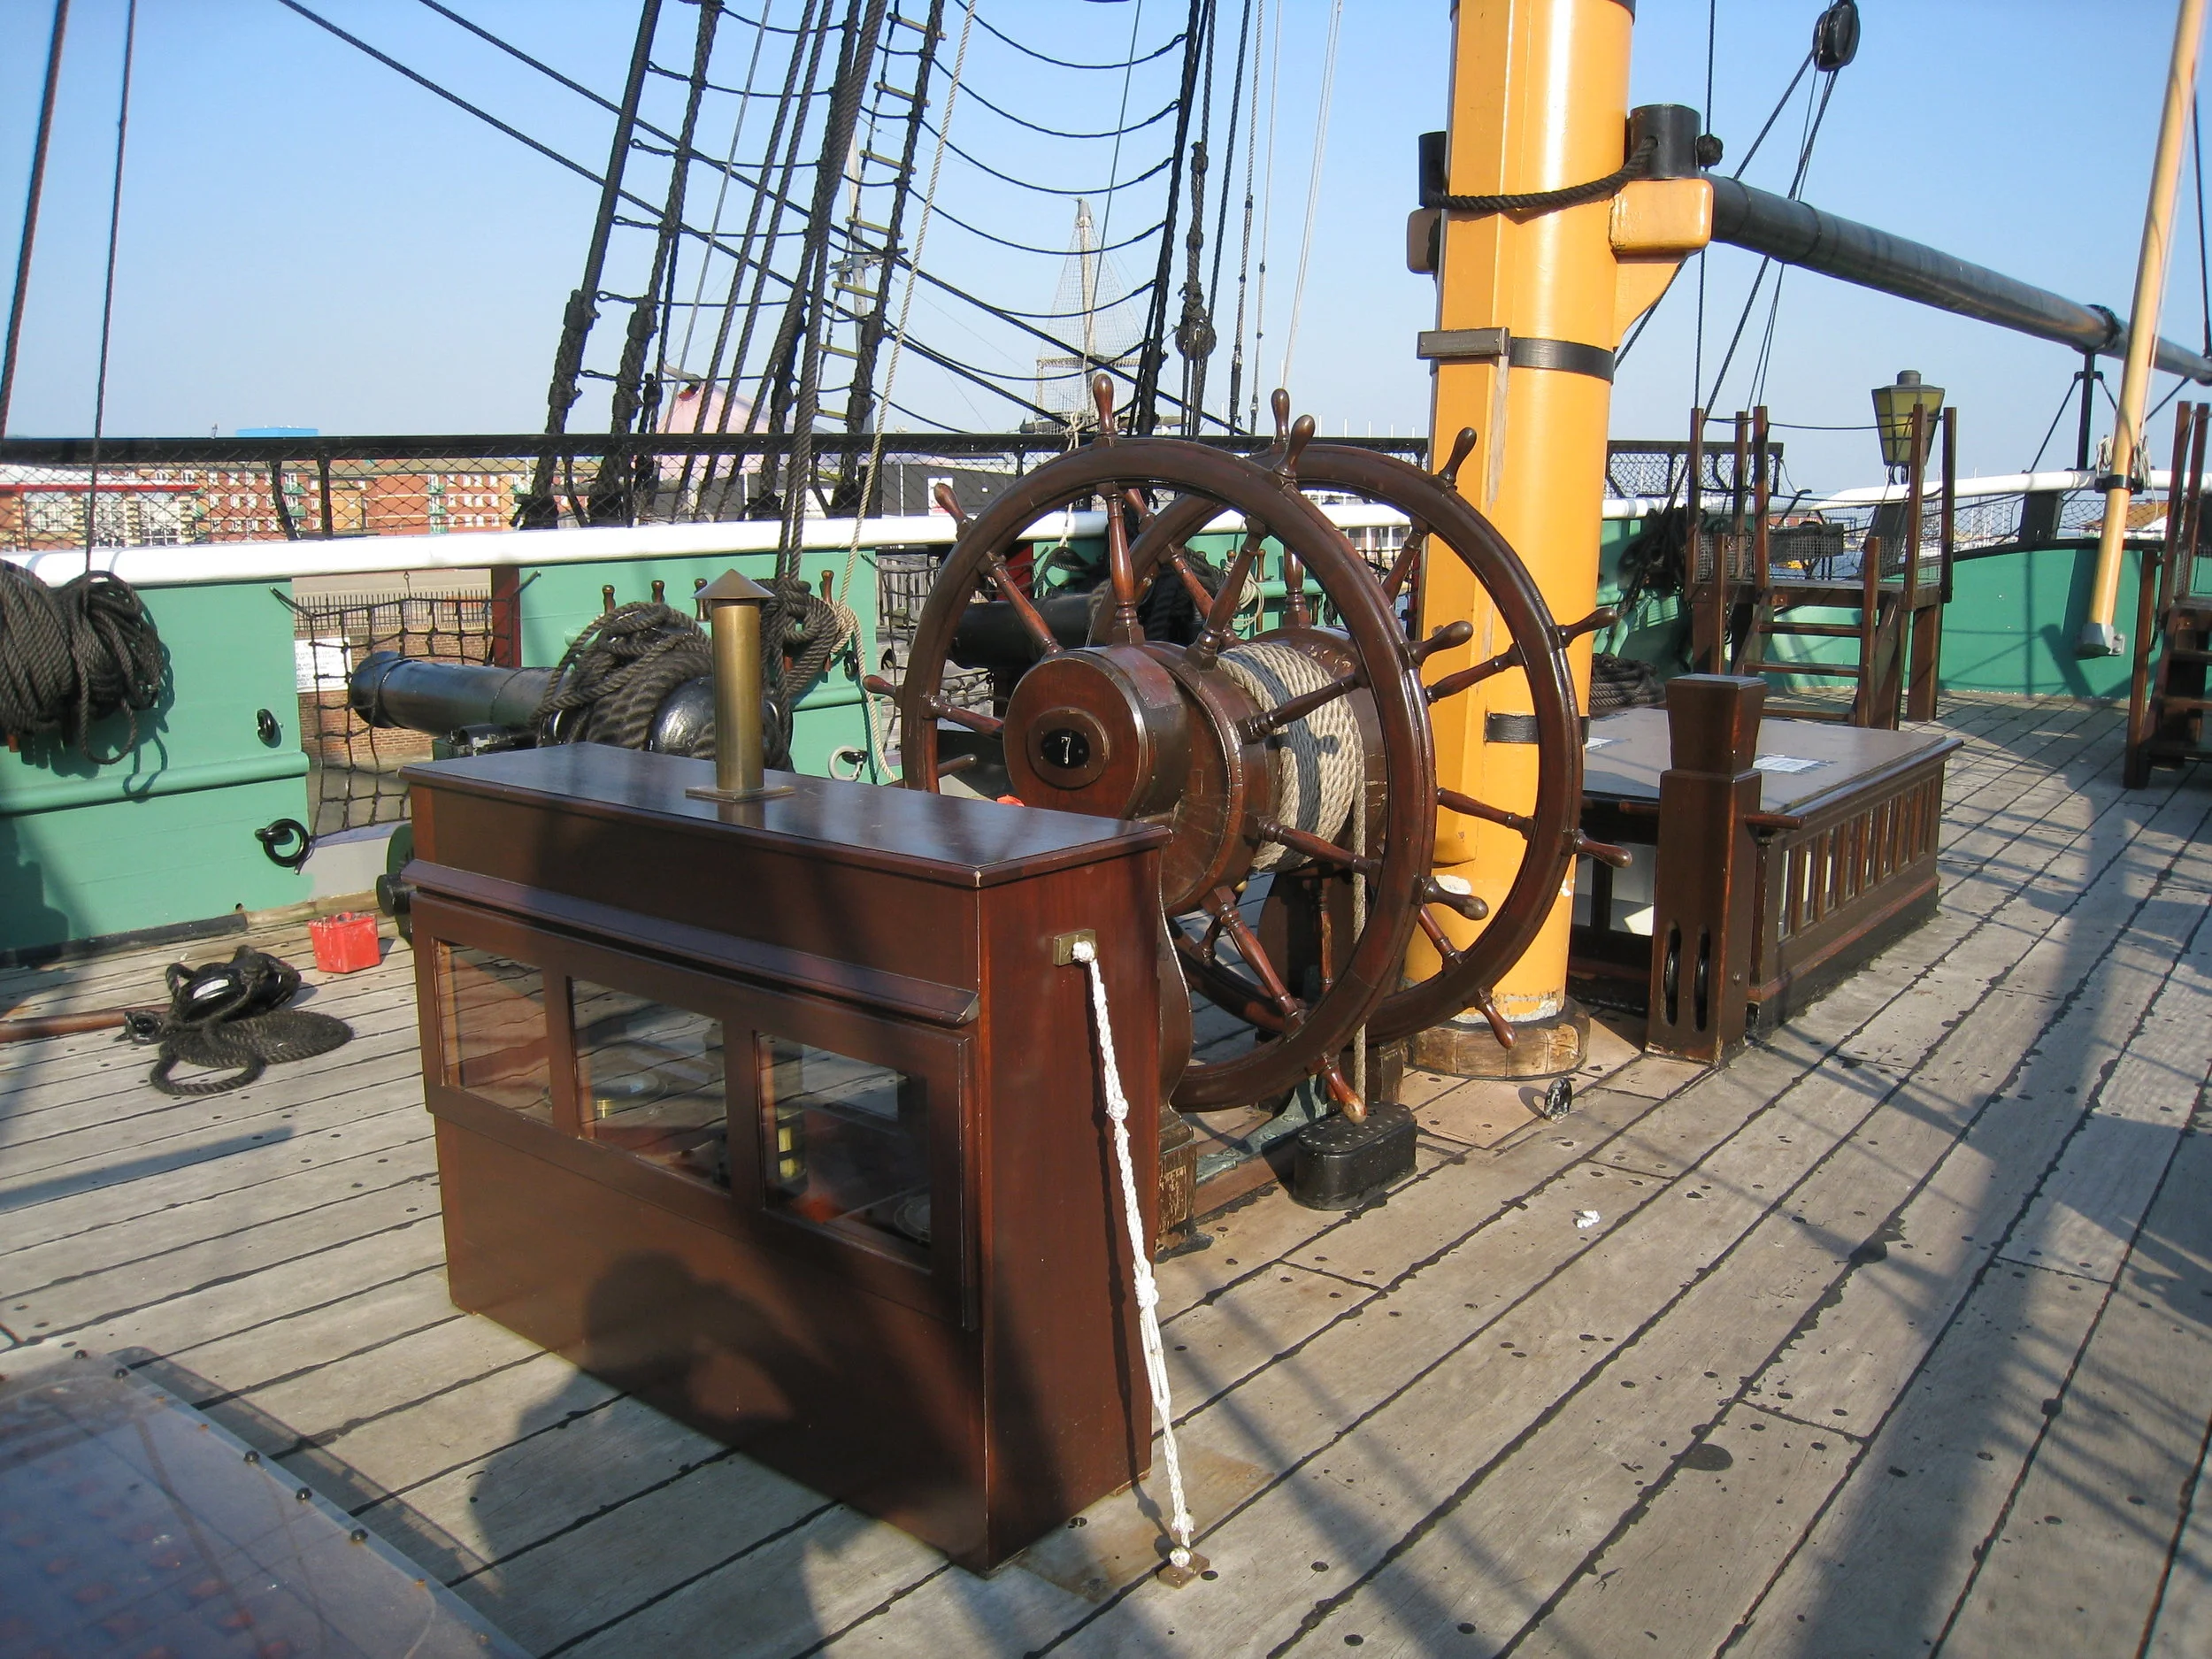
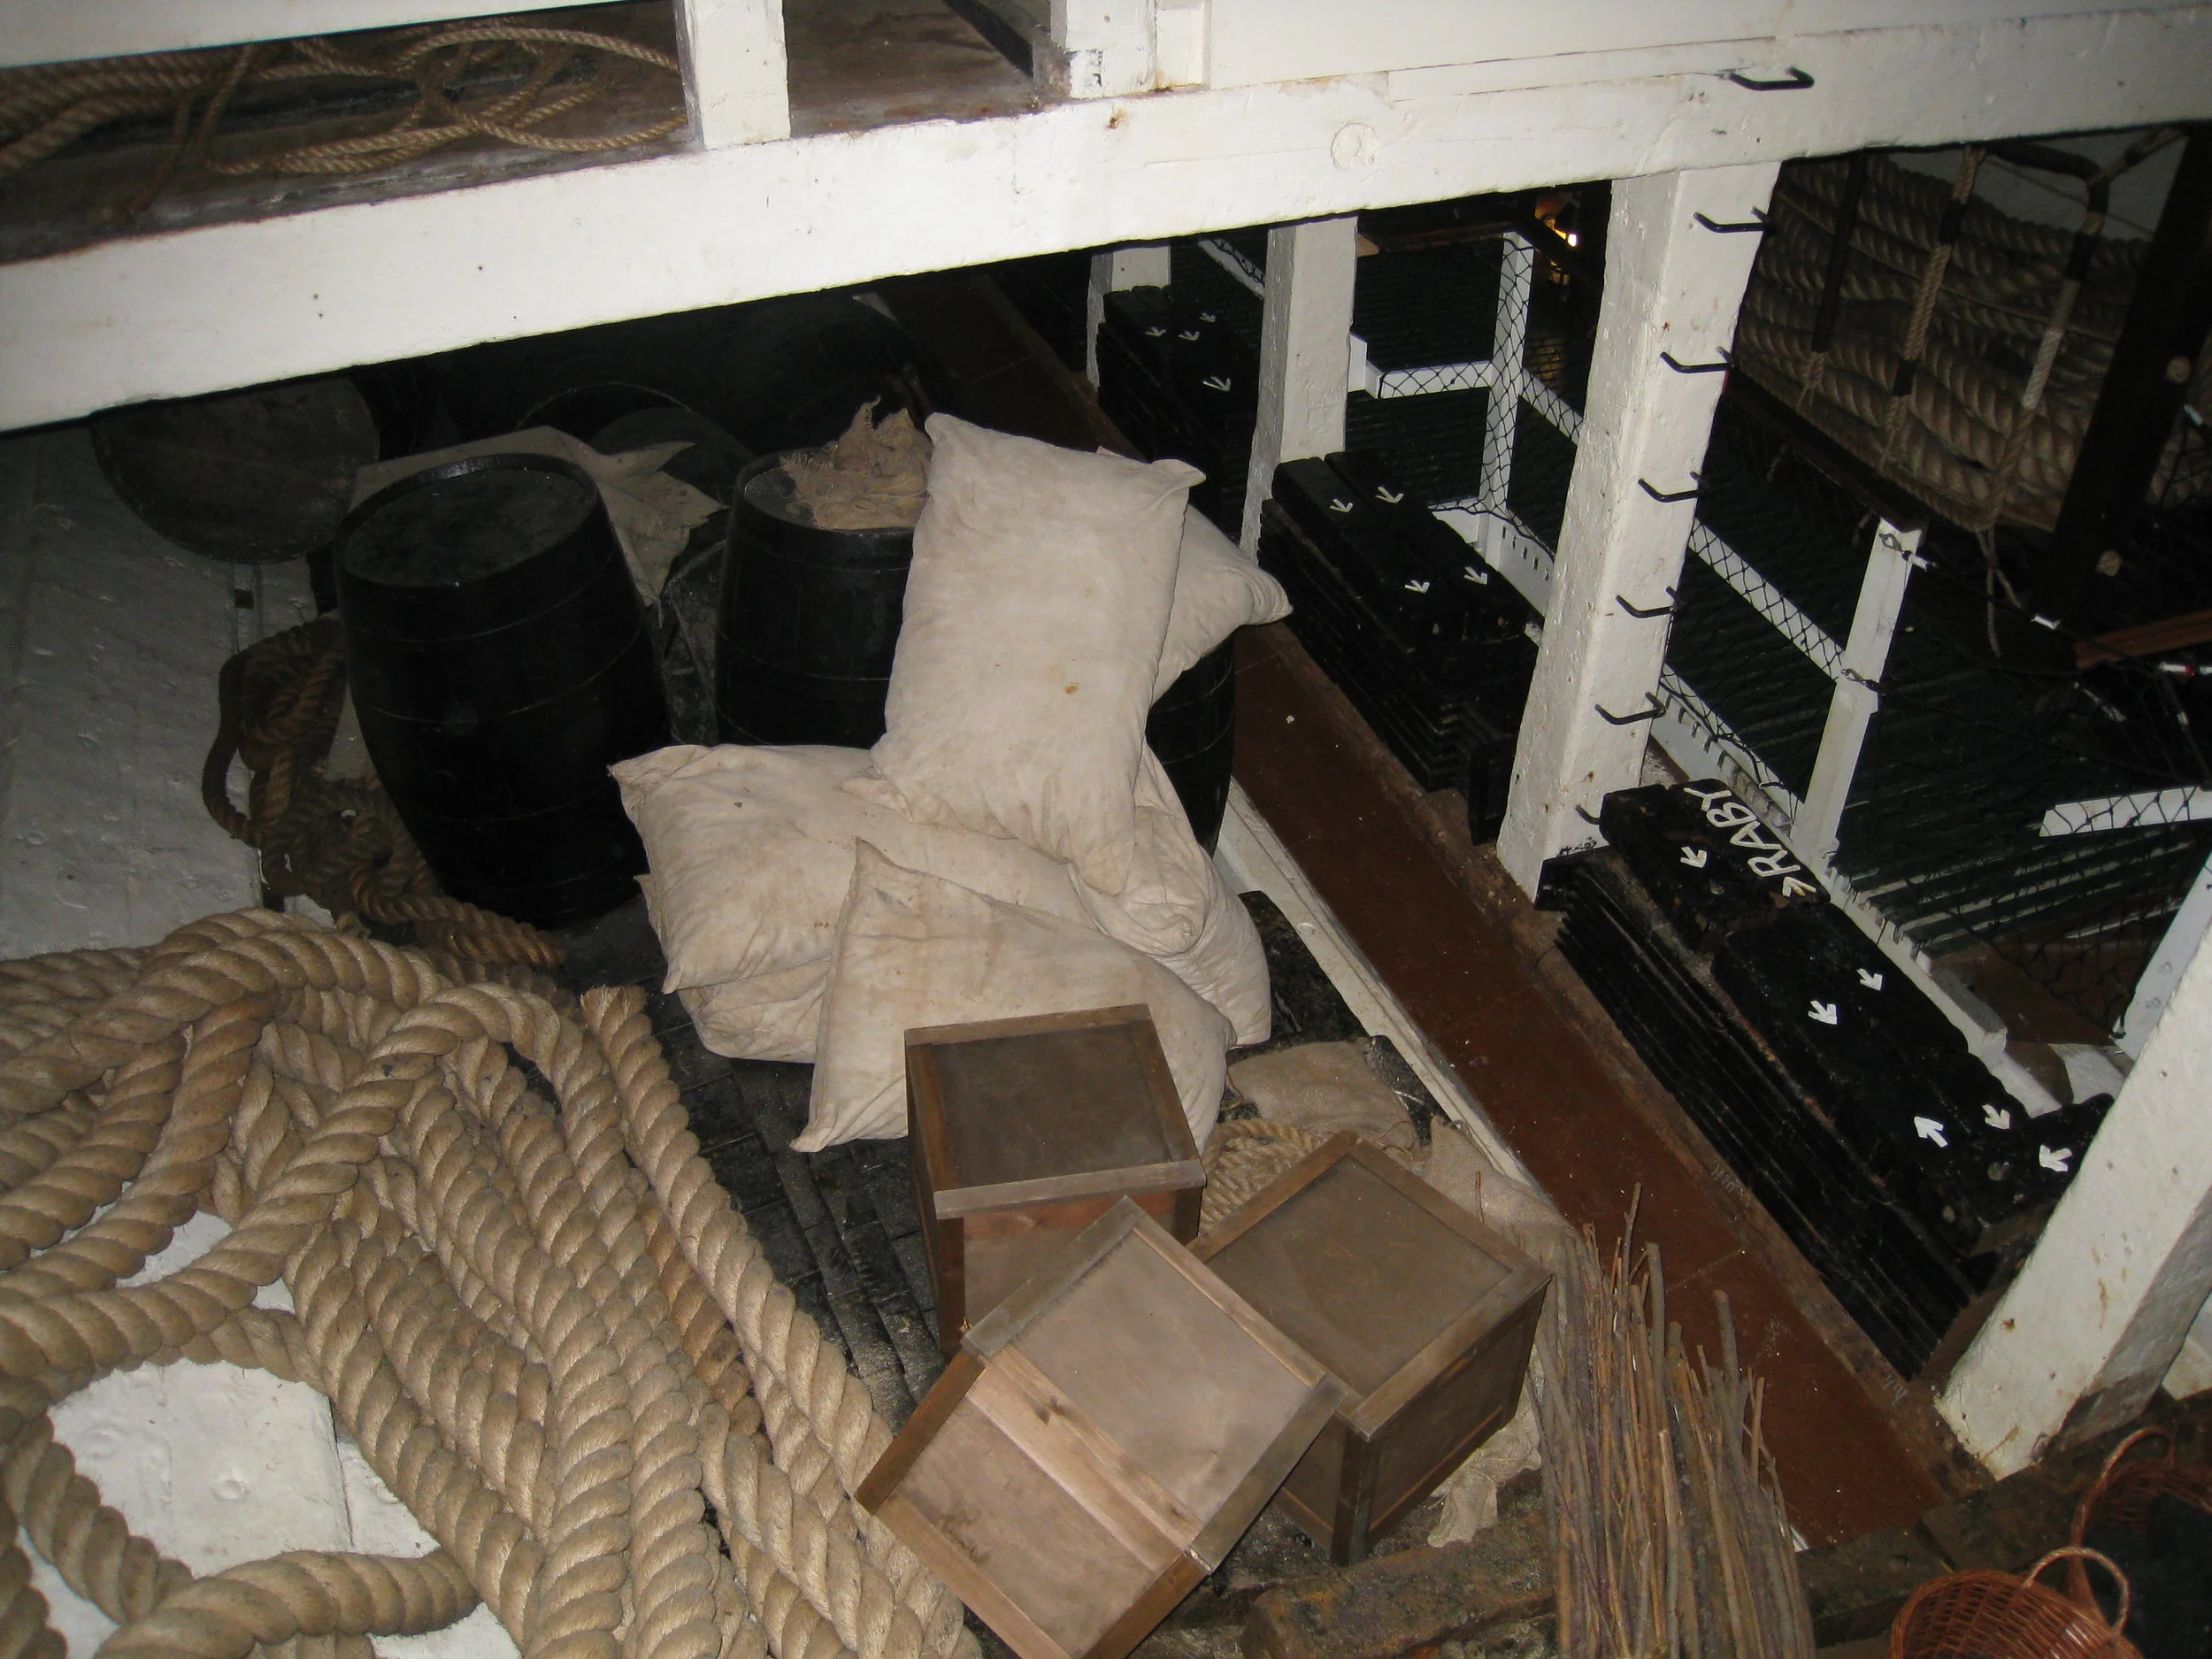
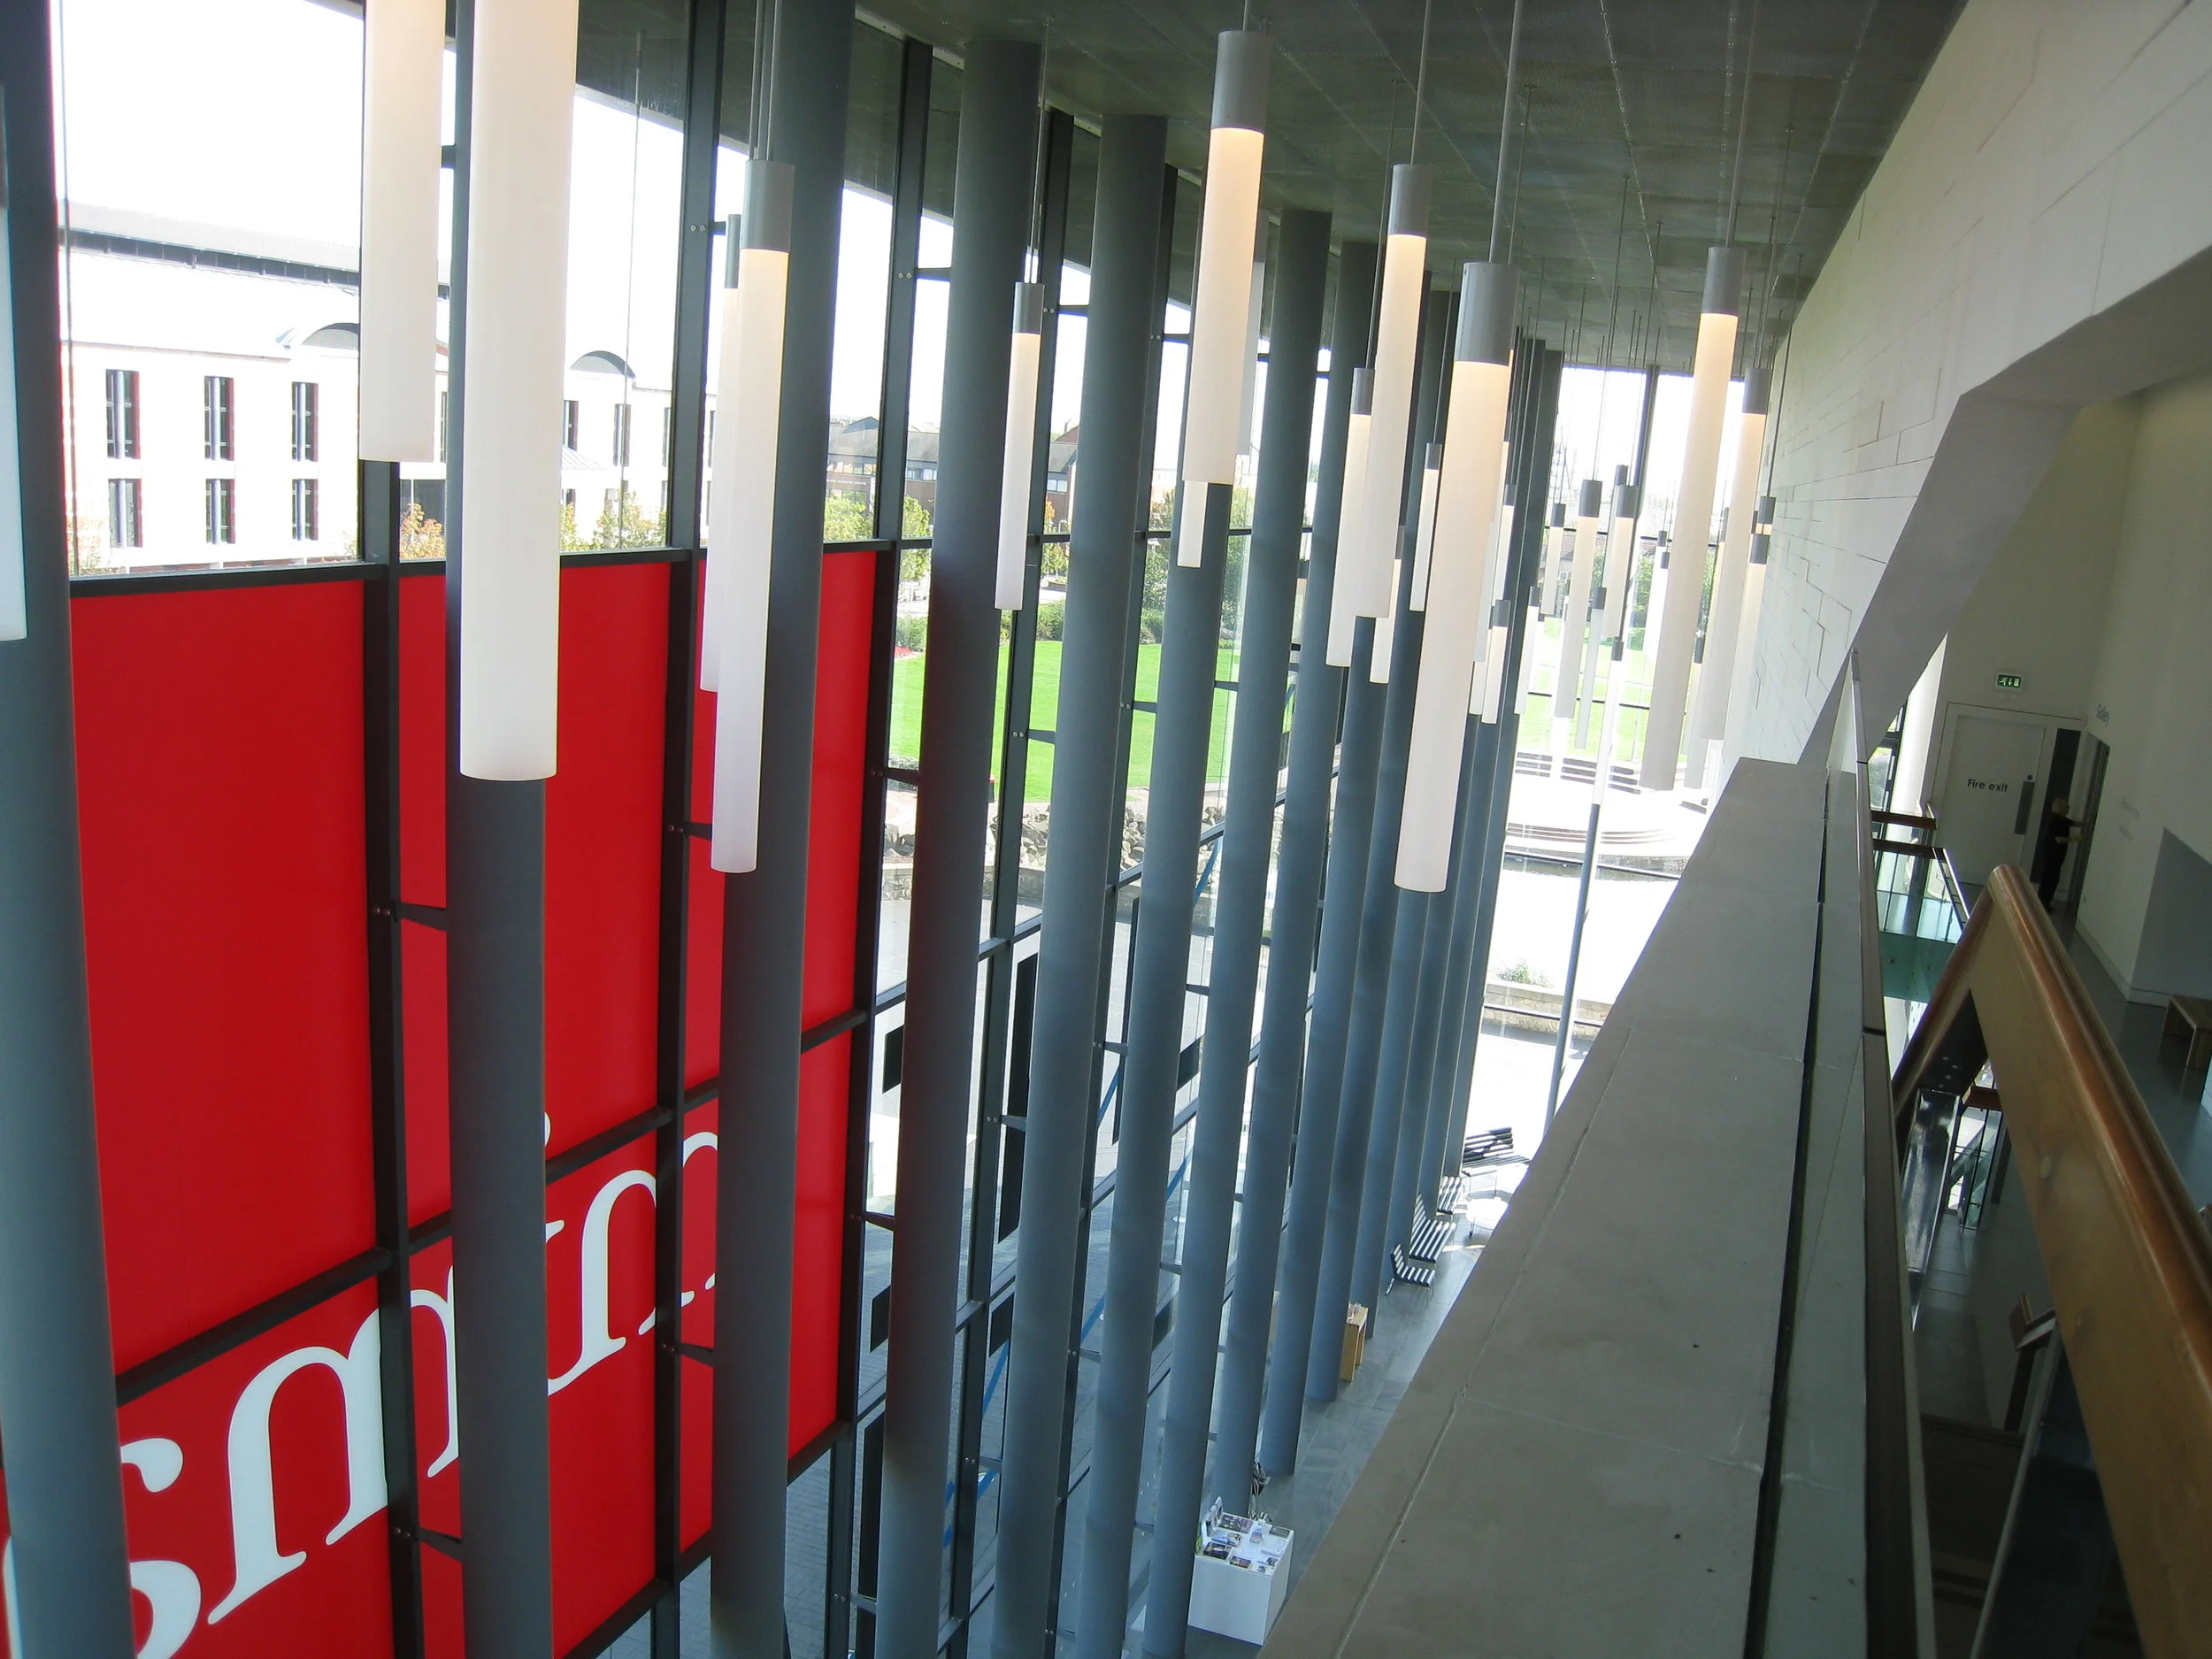
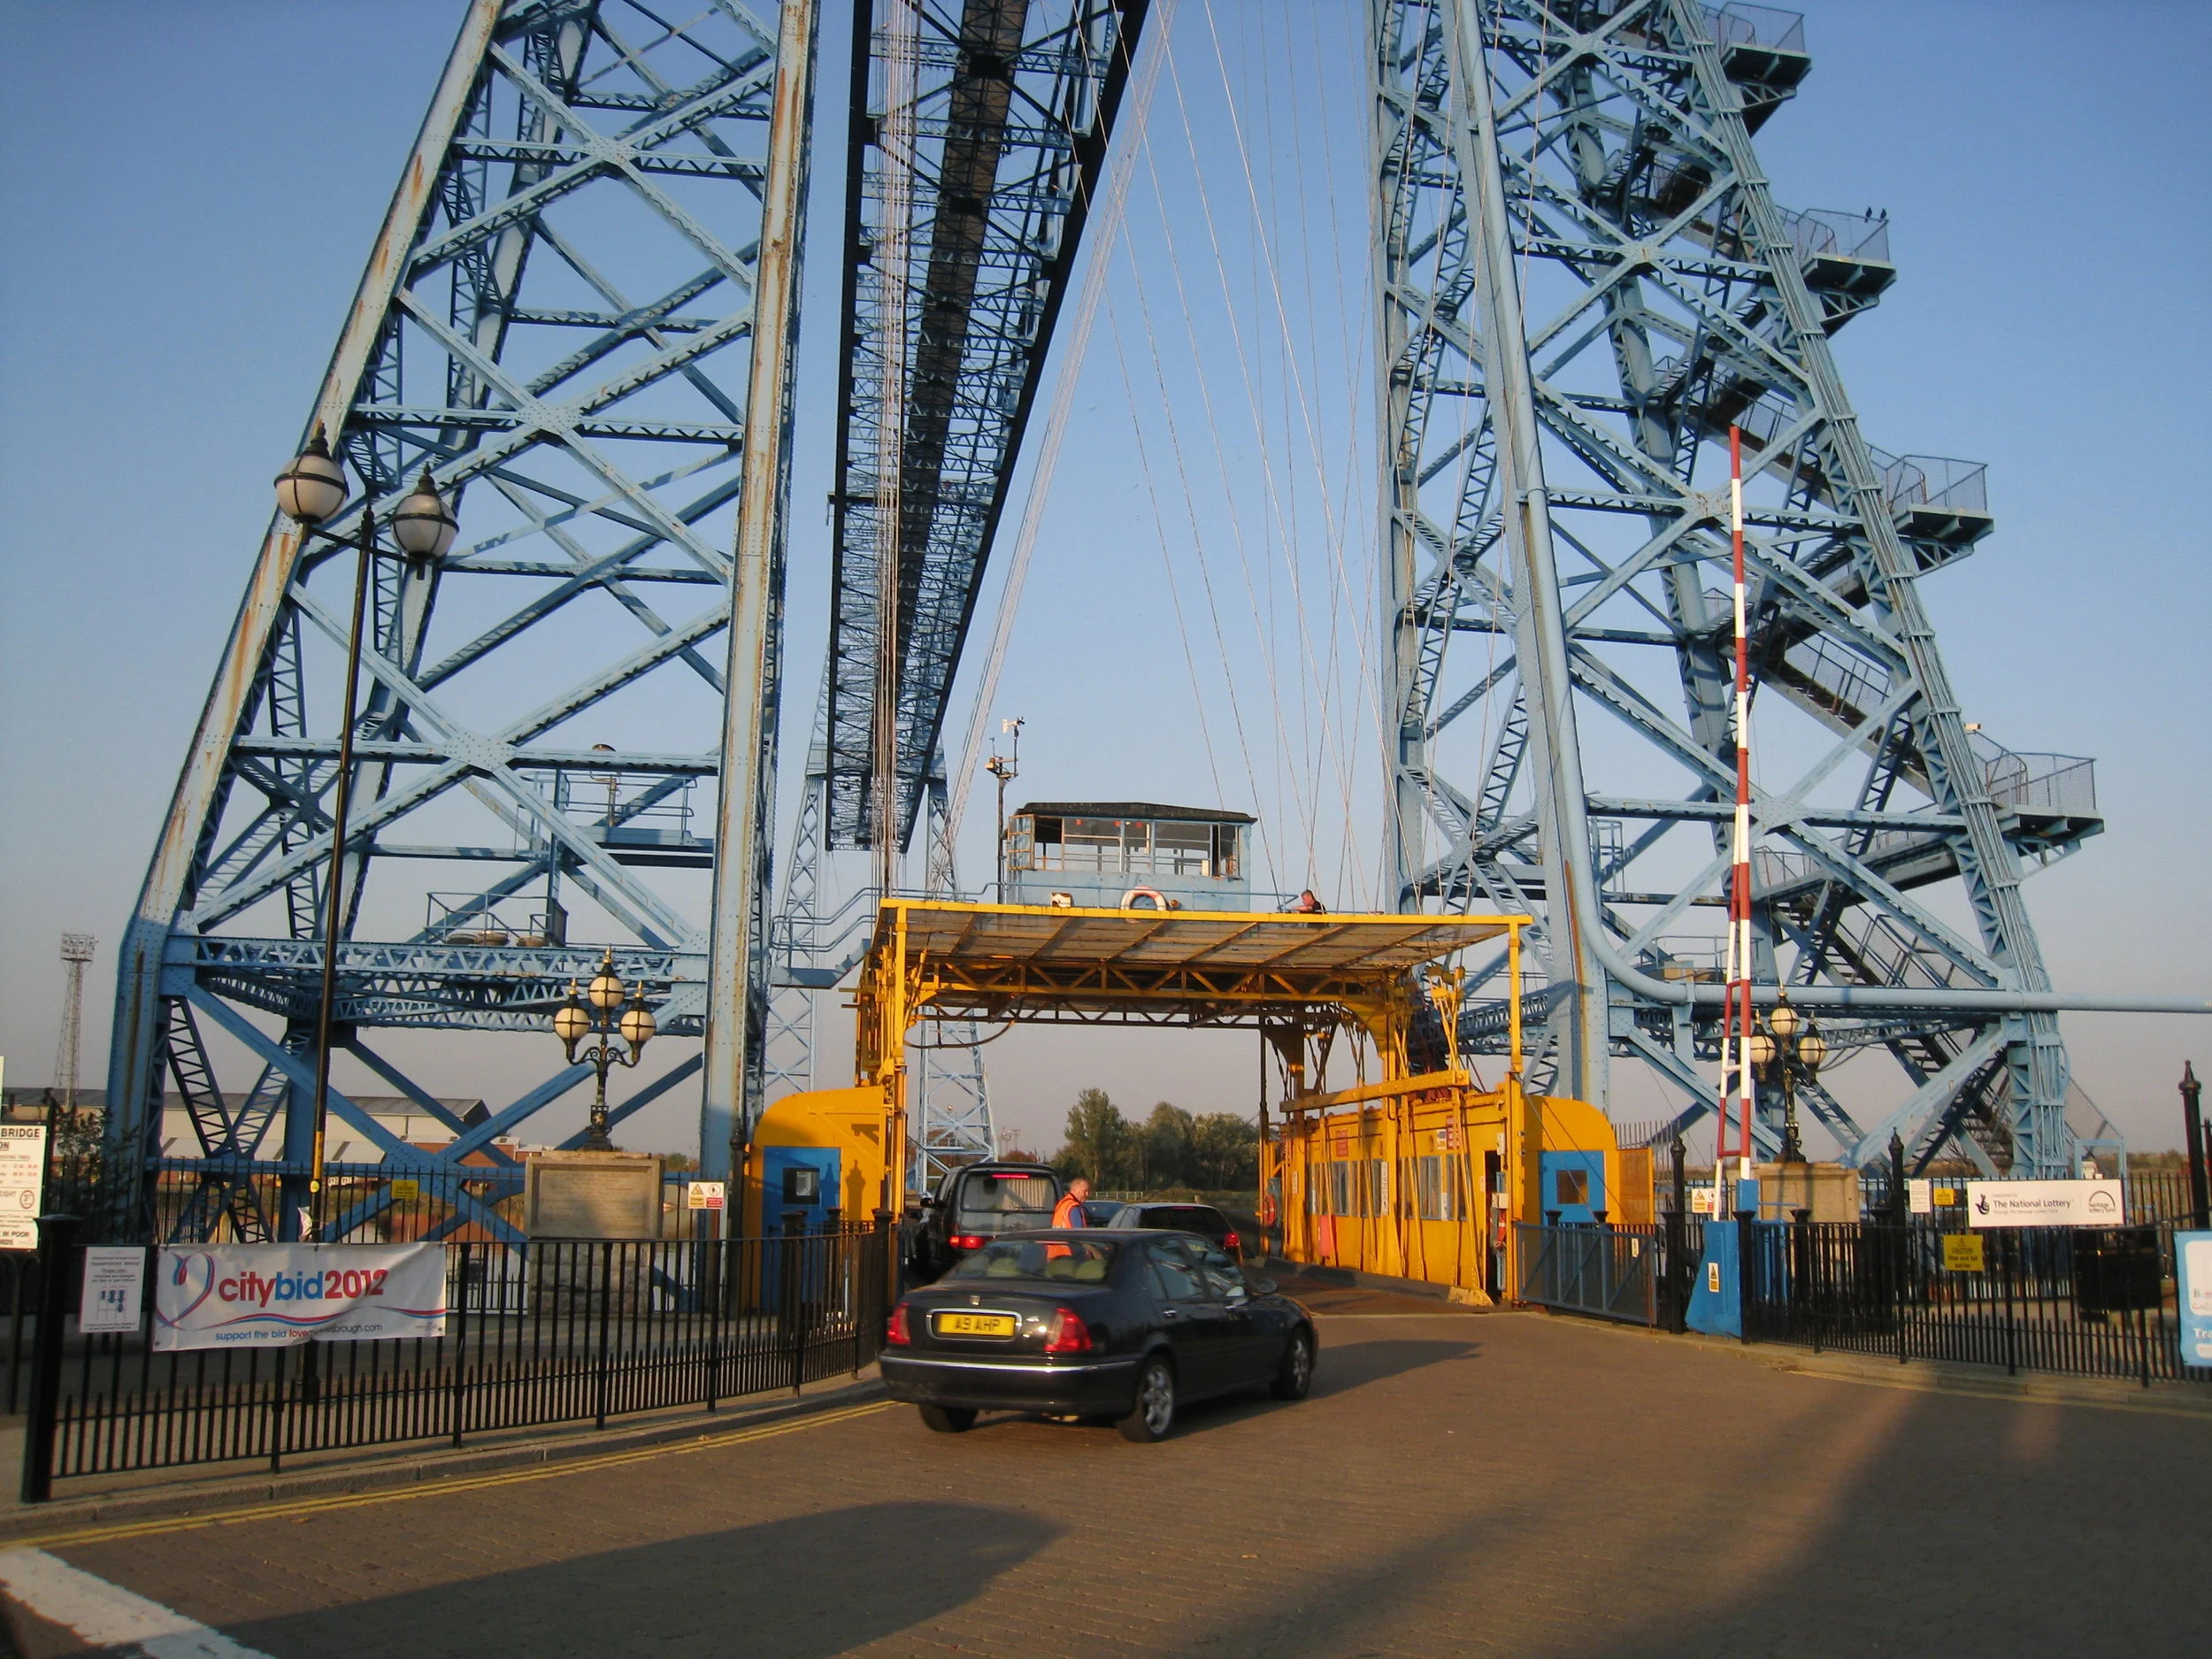
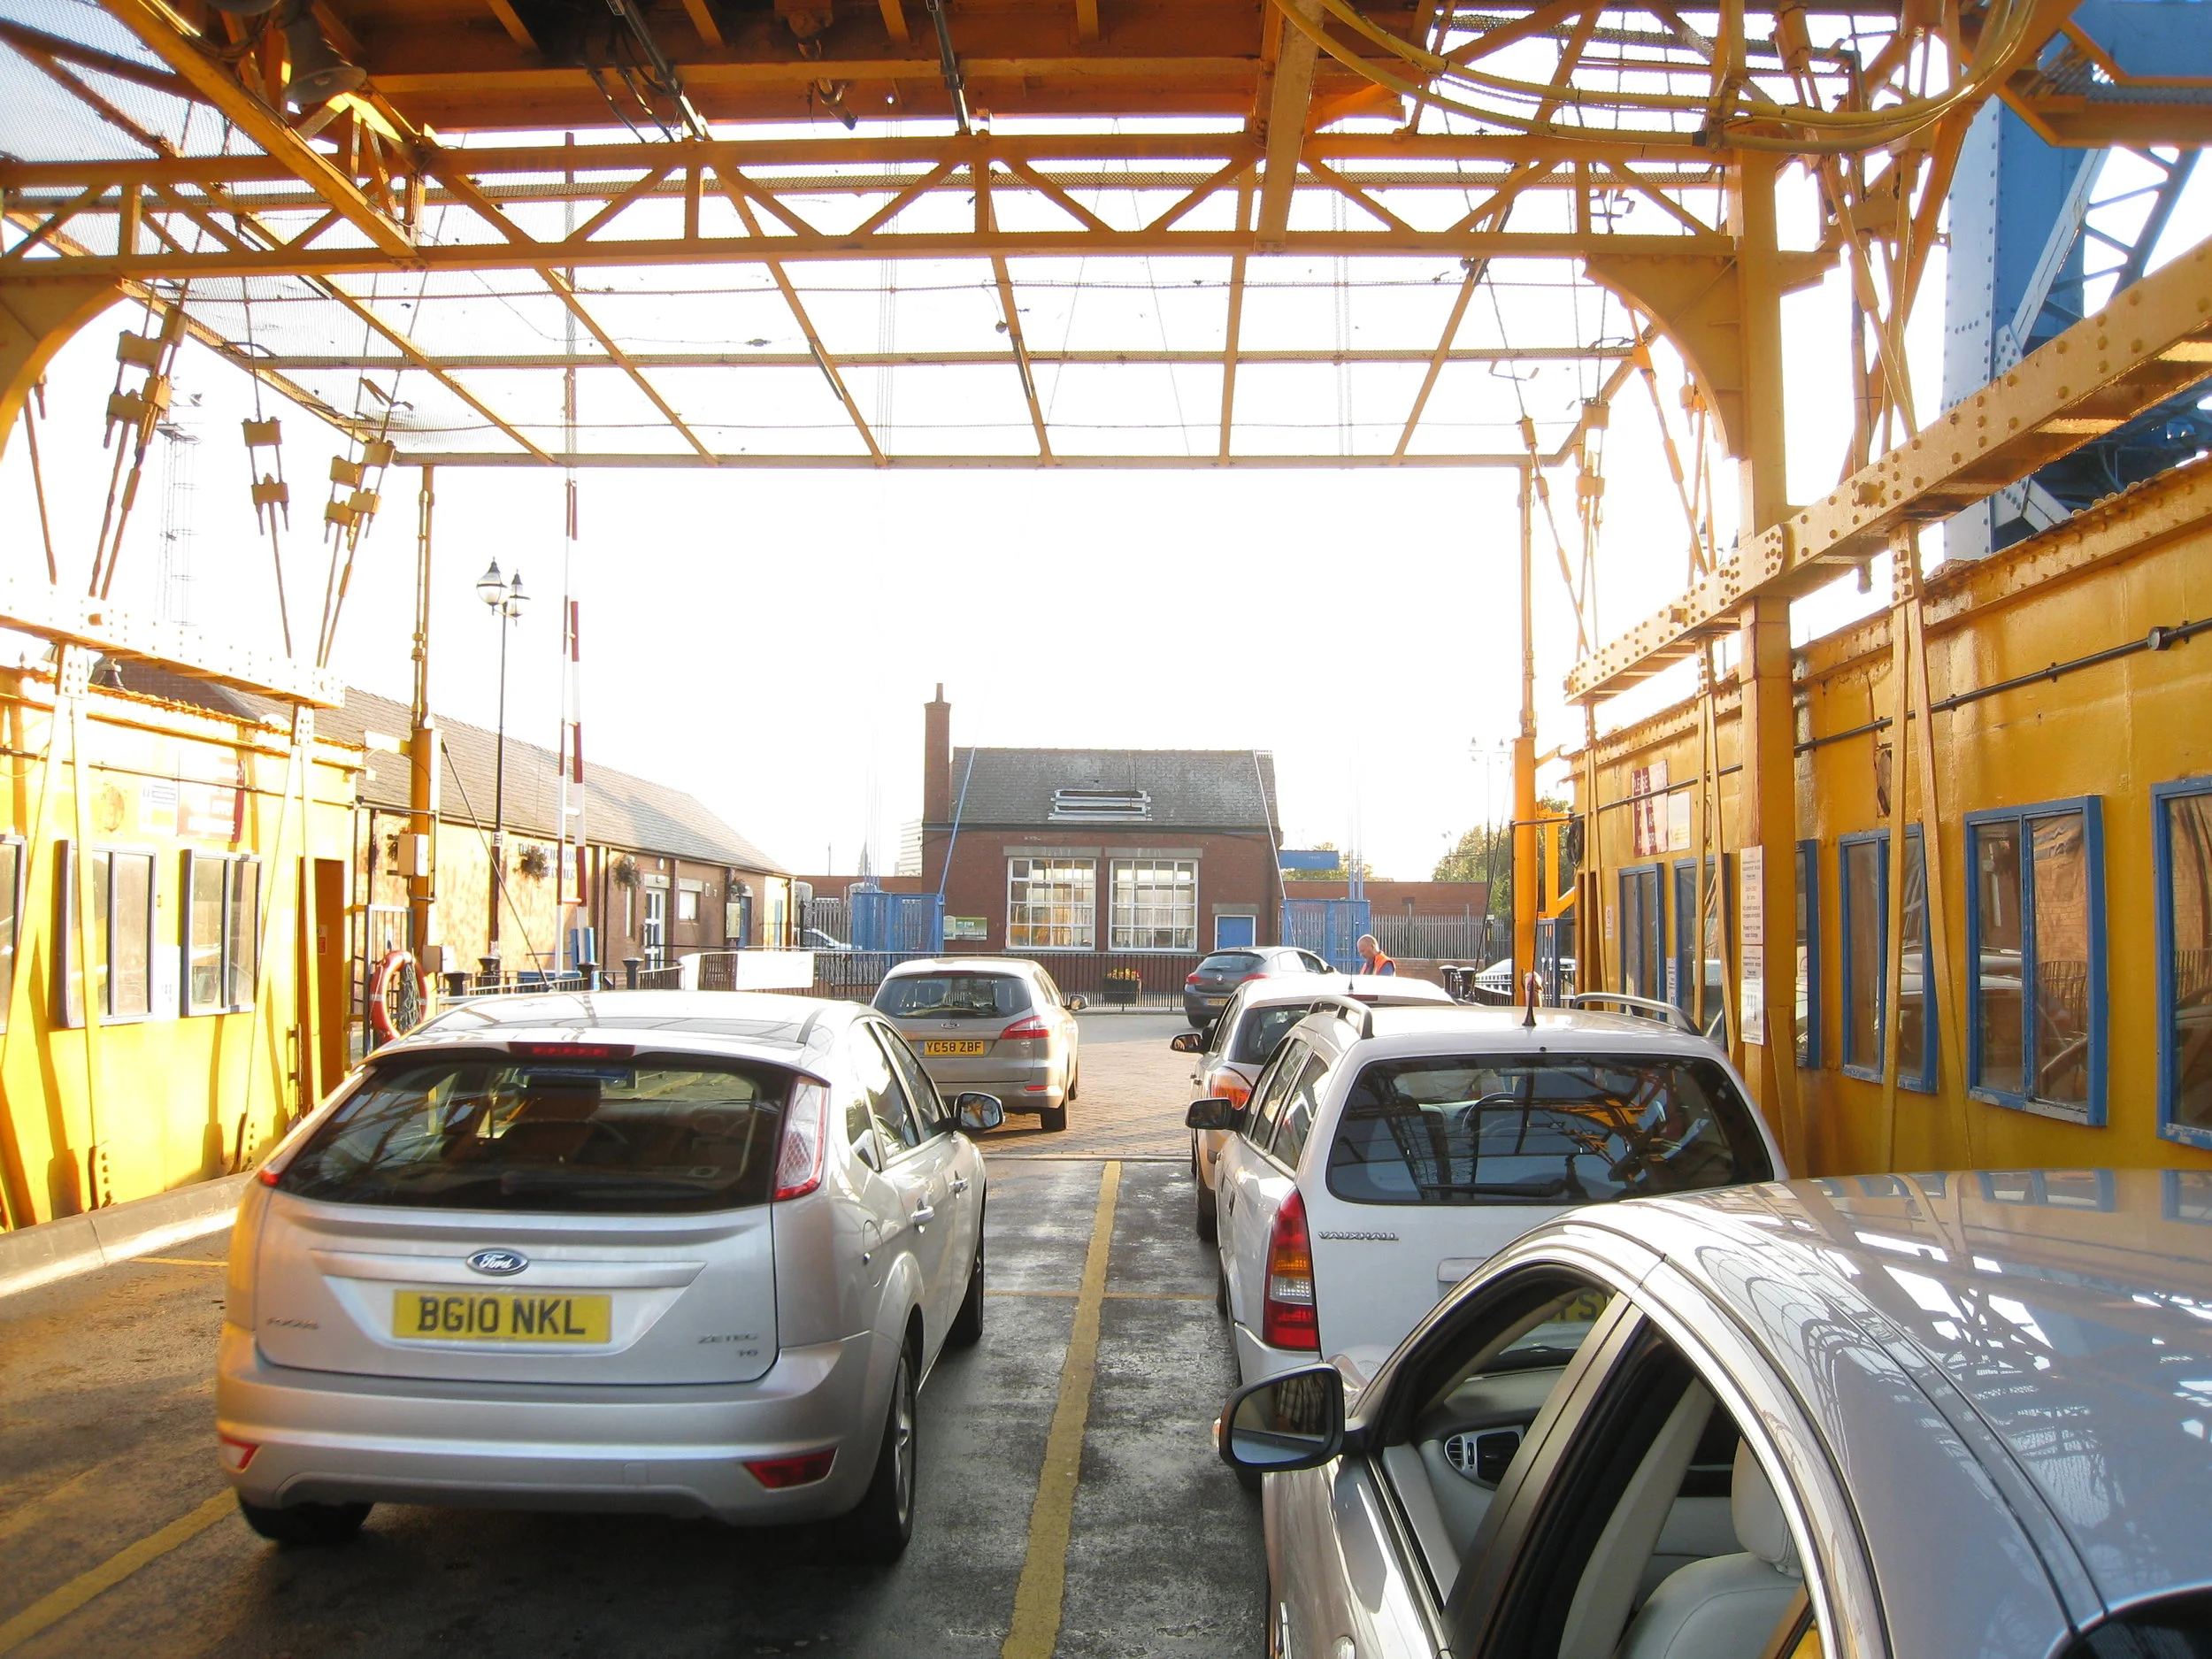
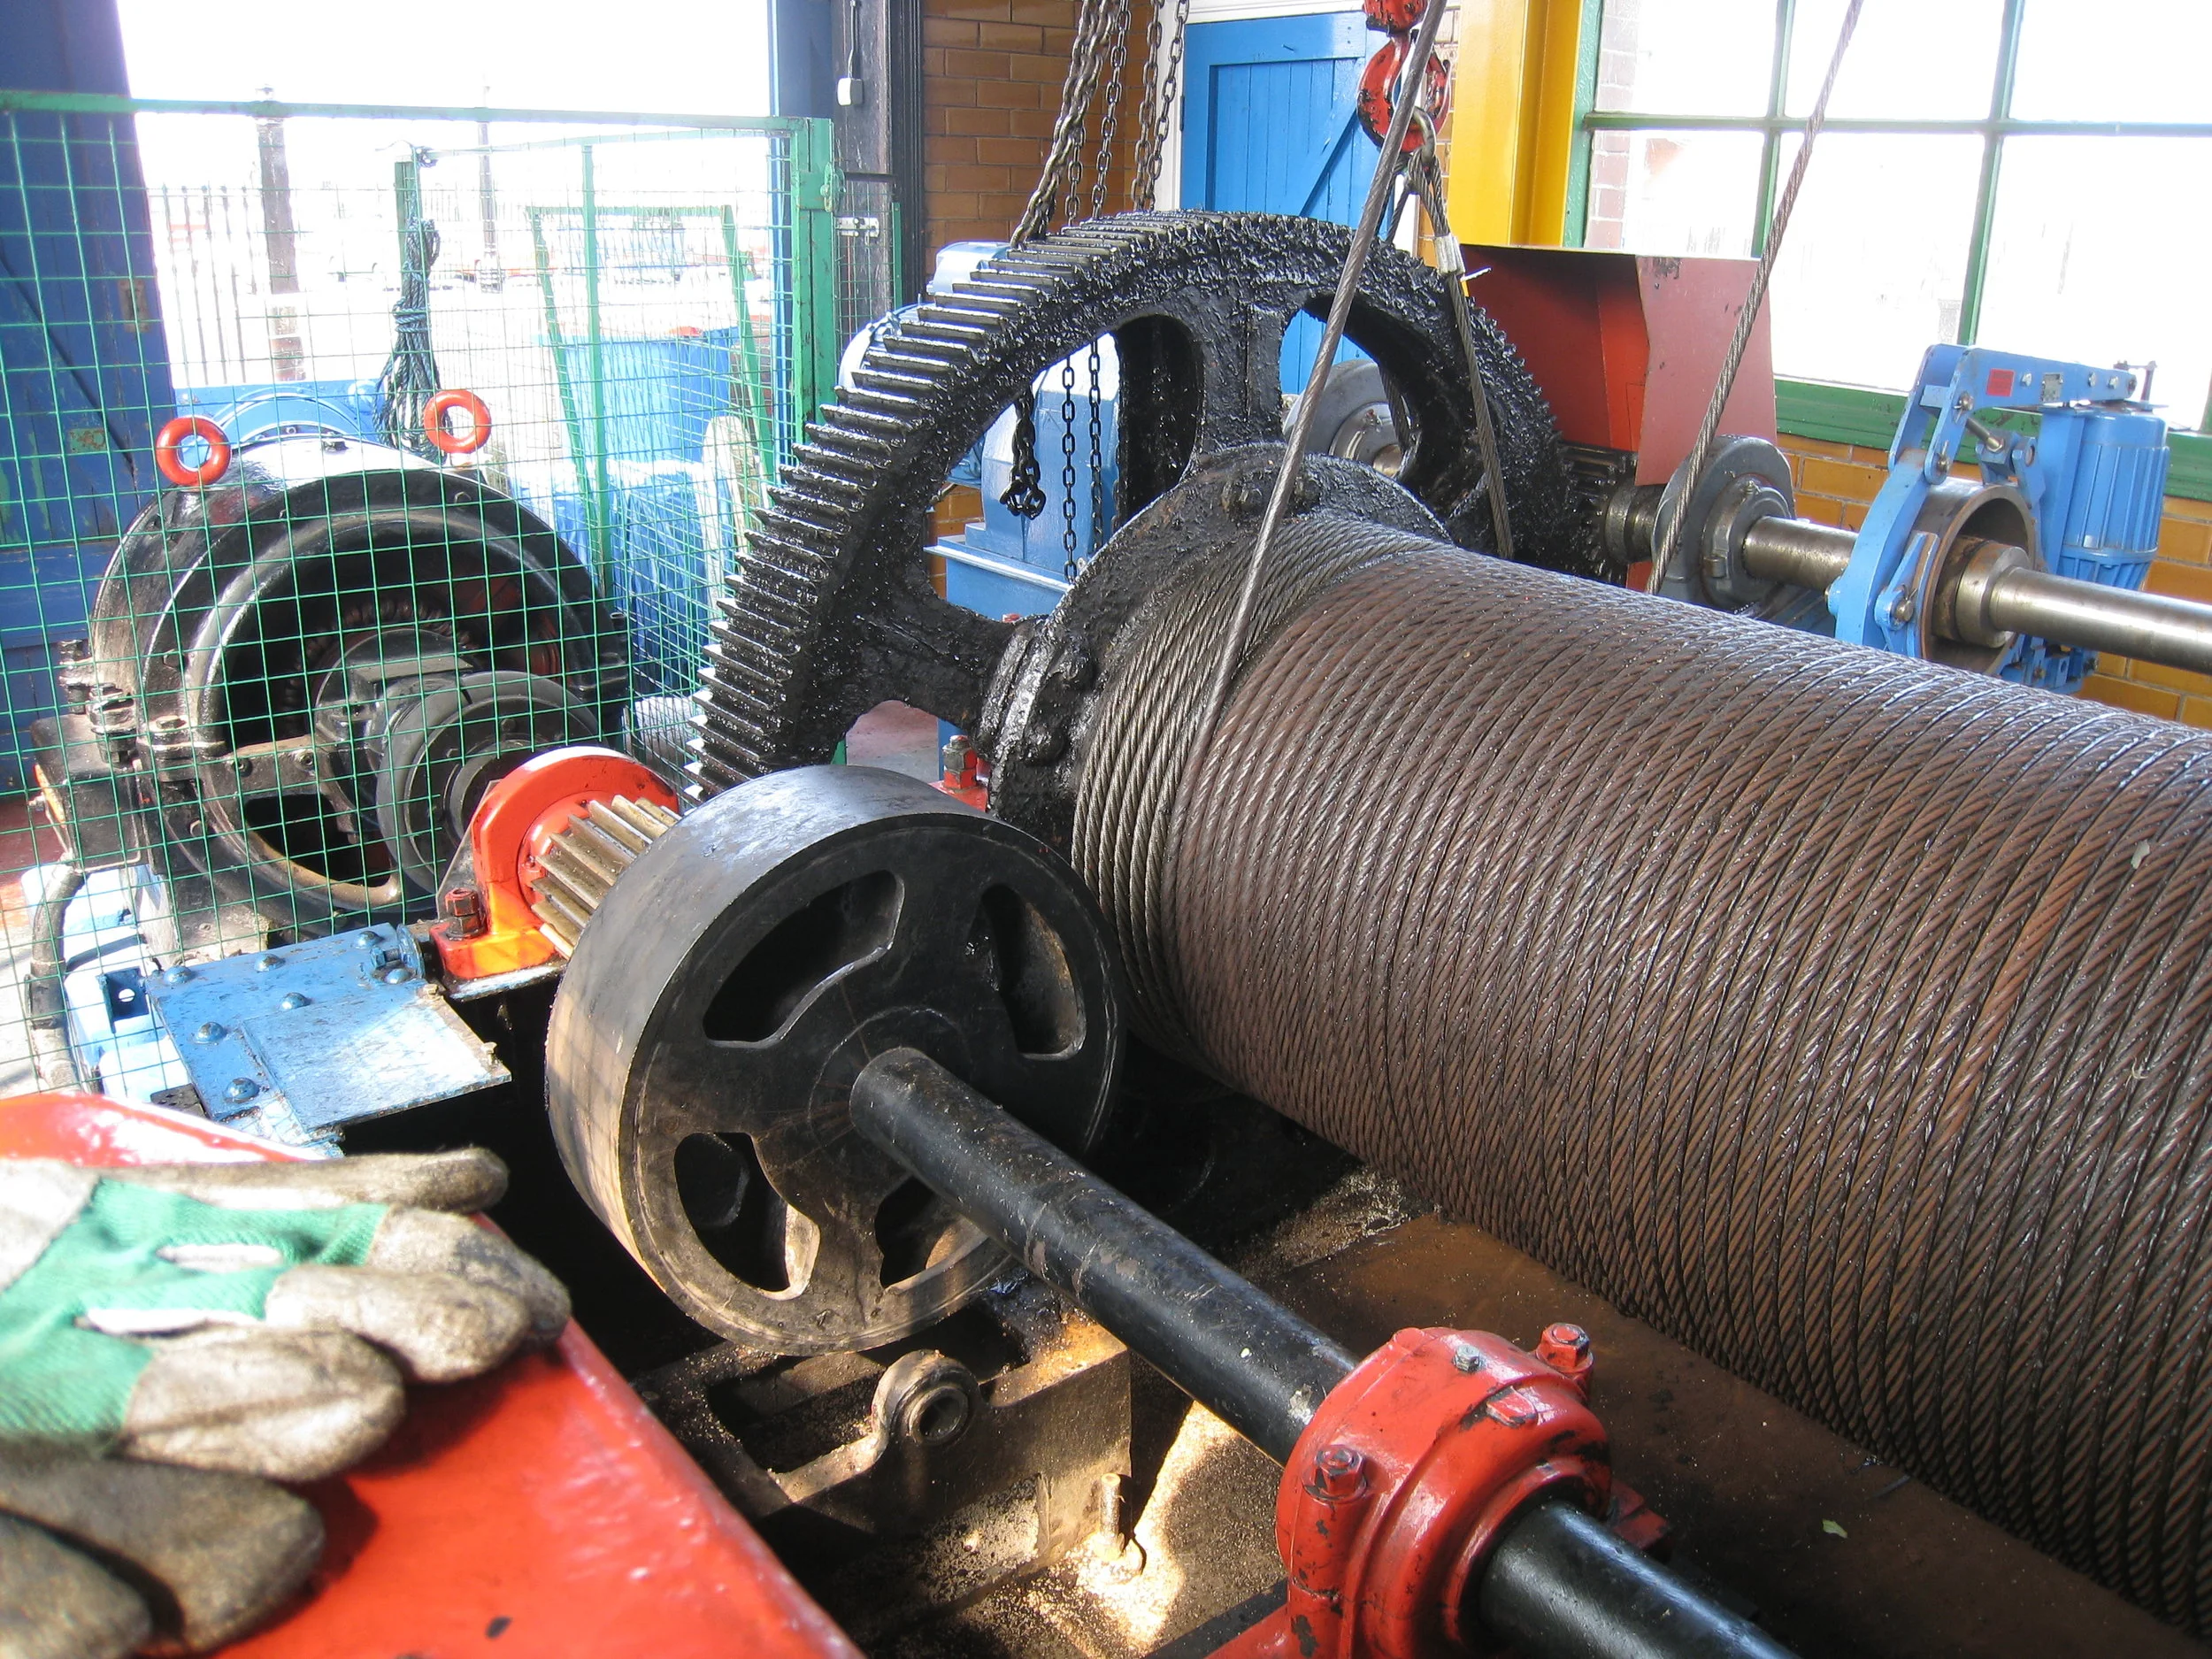
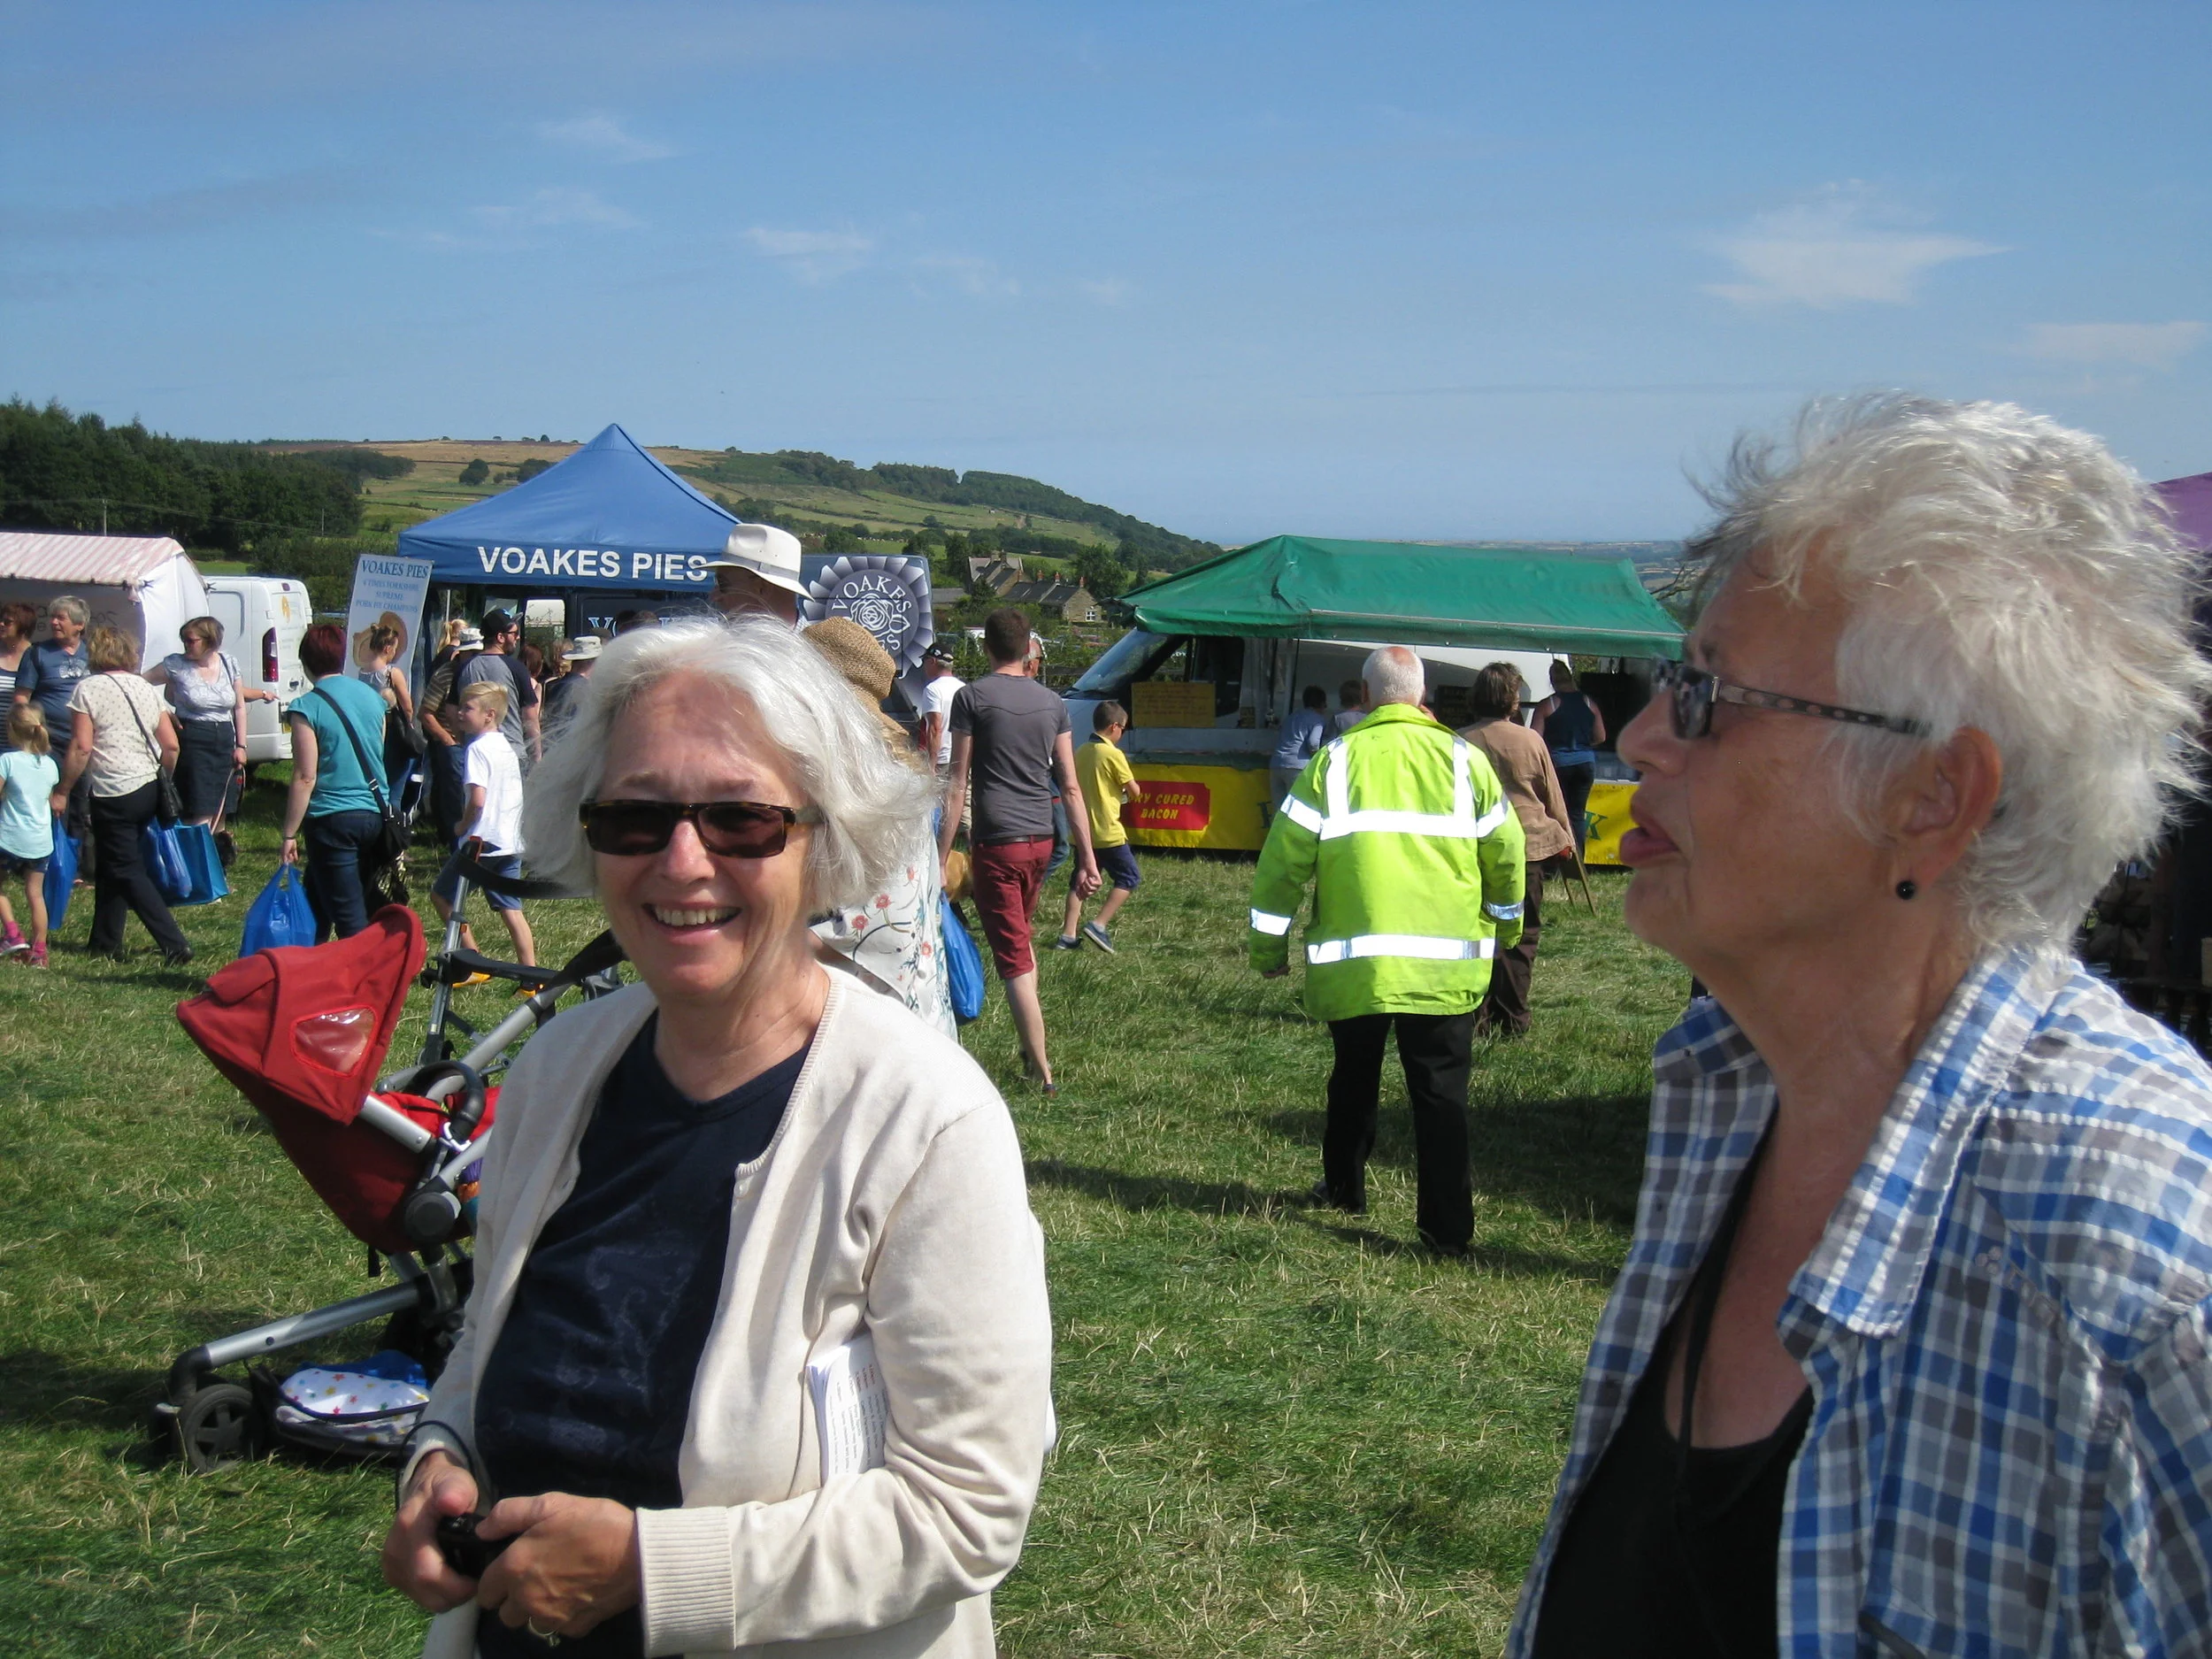
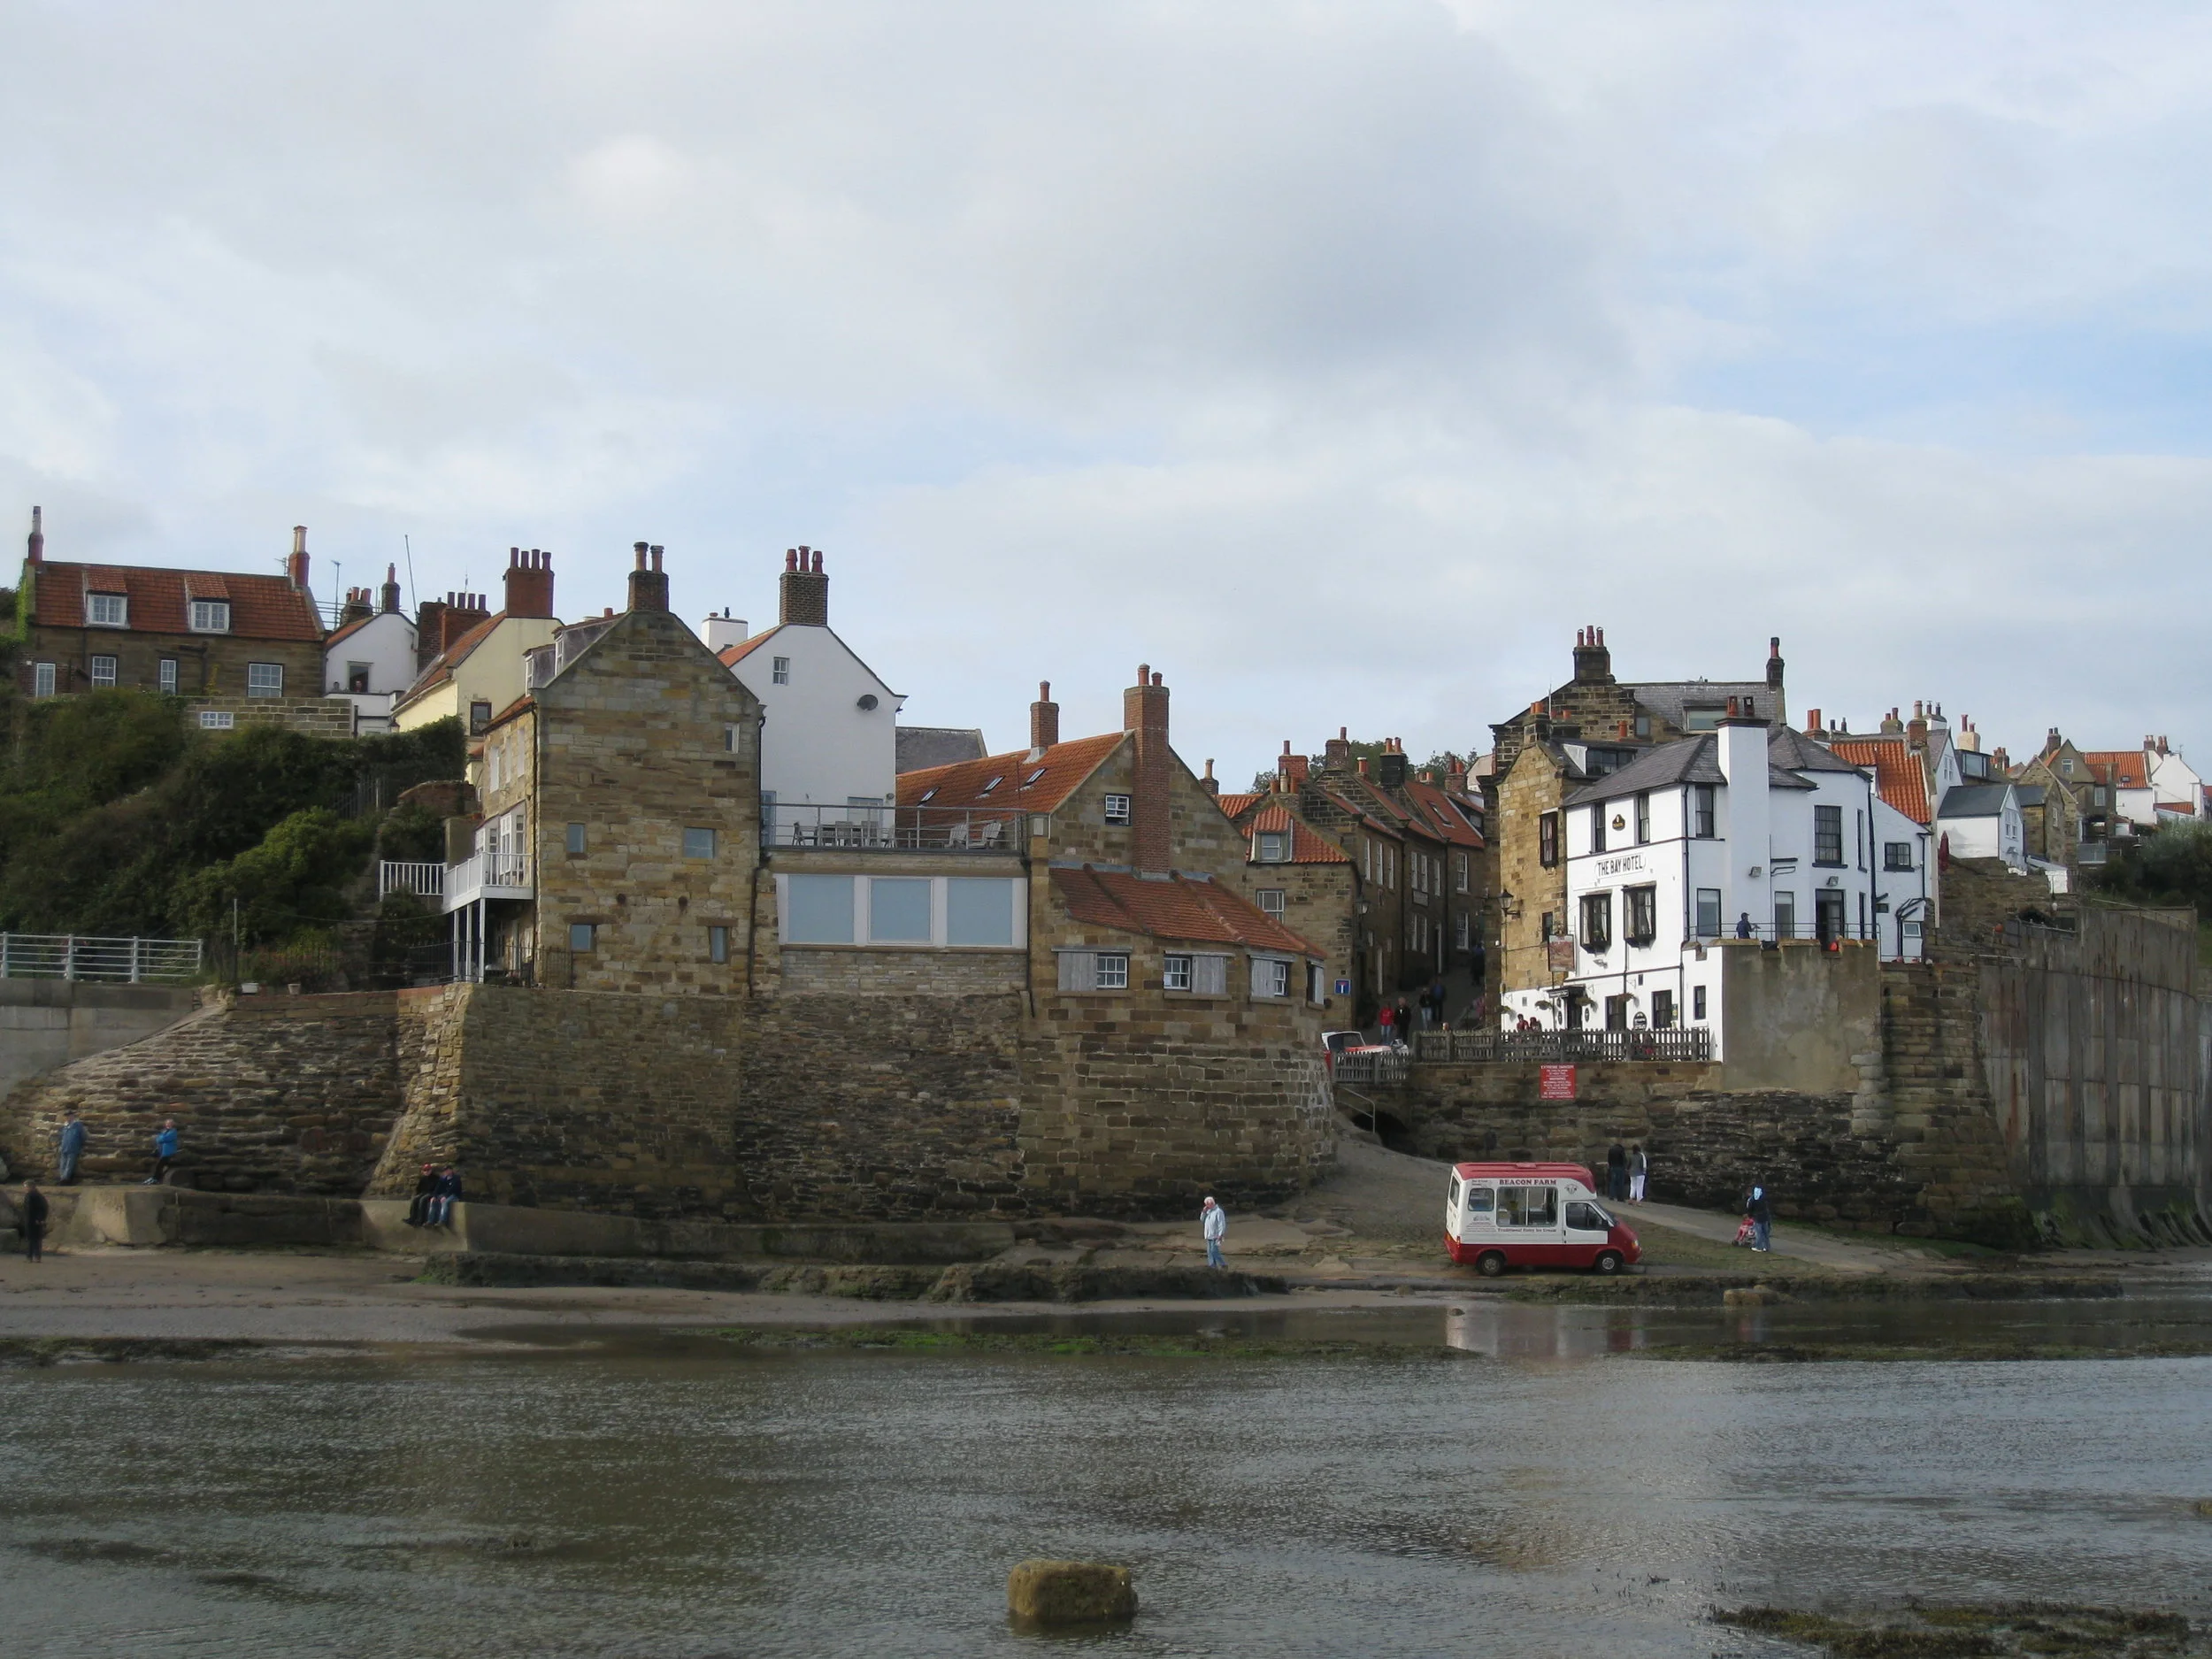
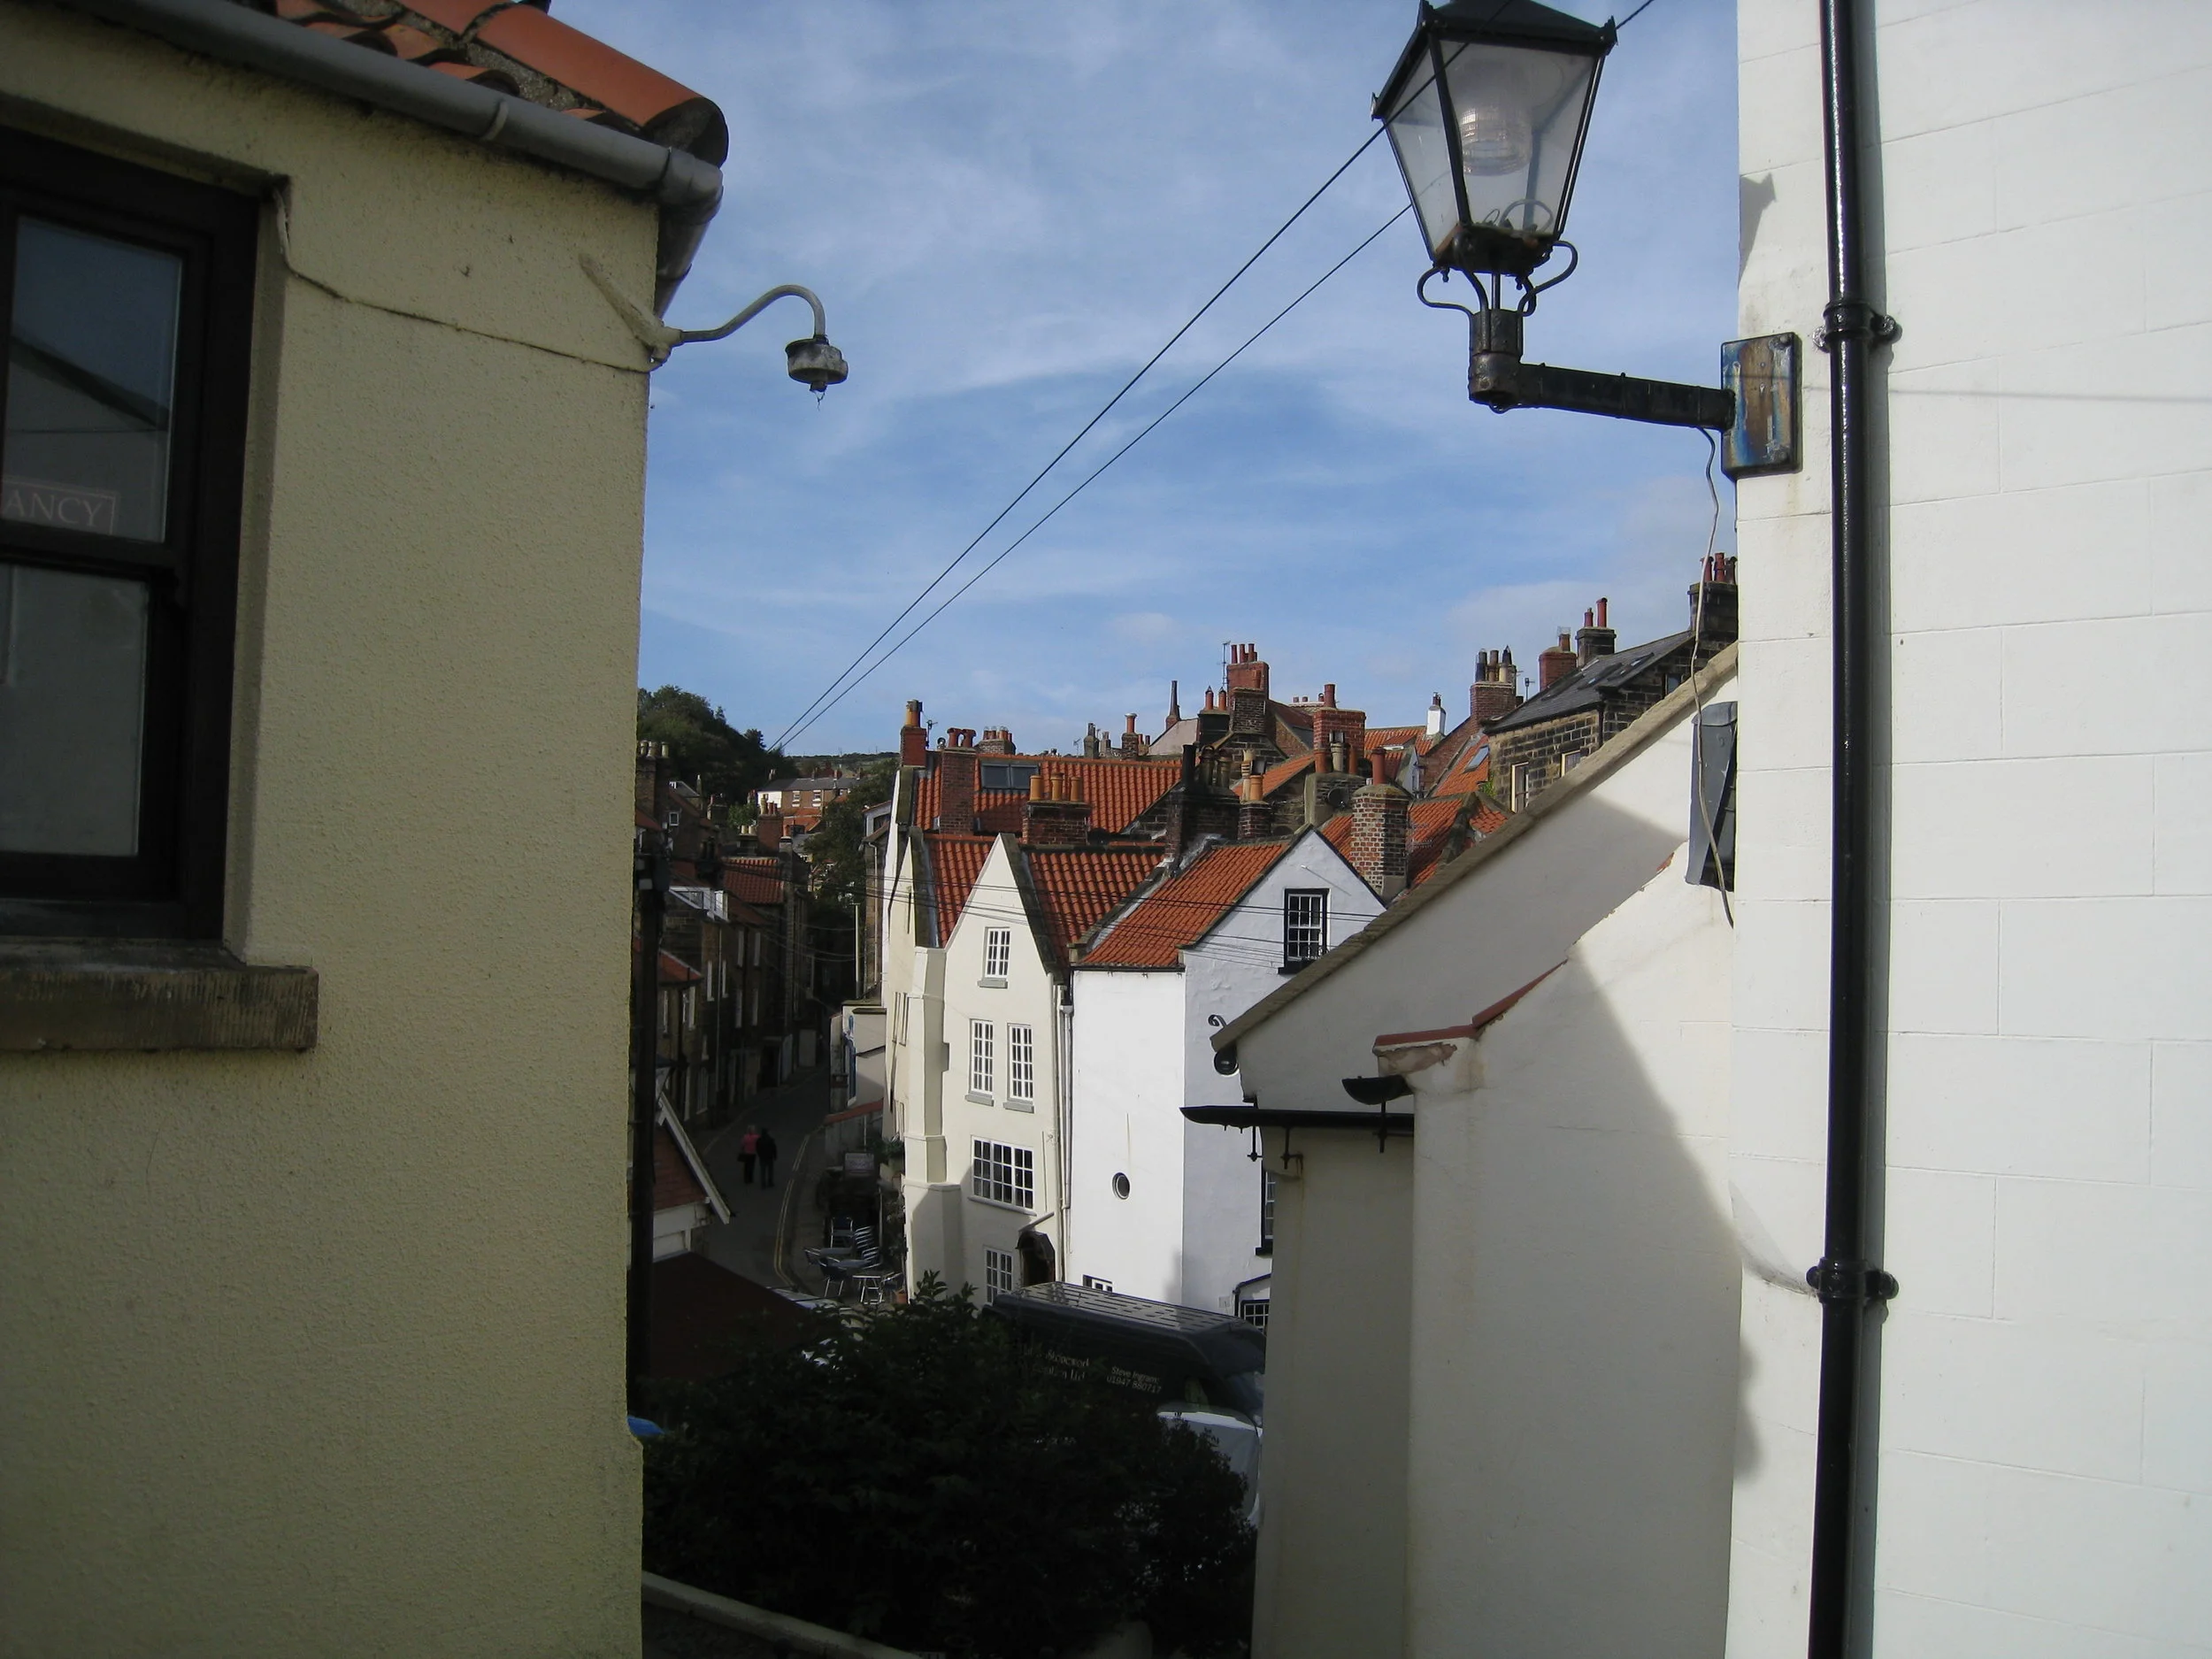
View fullsize
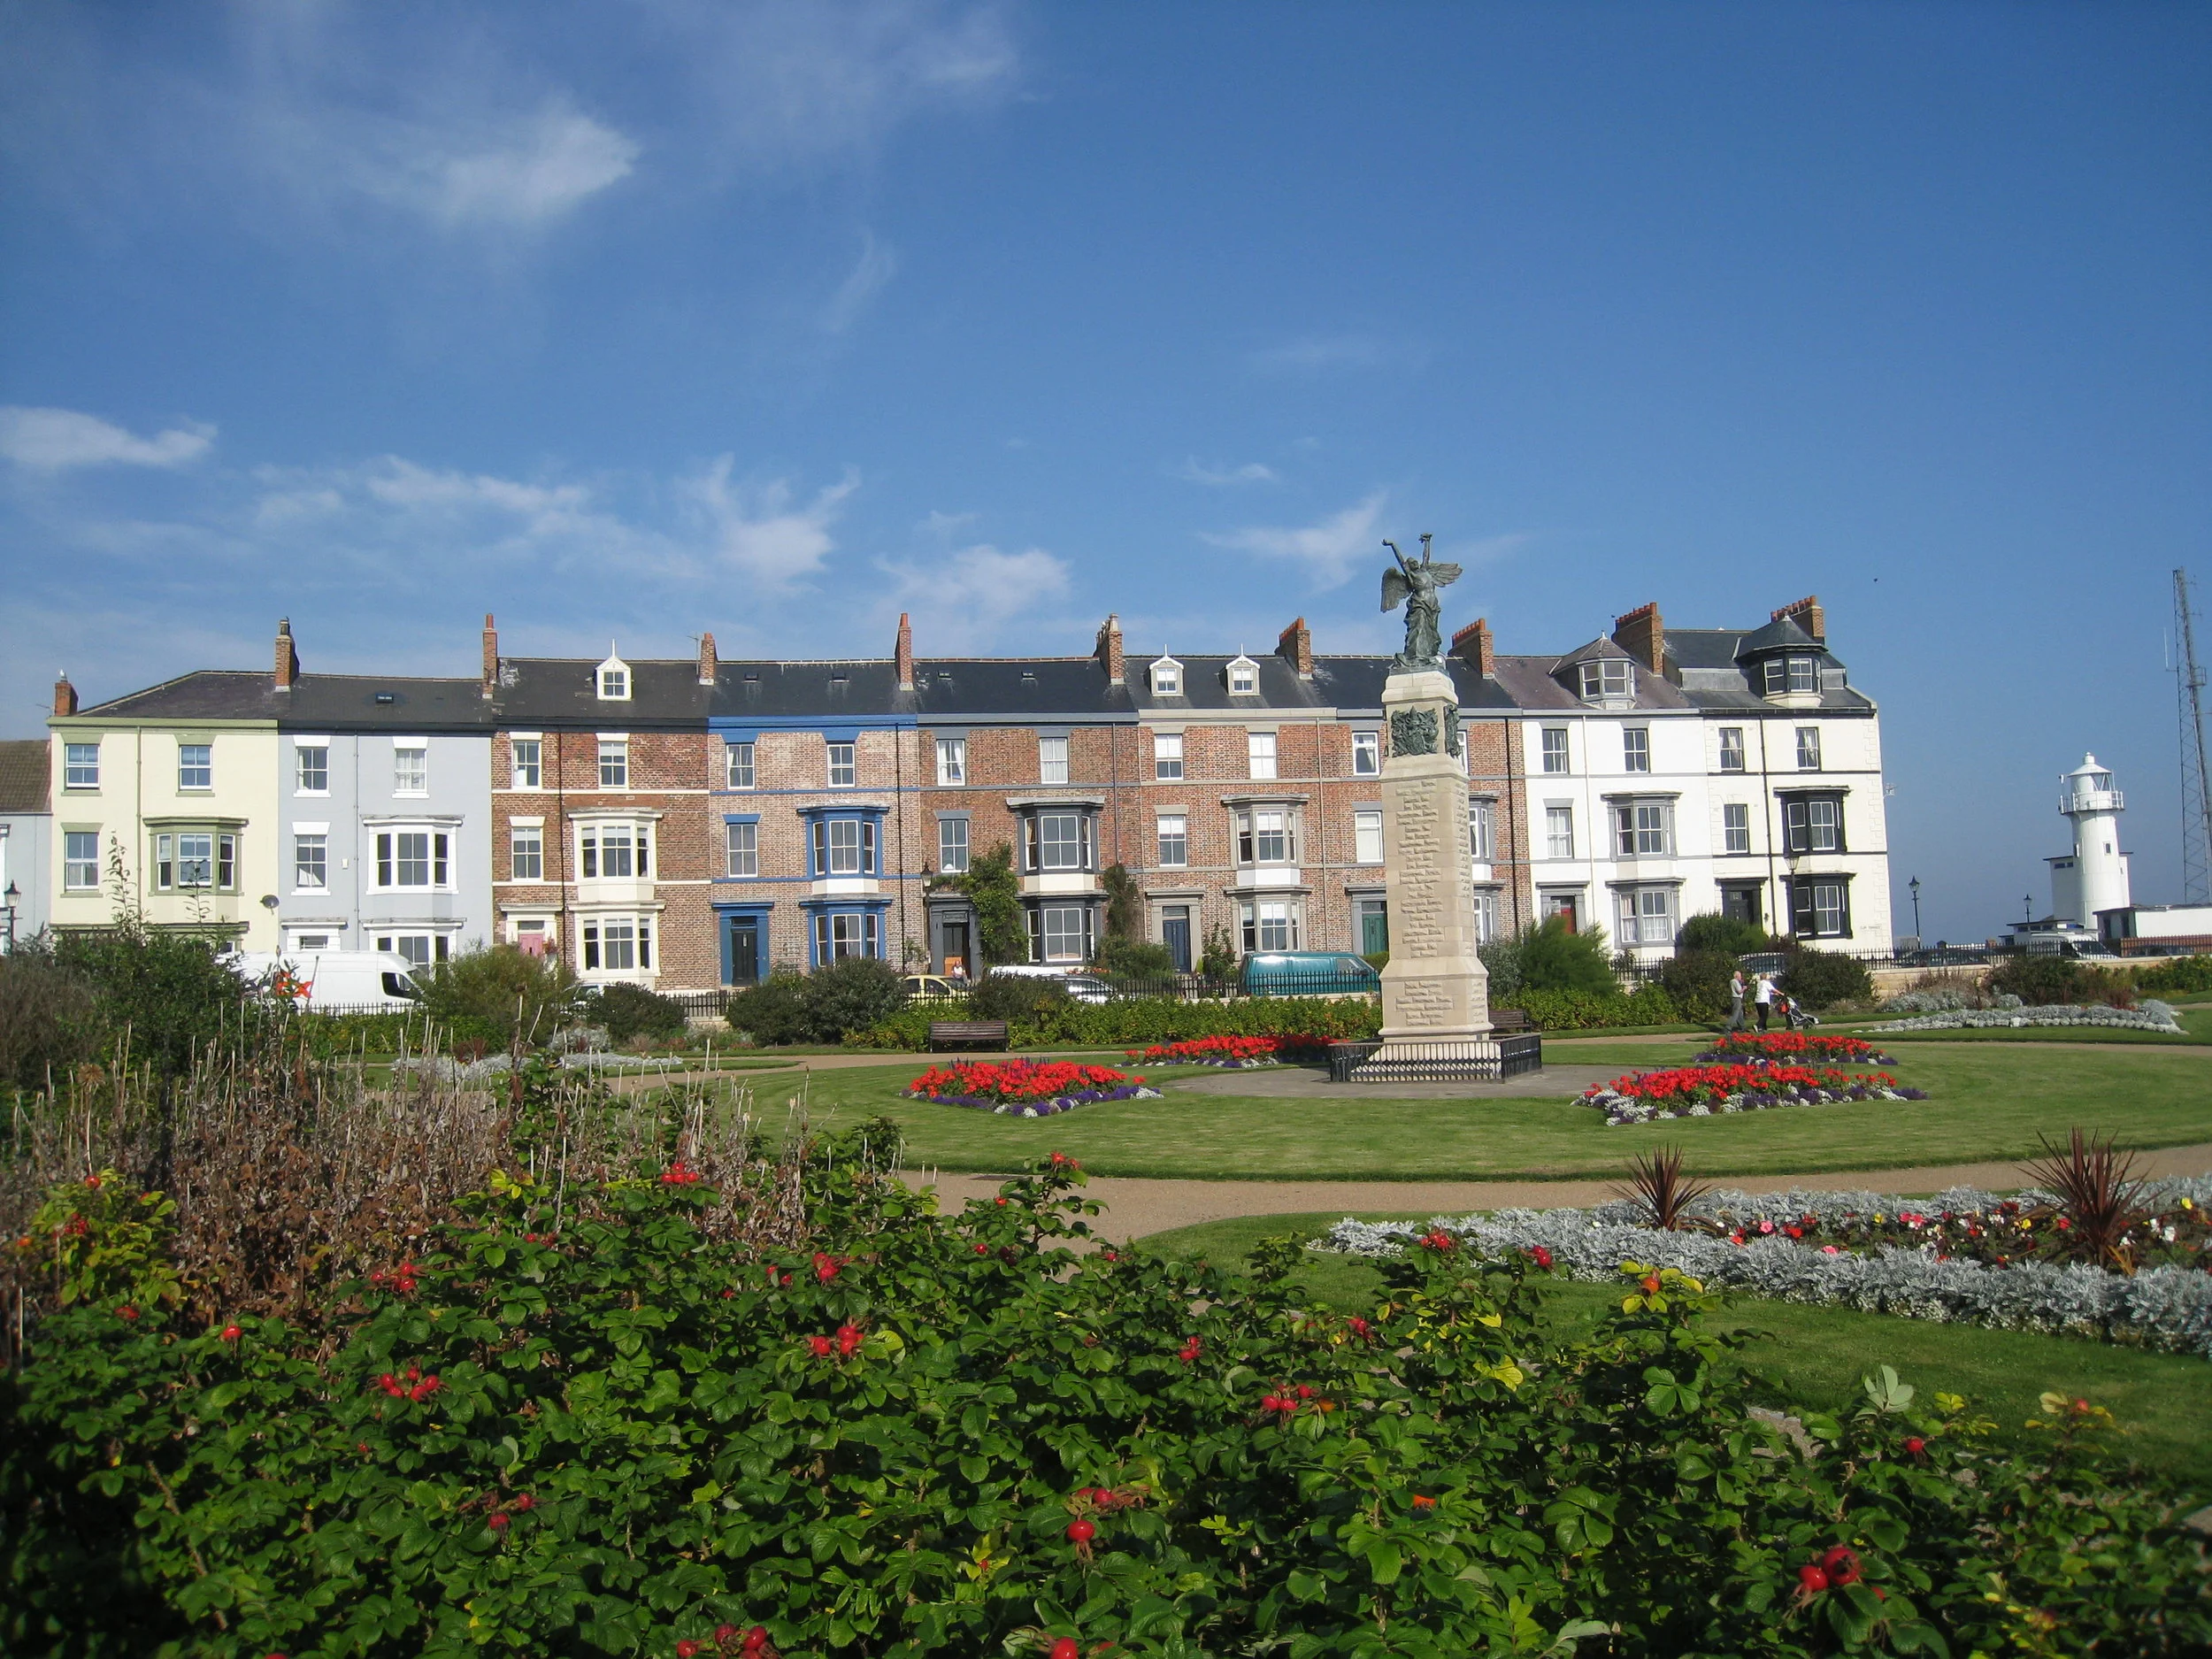
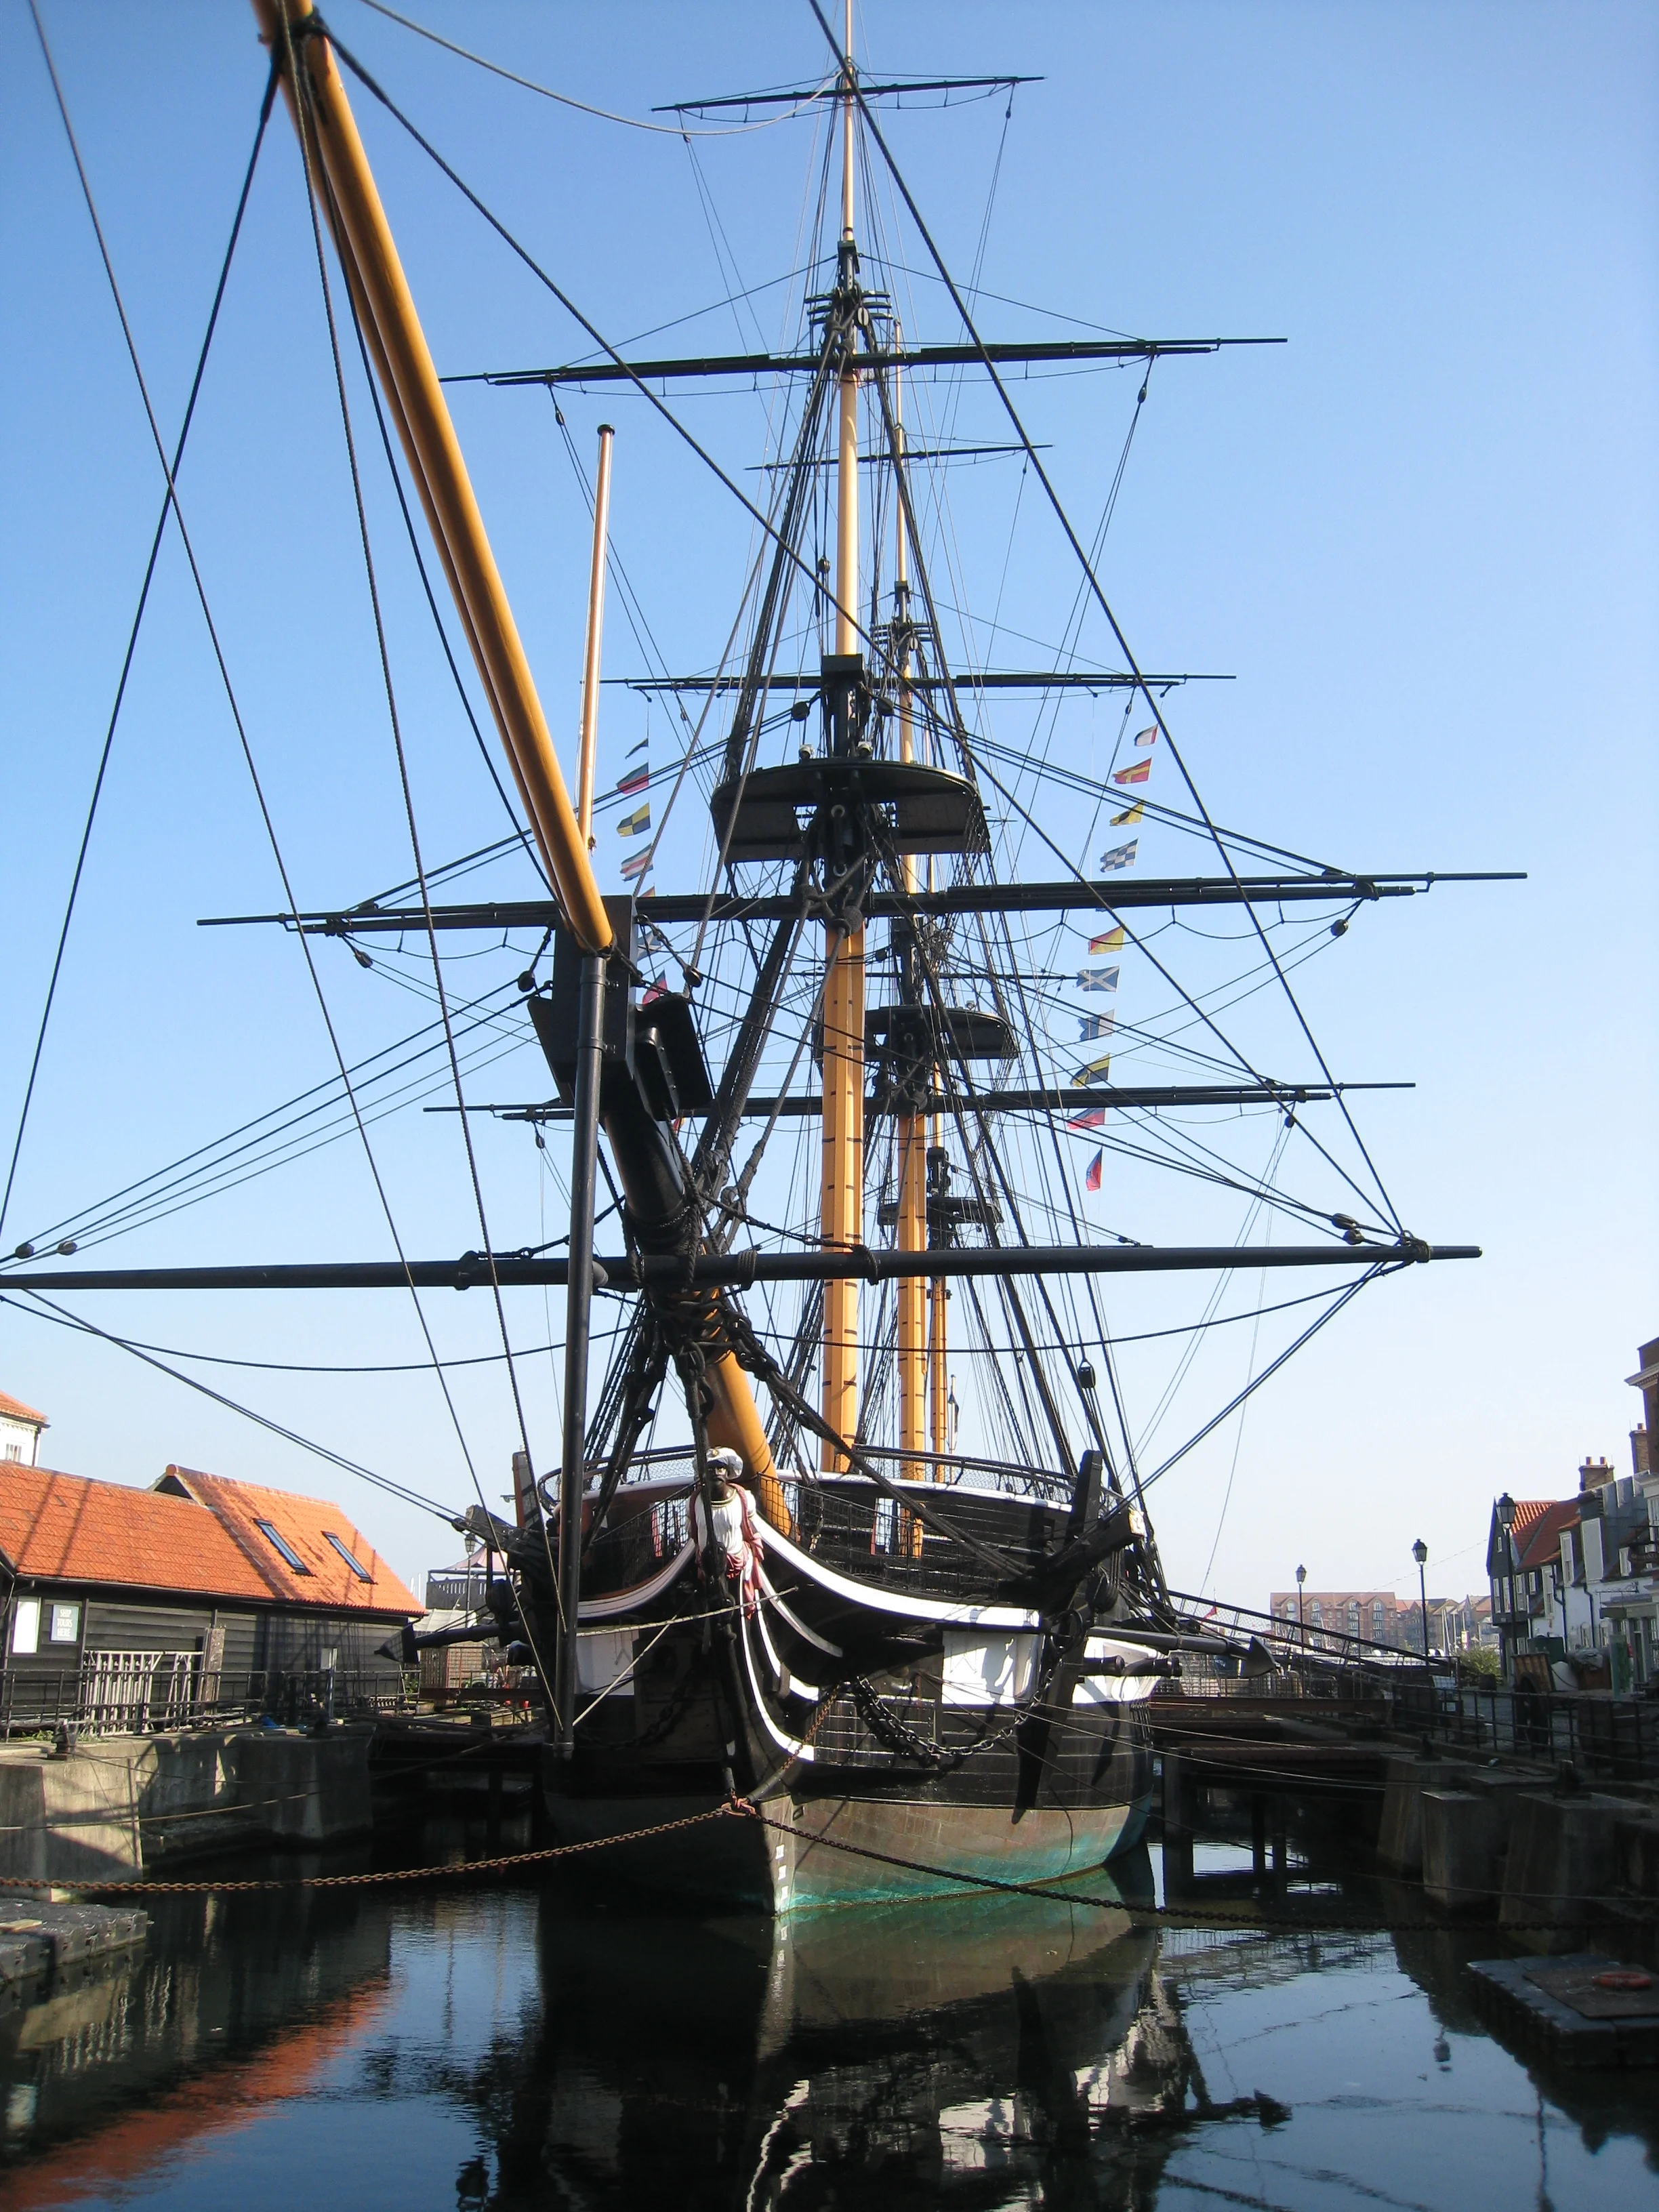
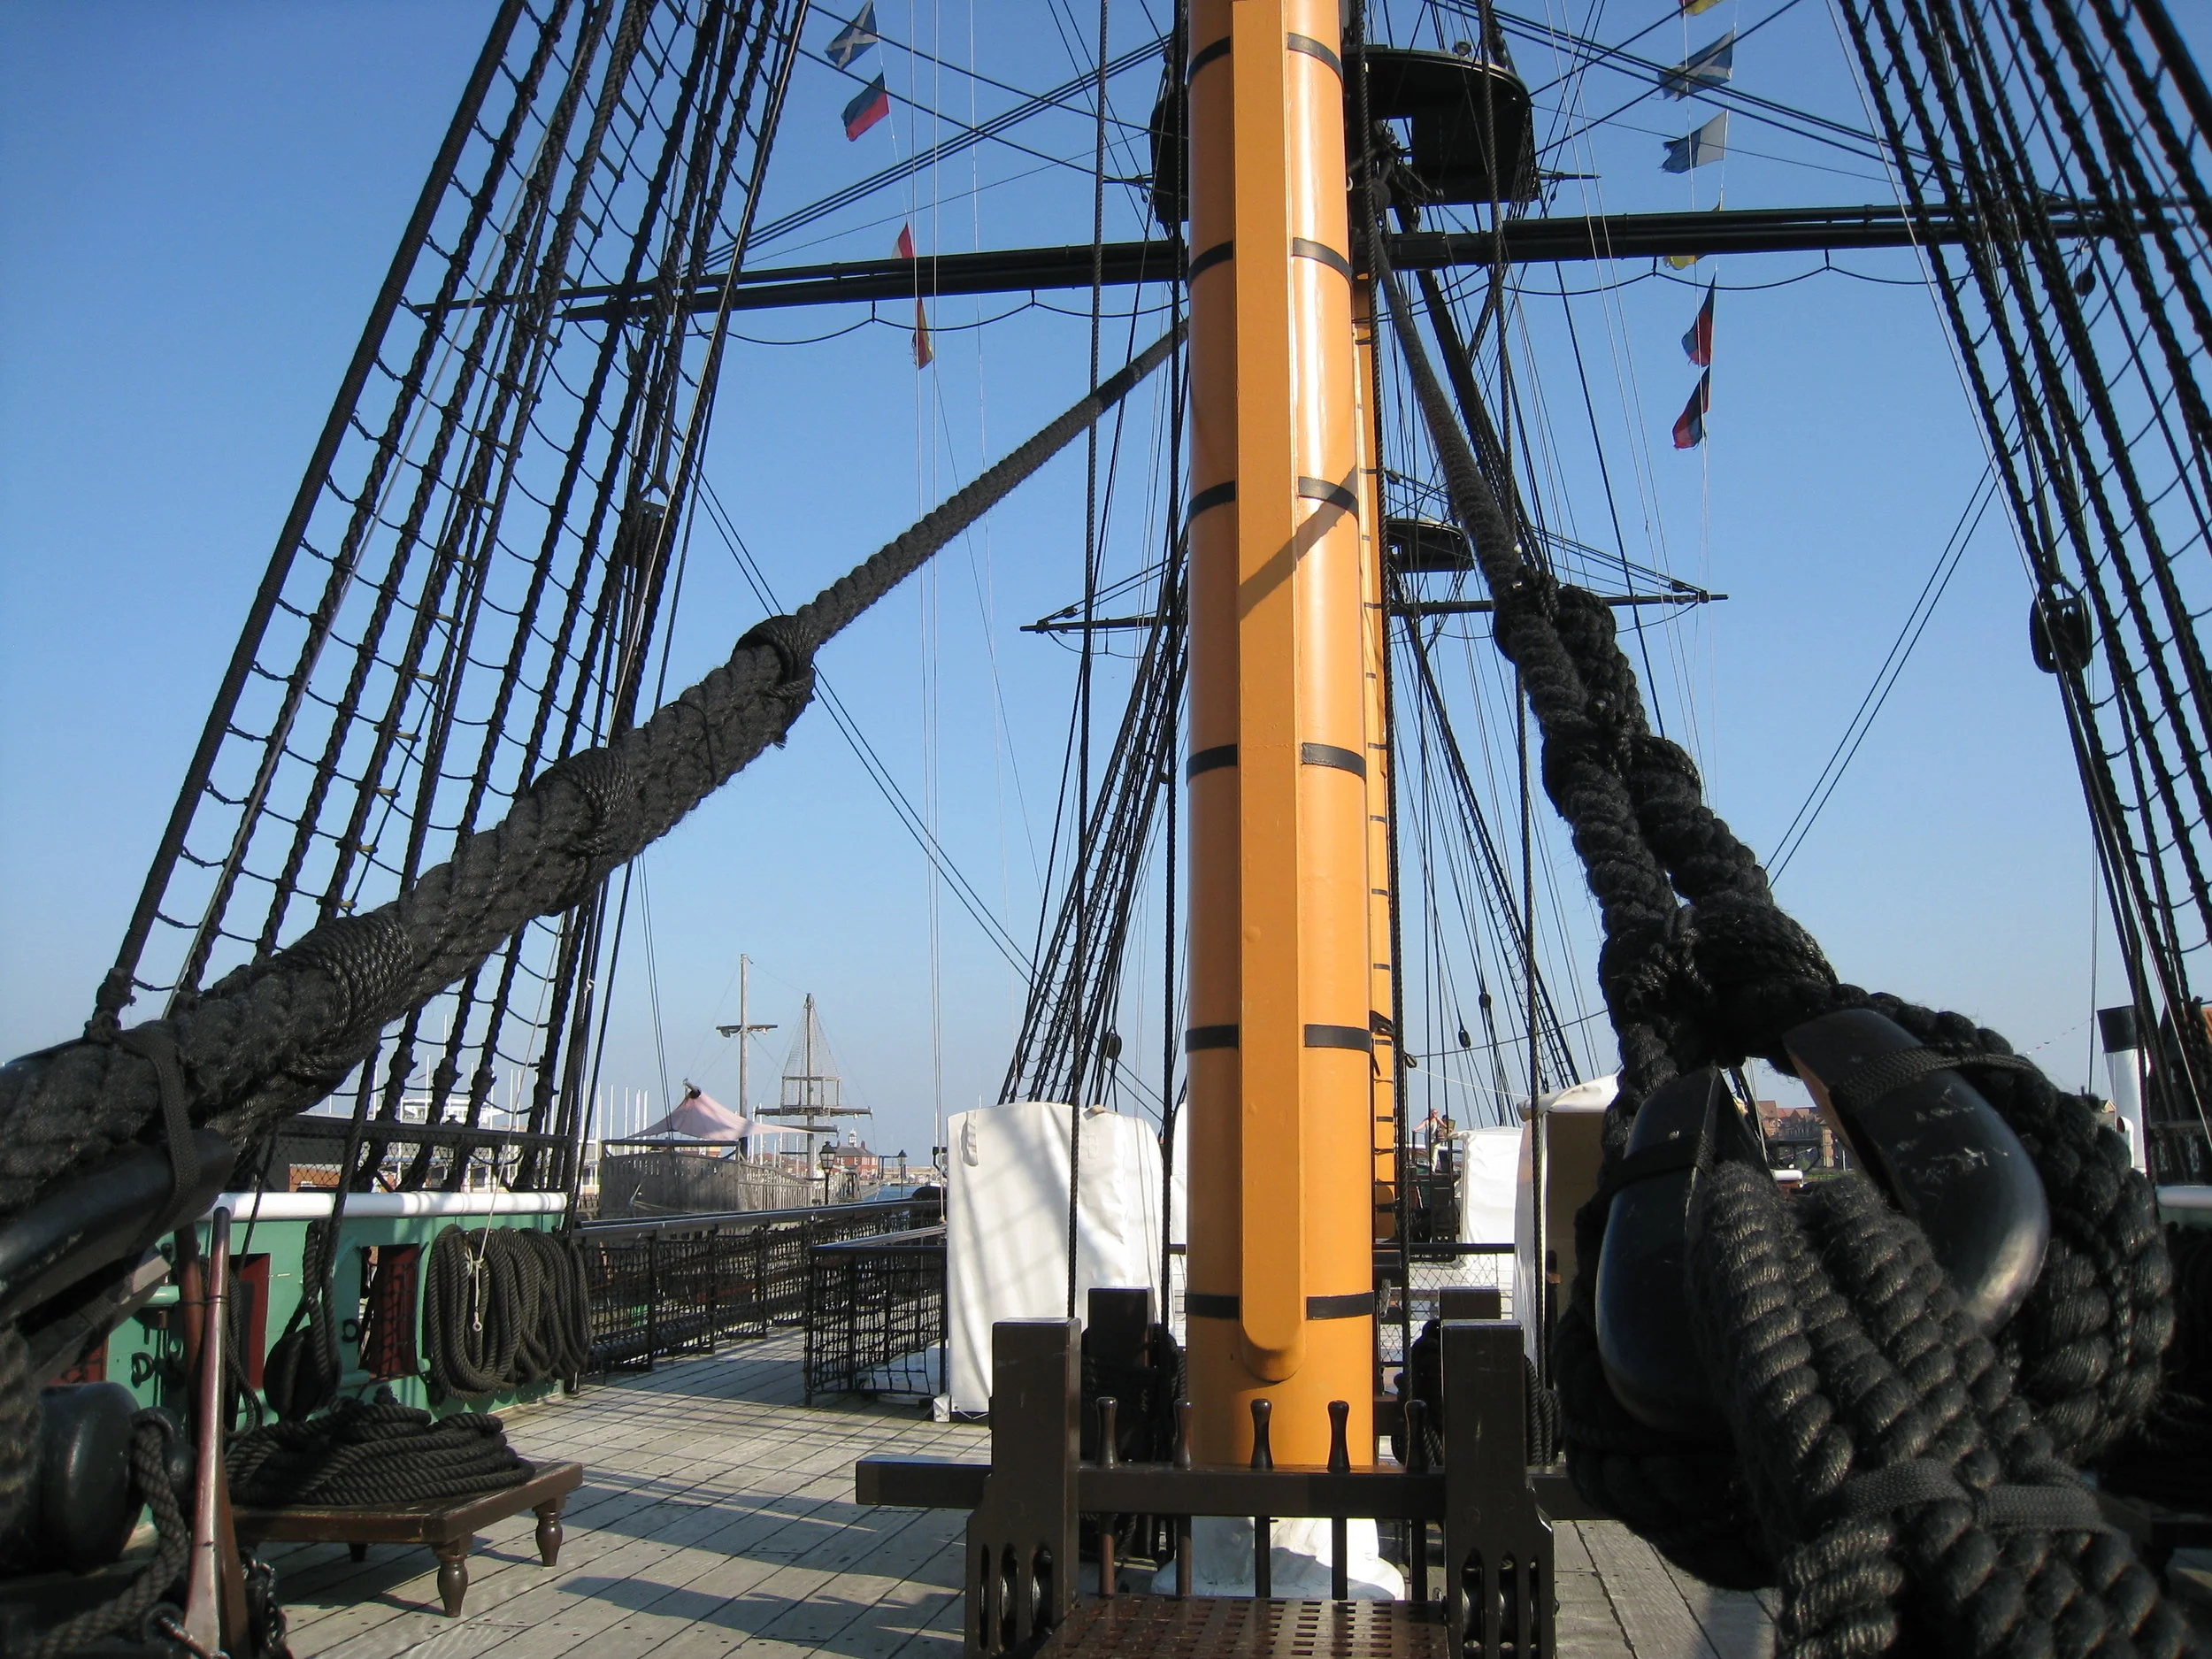
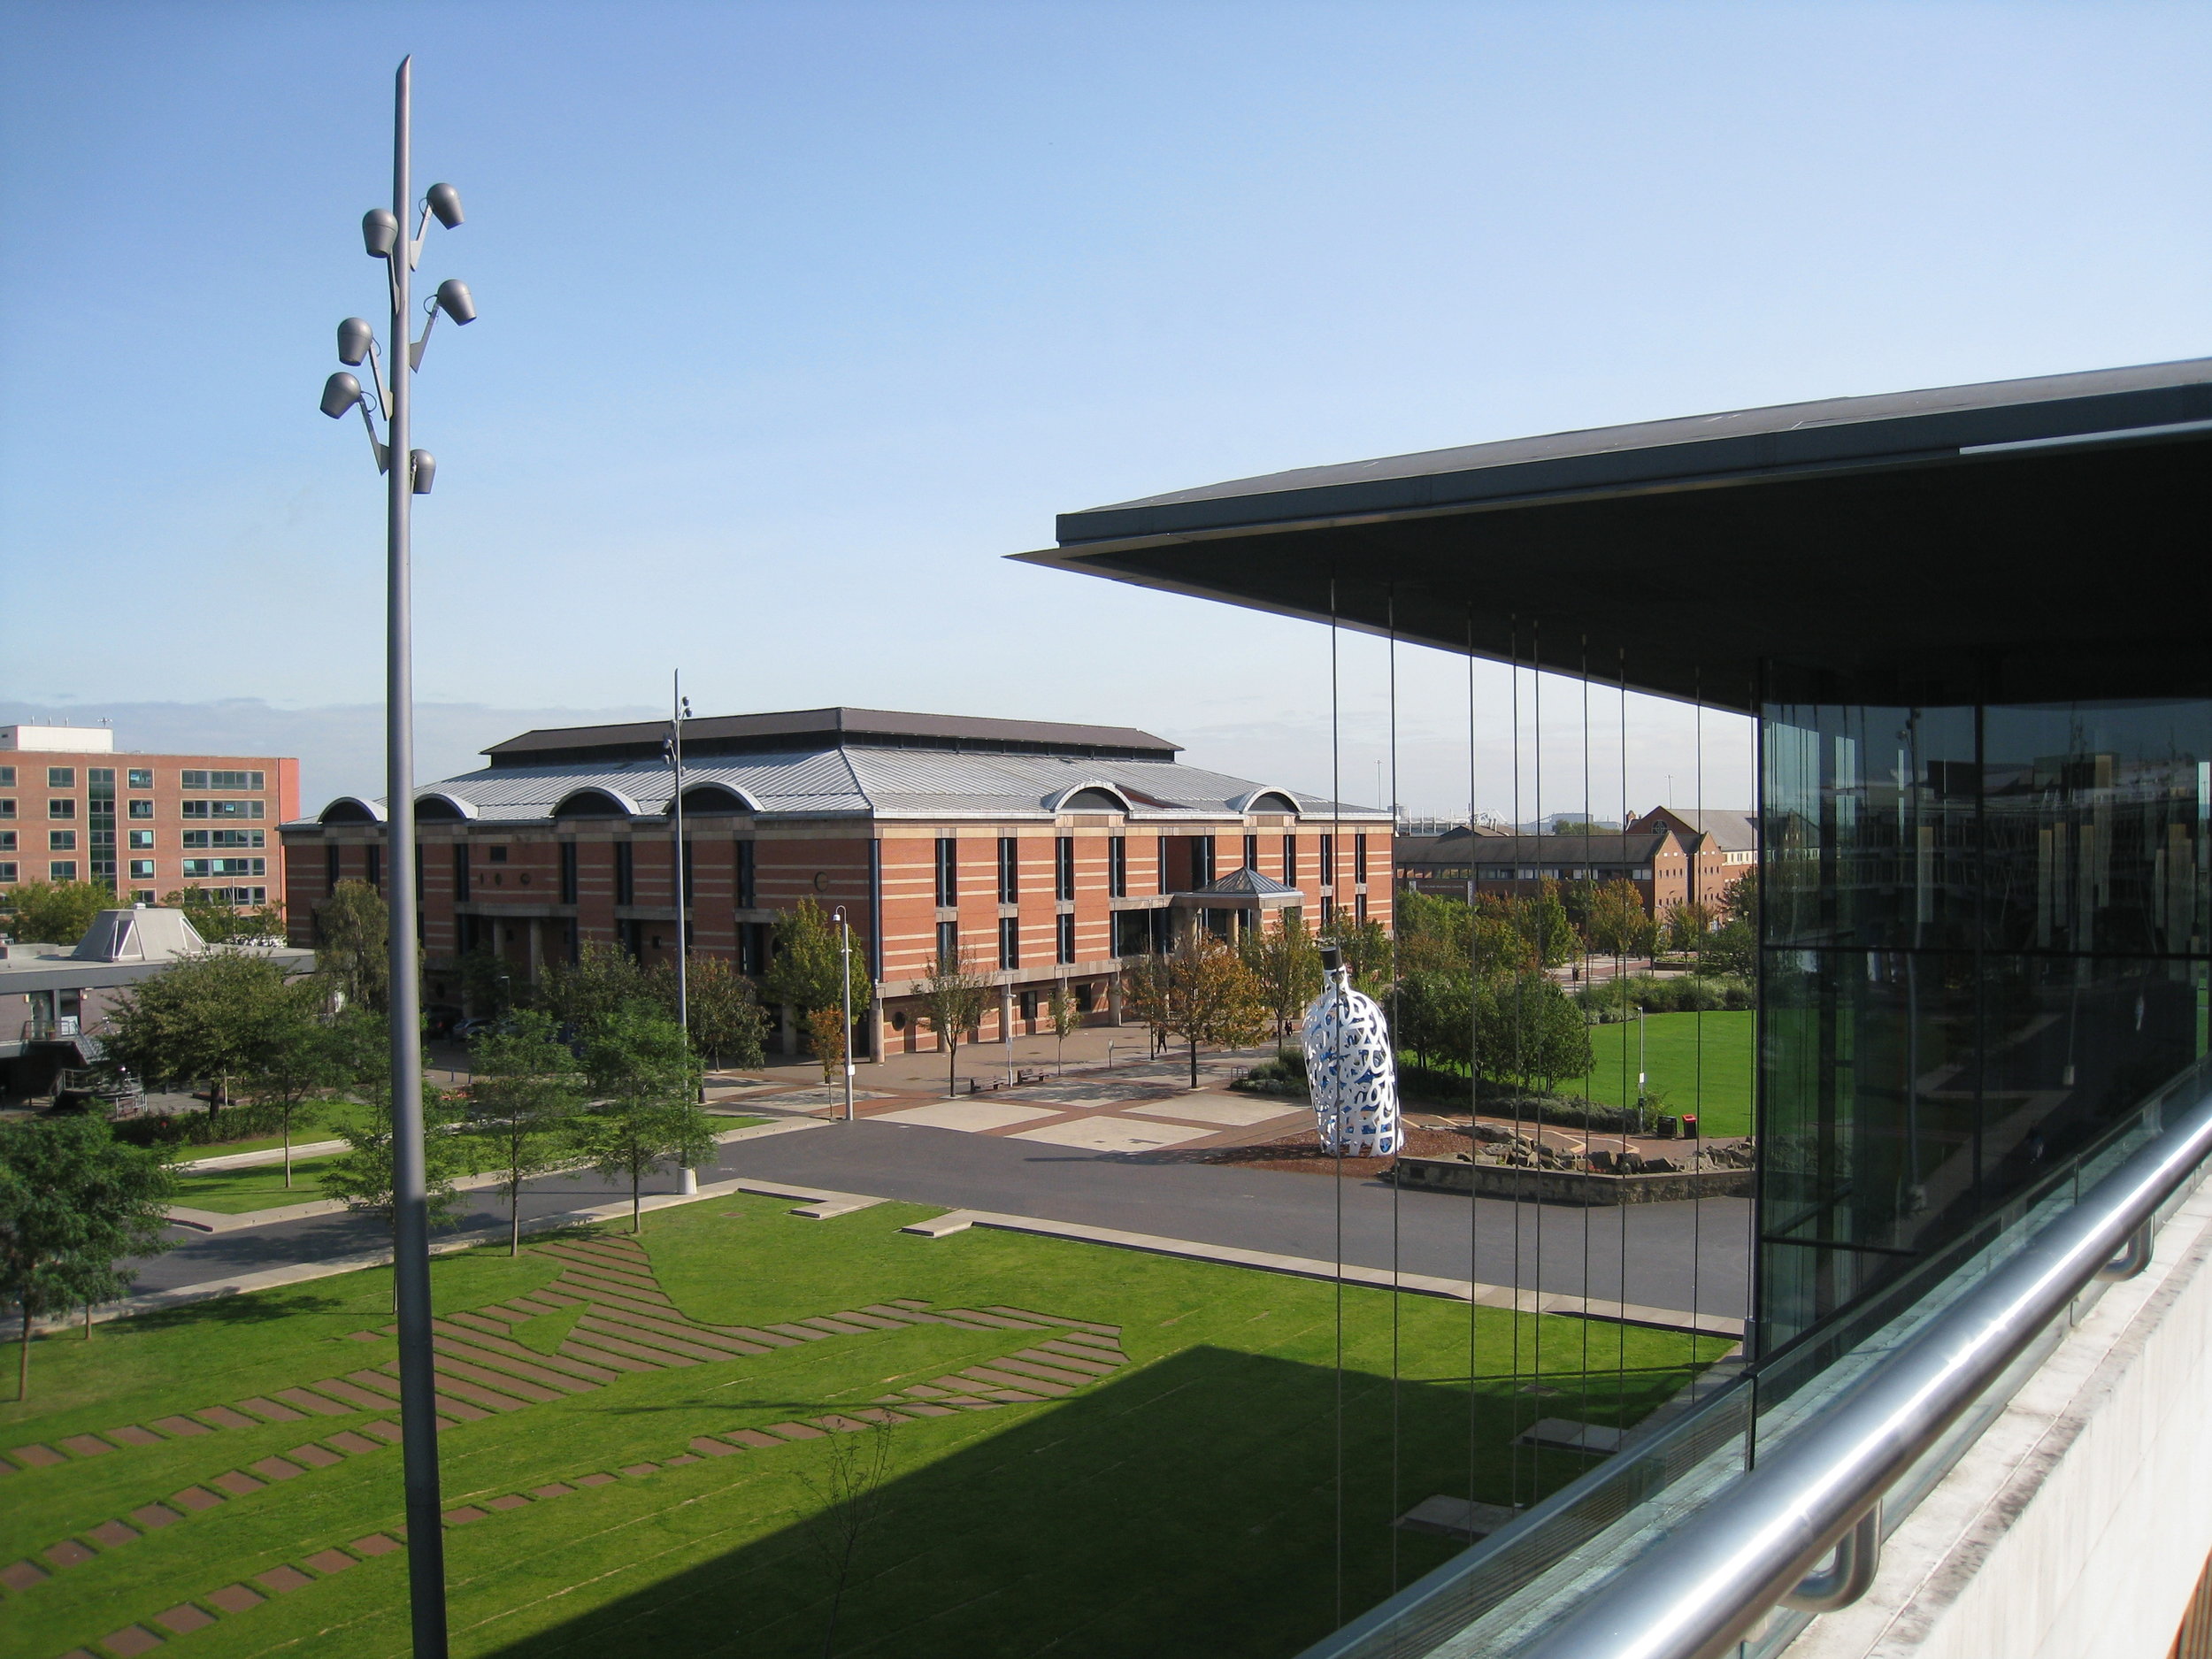
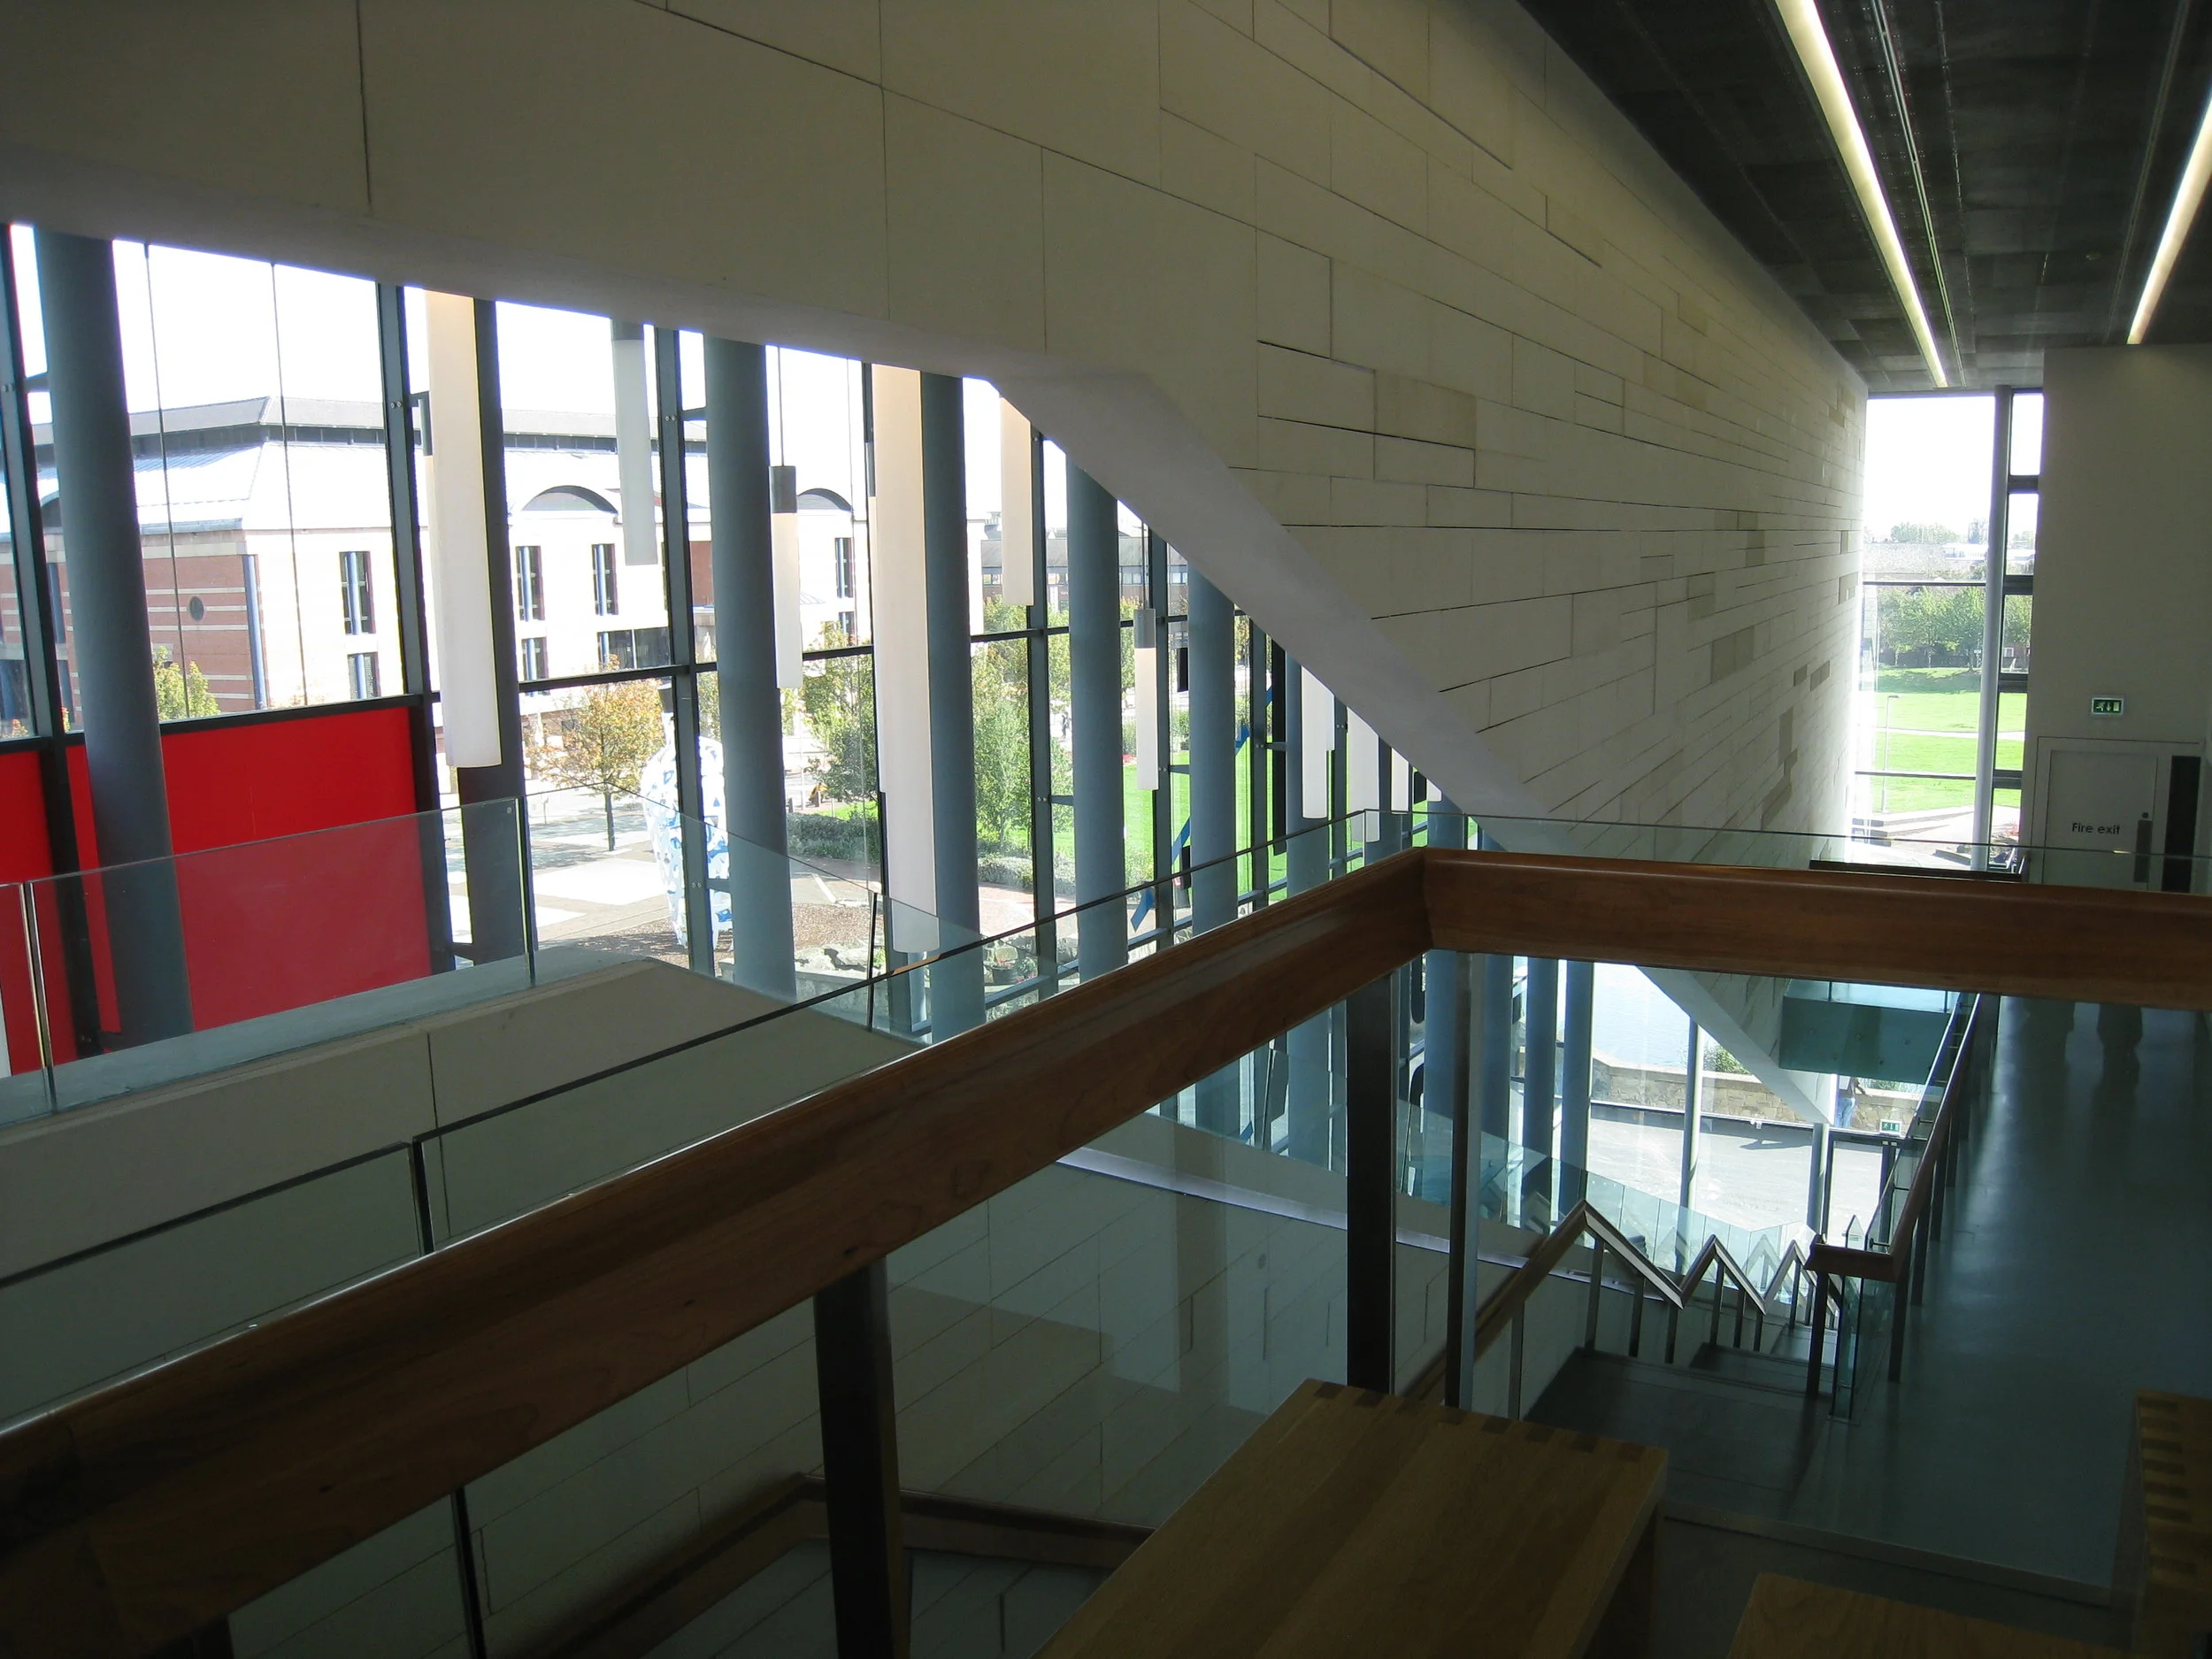
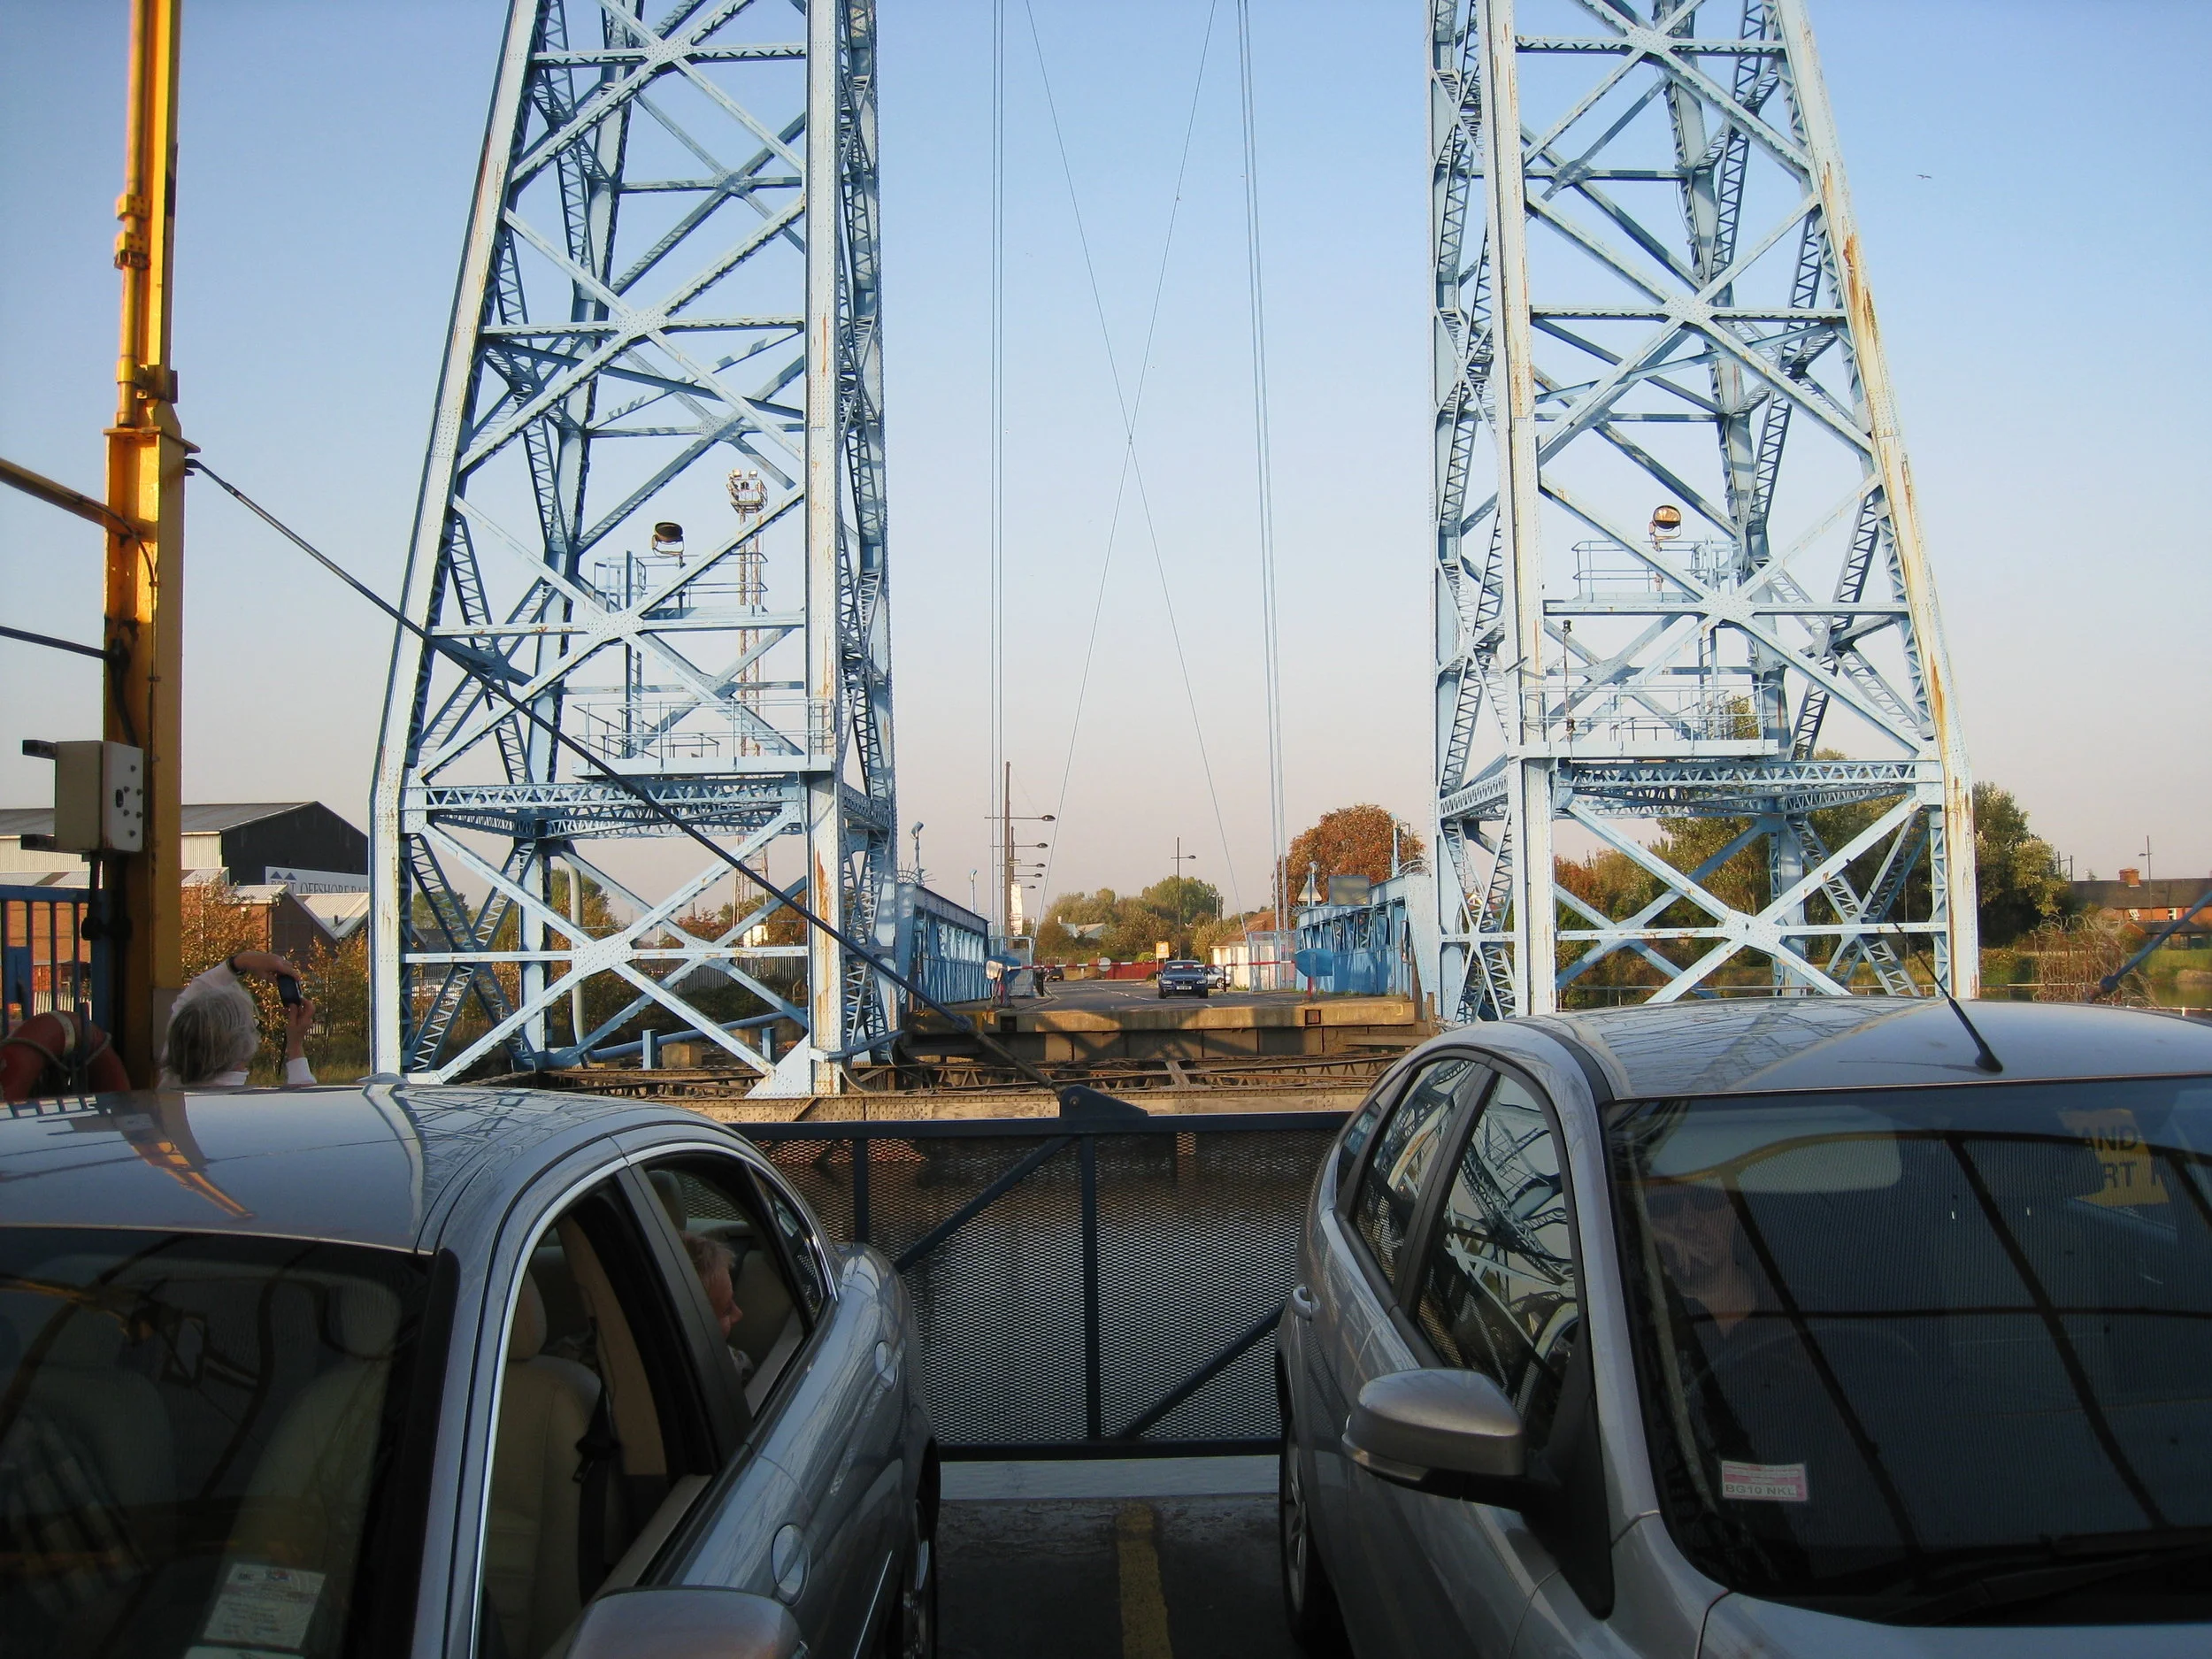
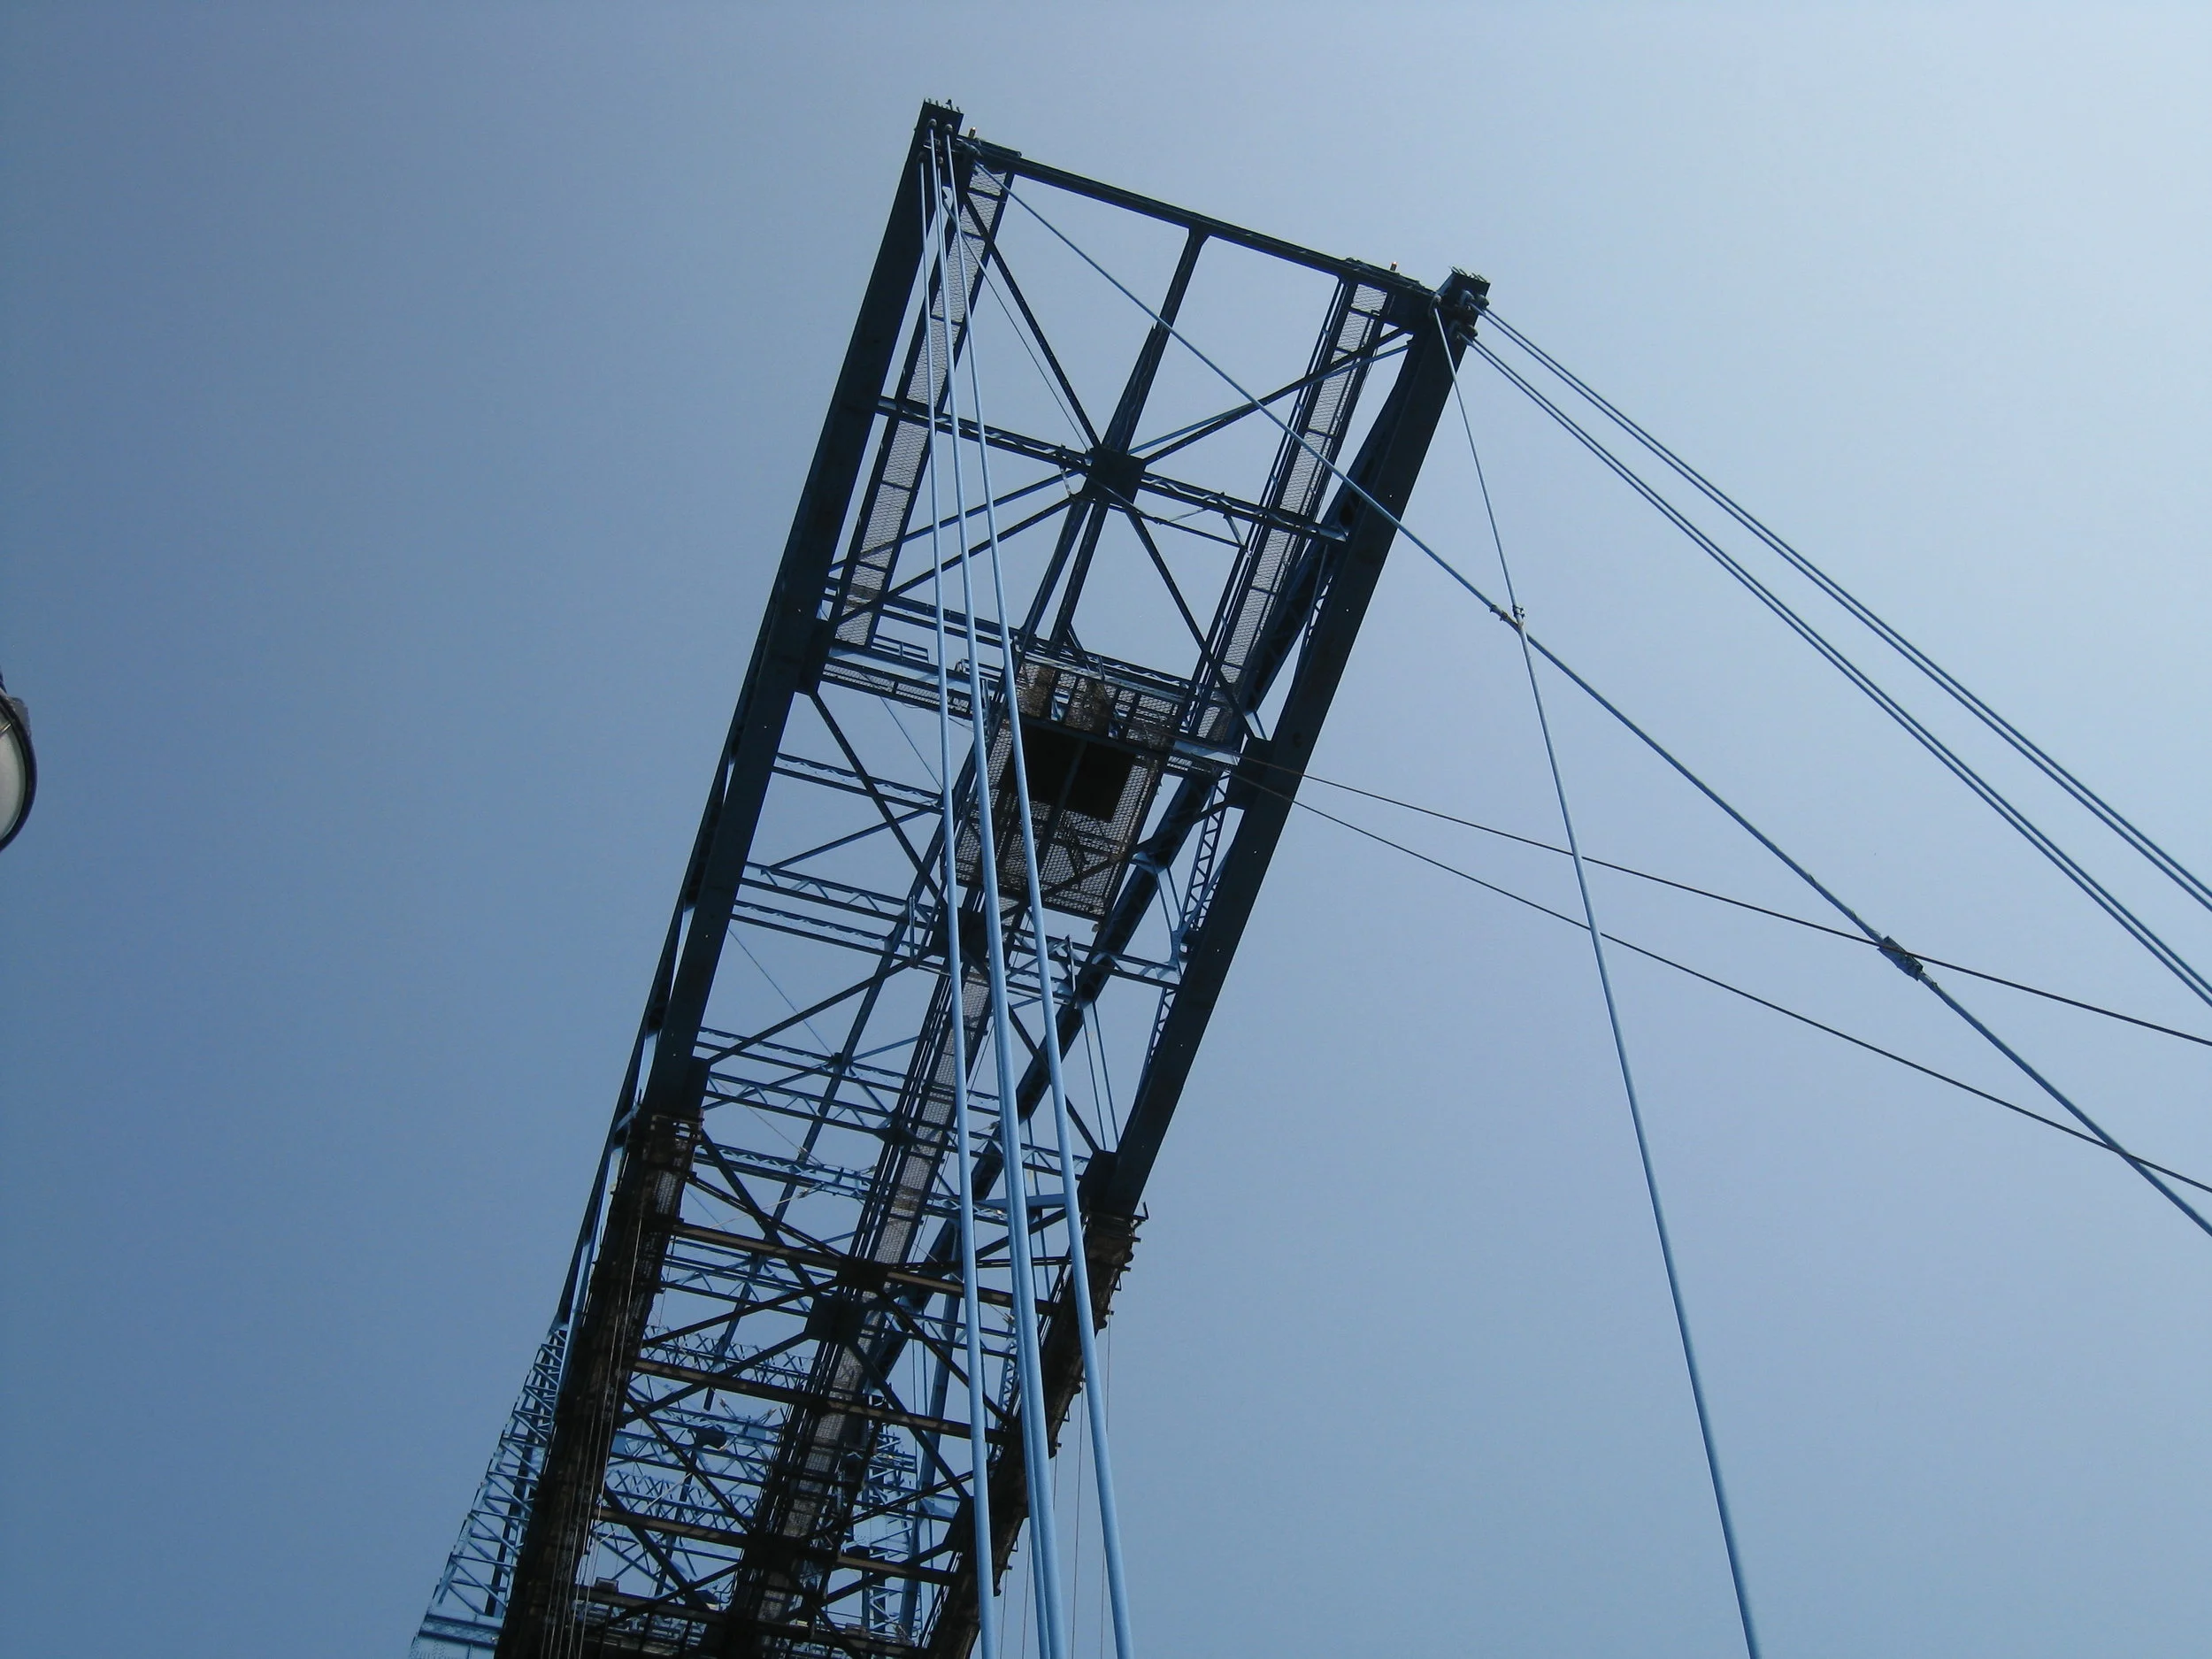
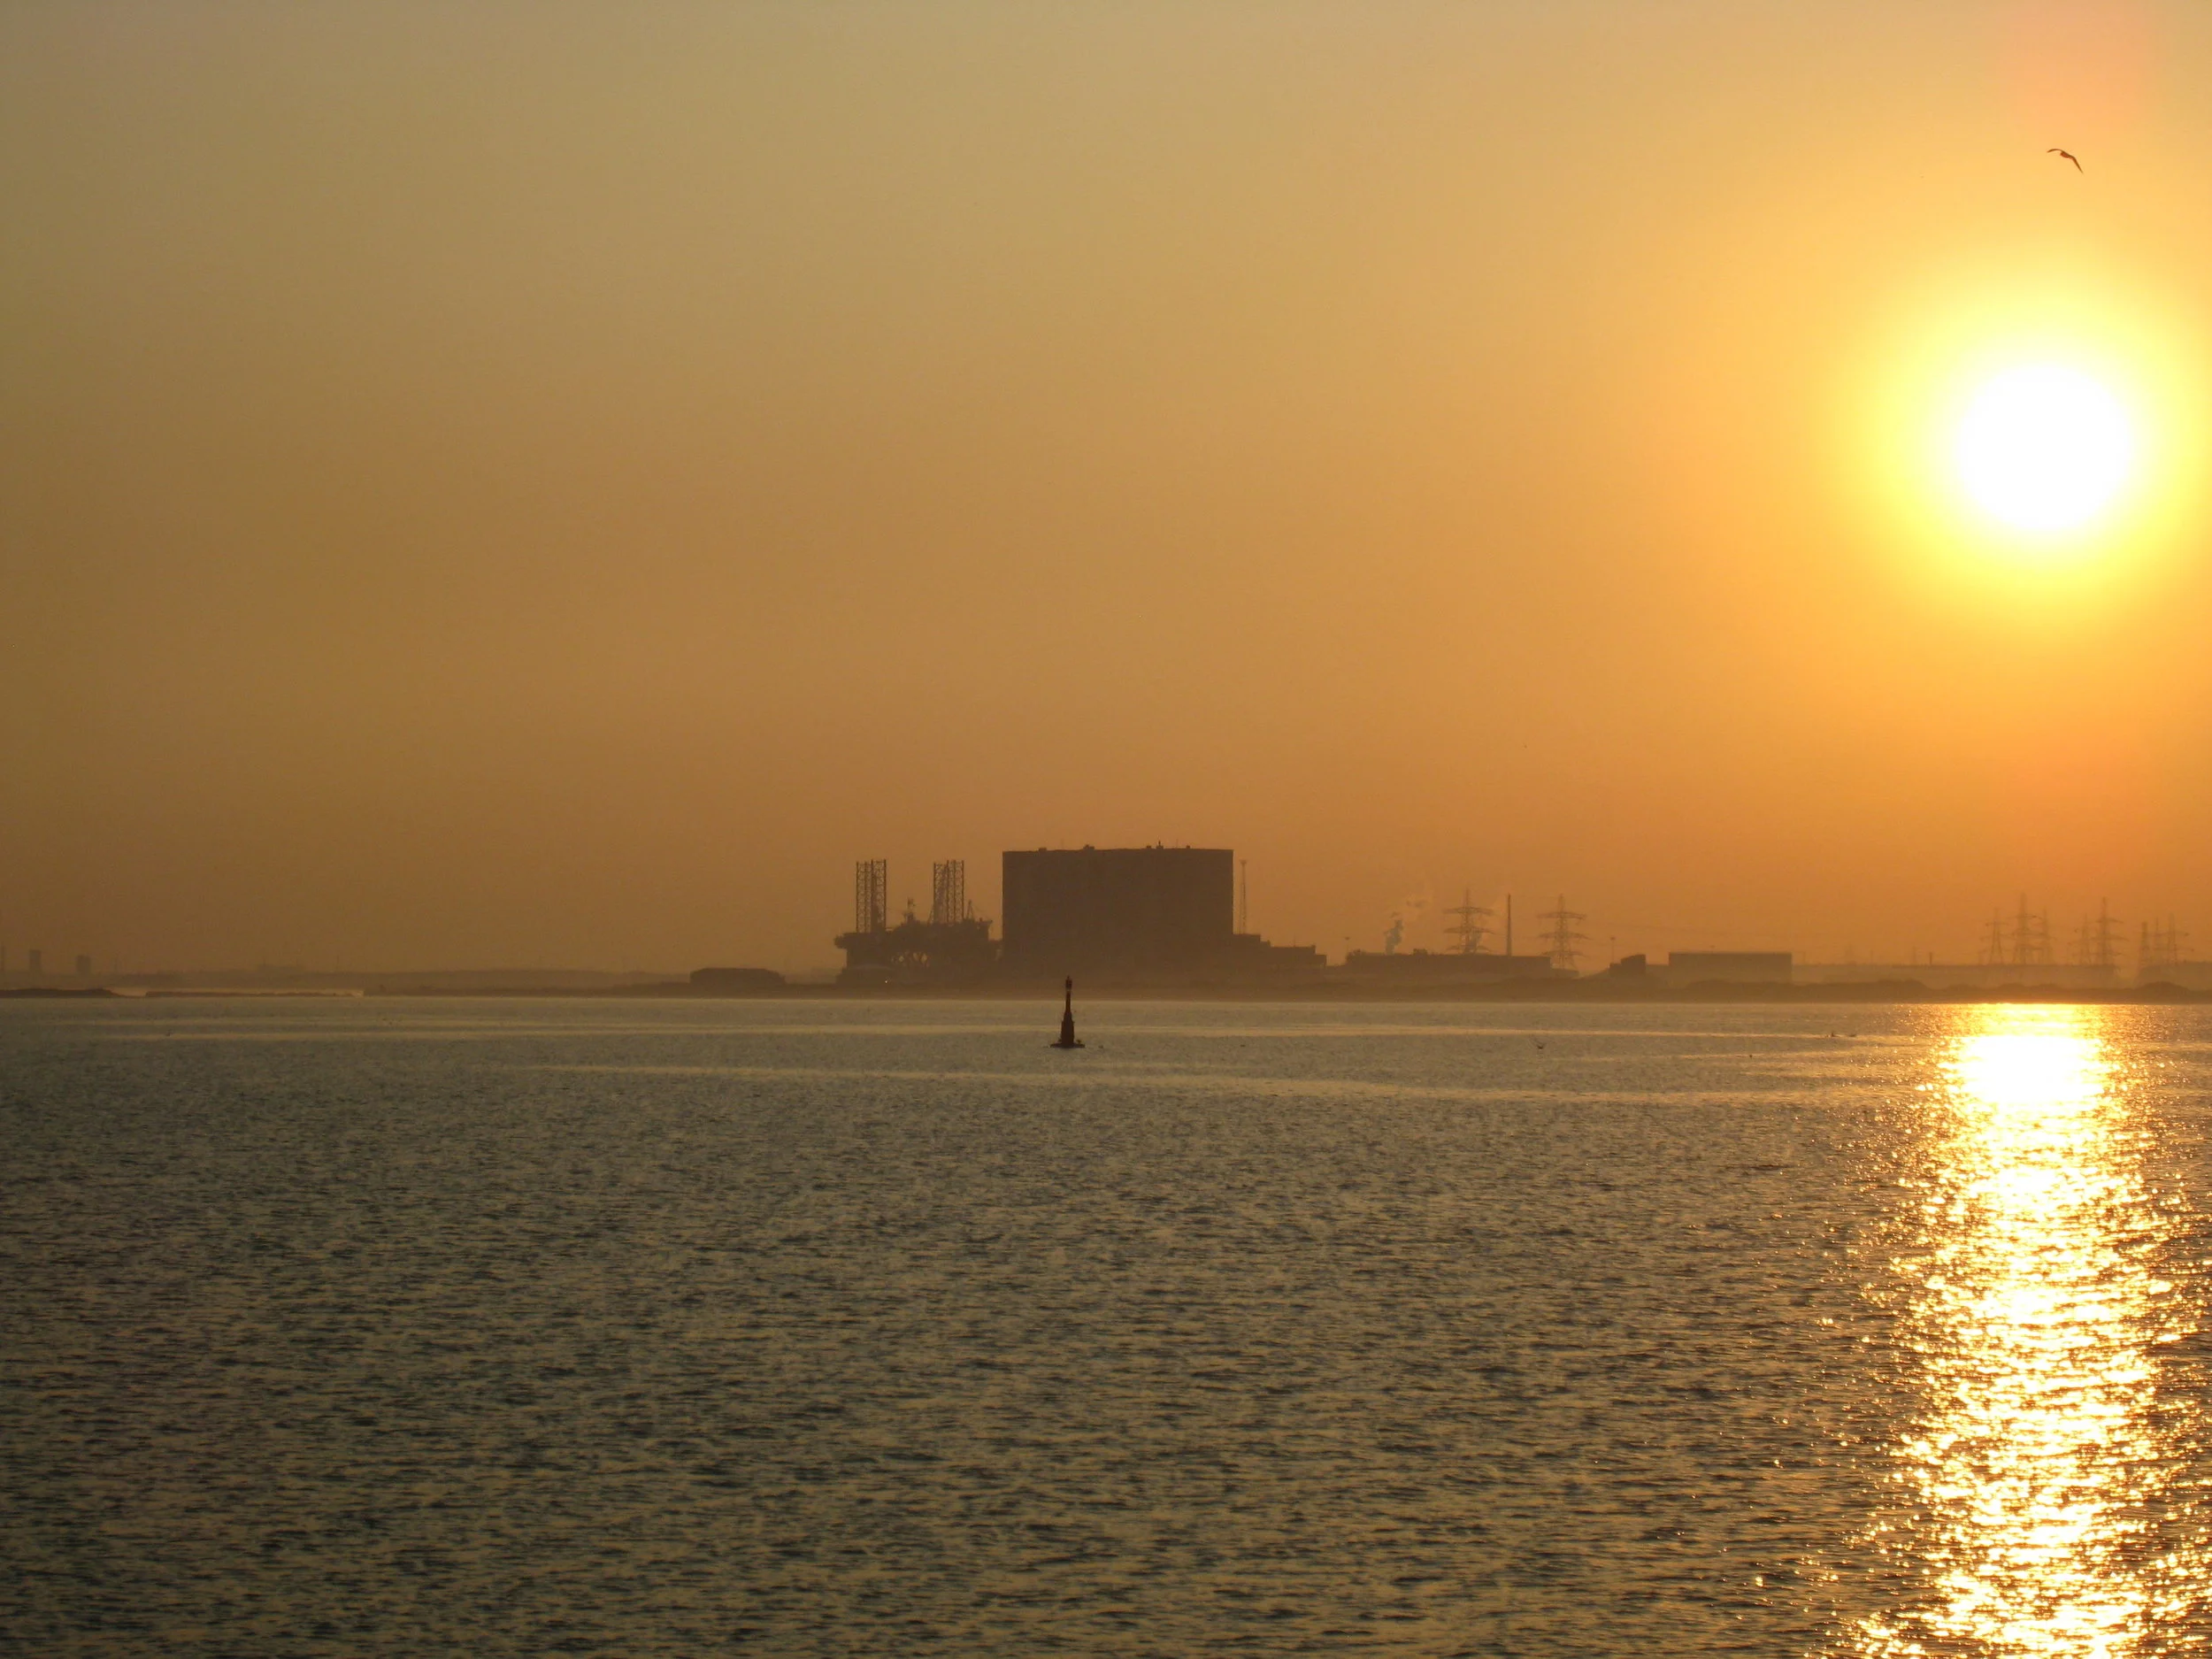
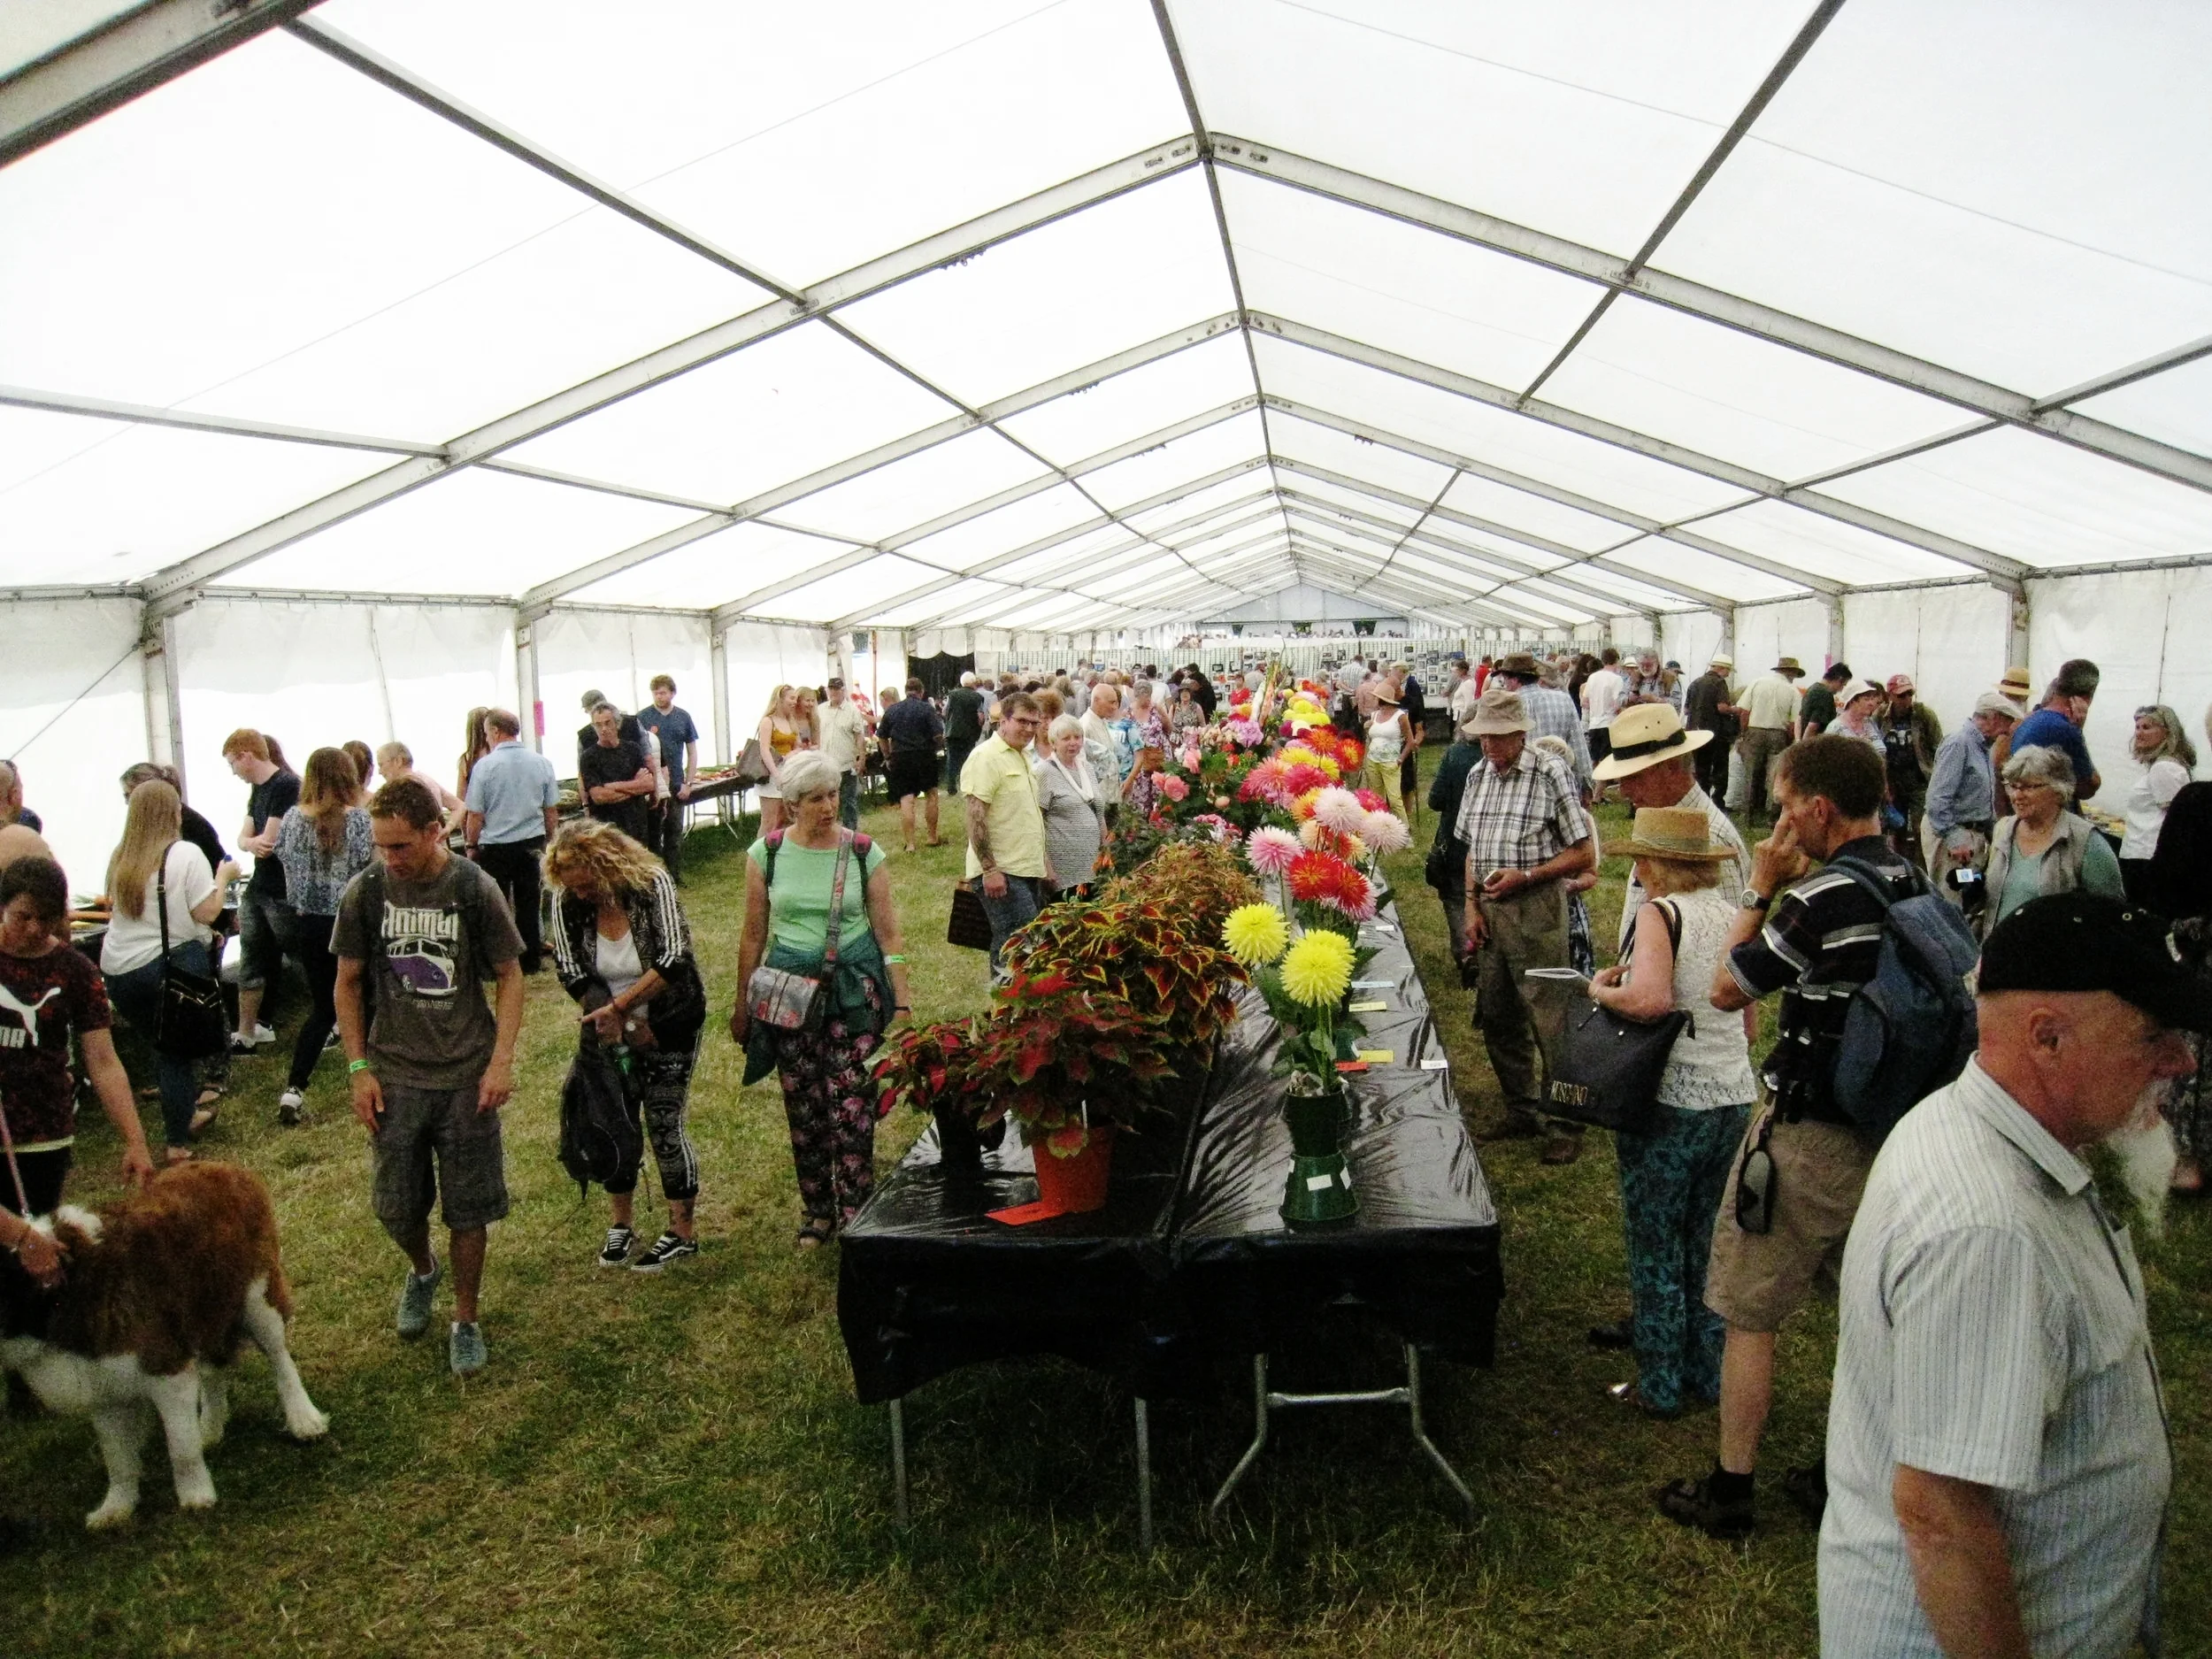
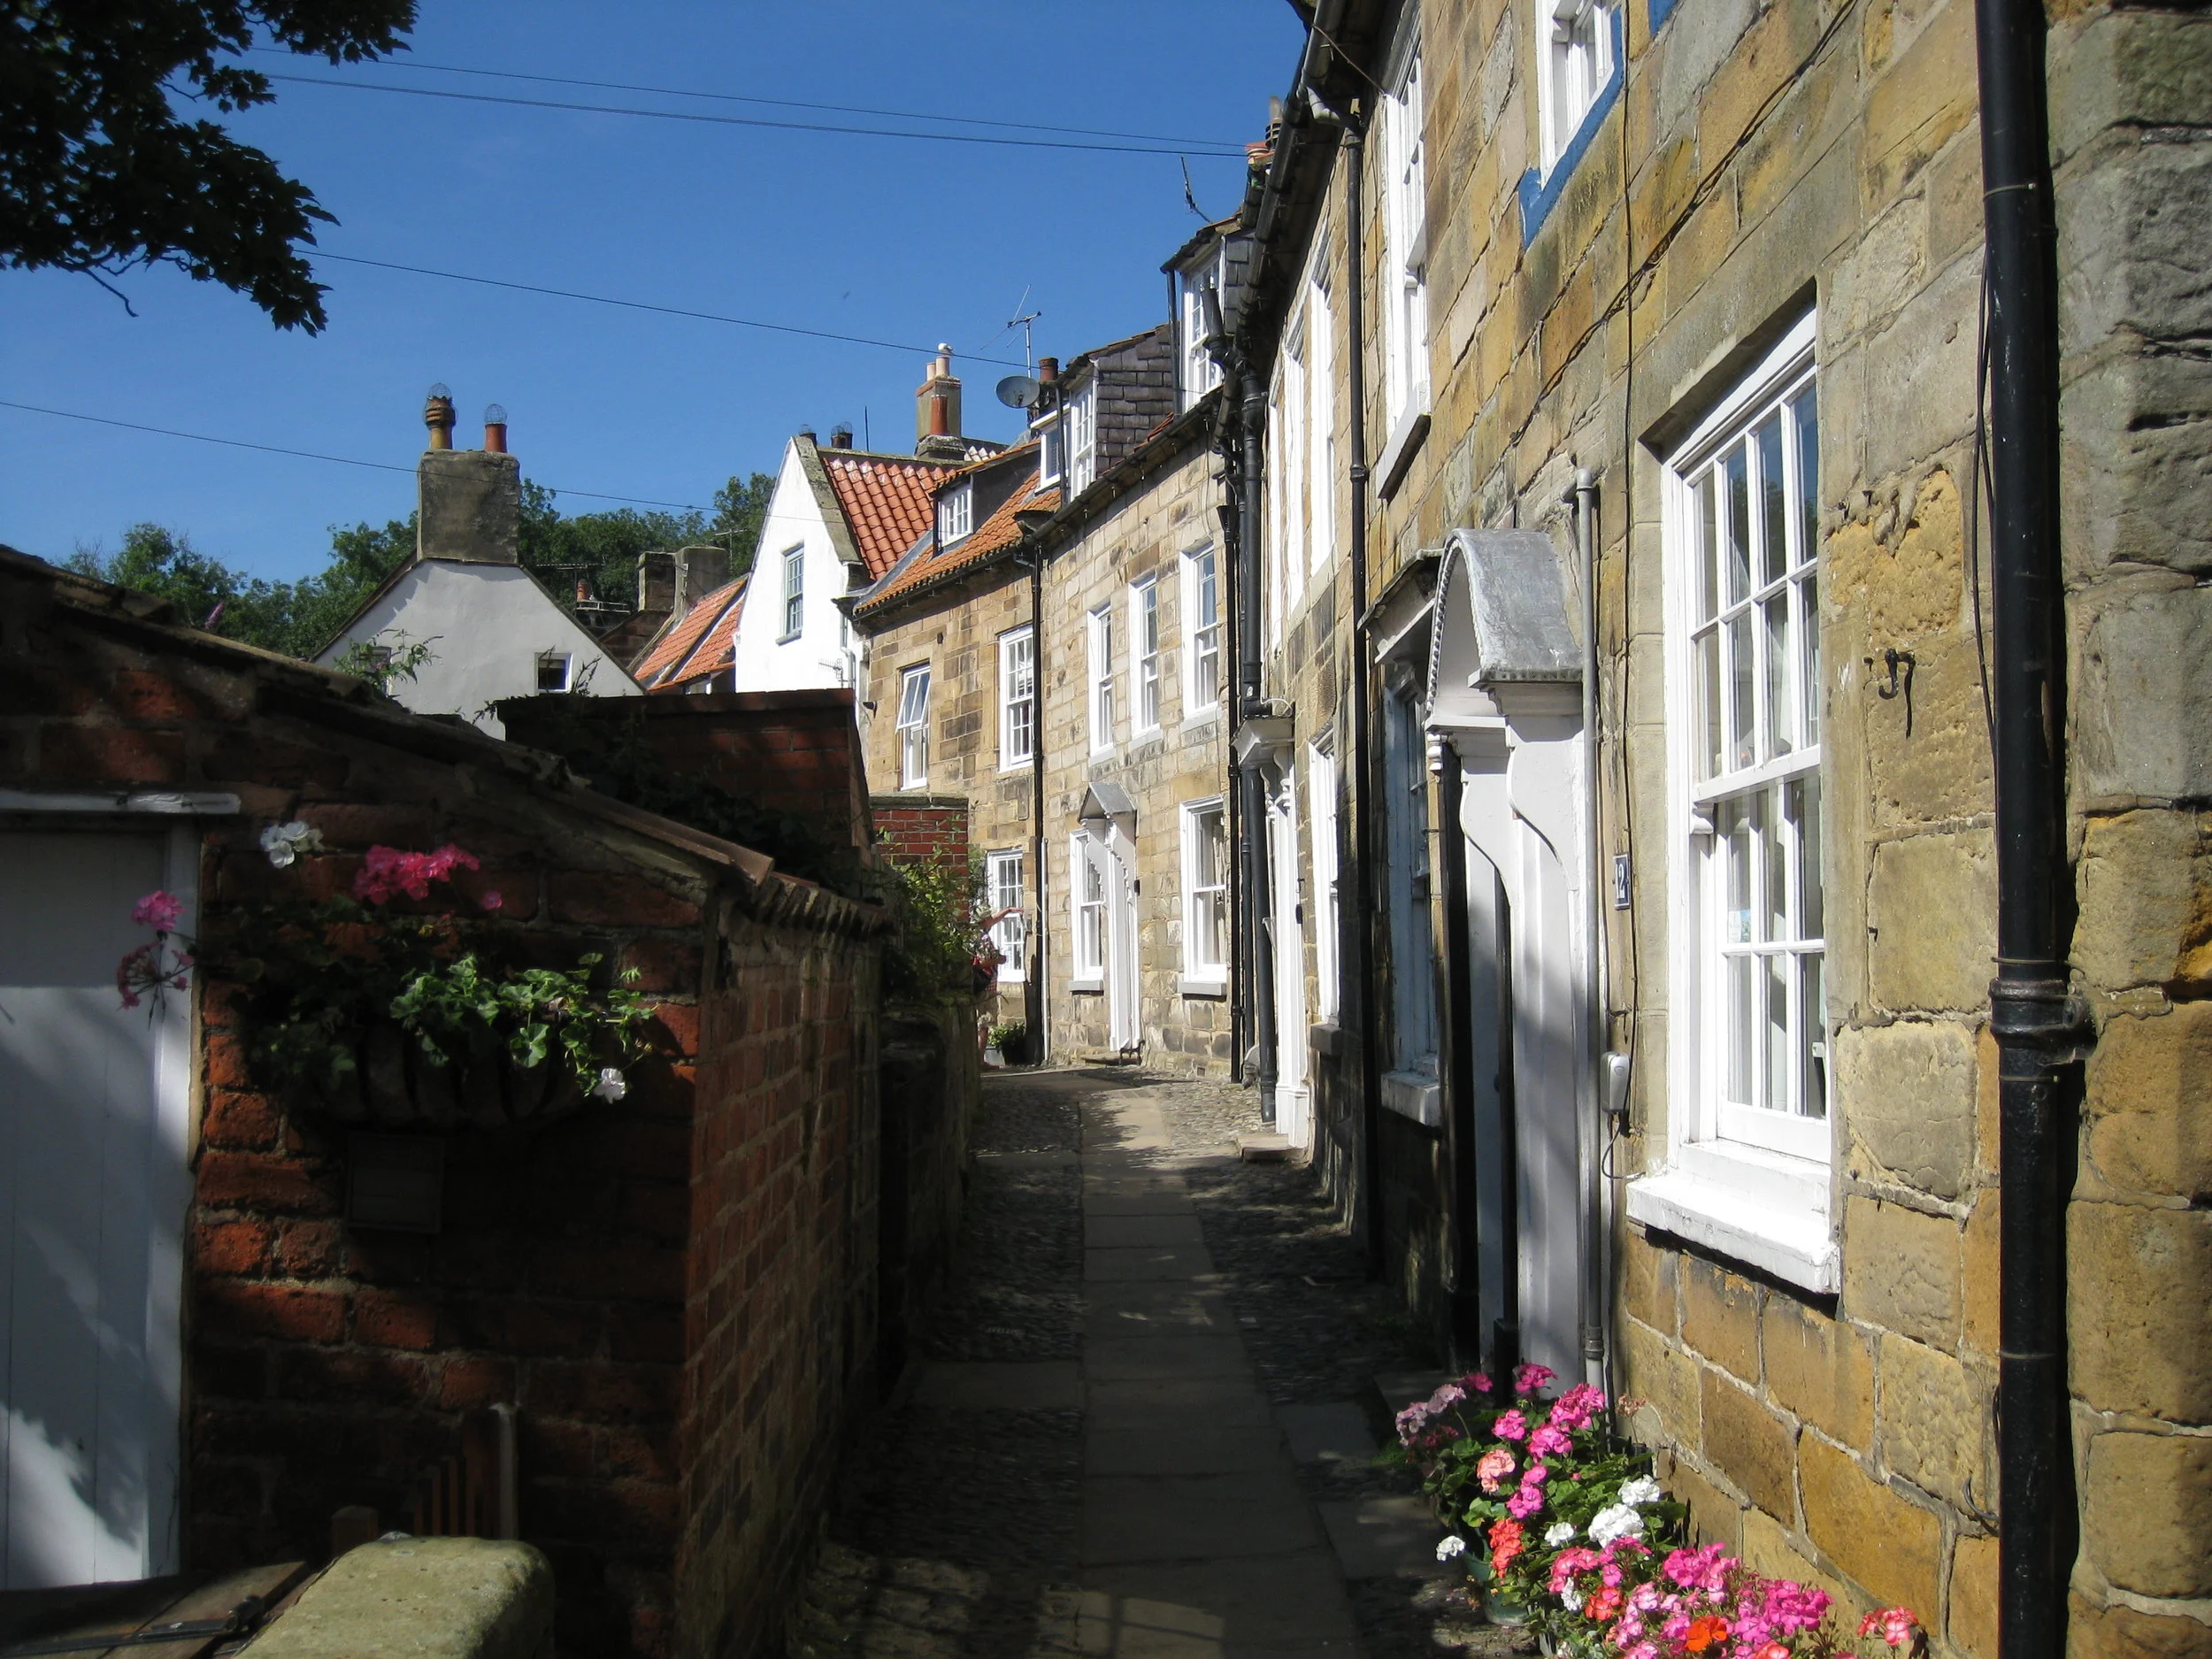
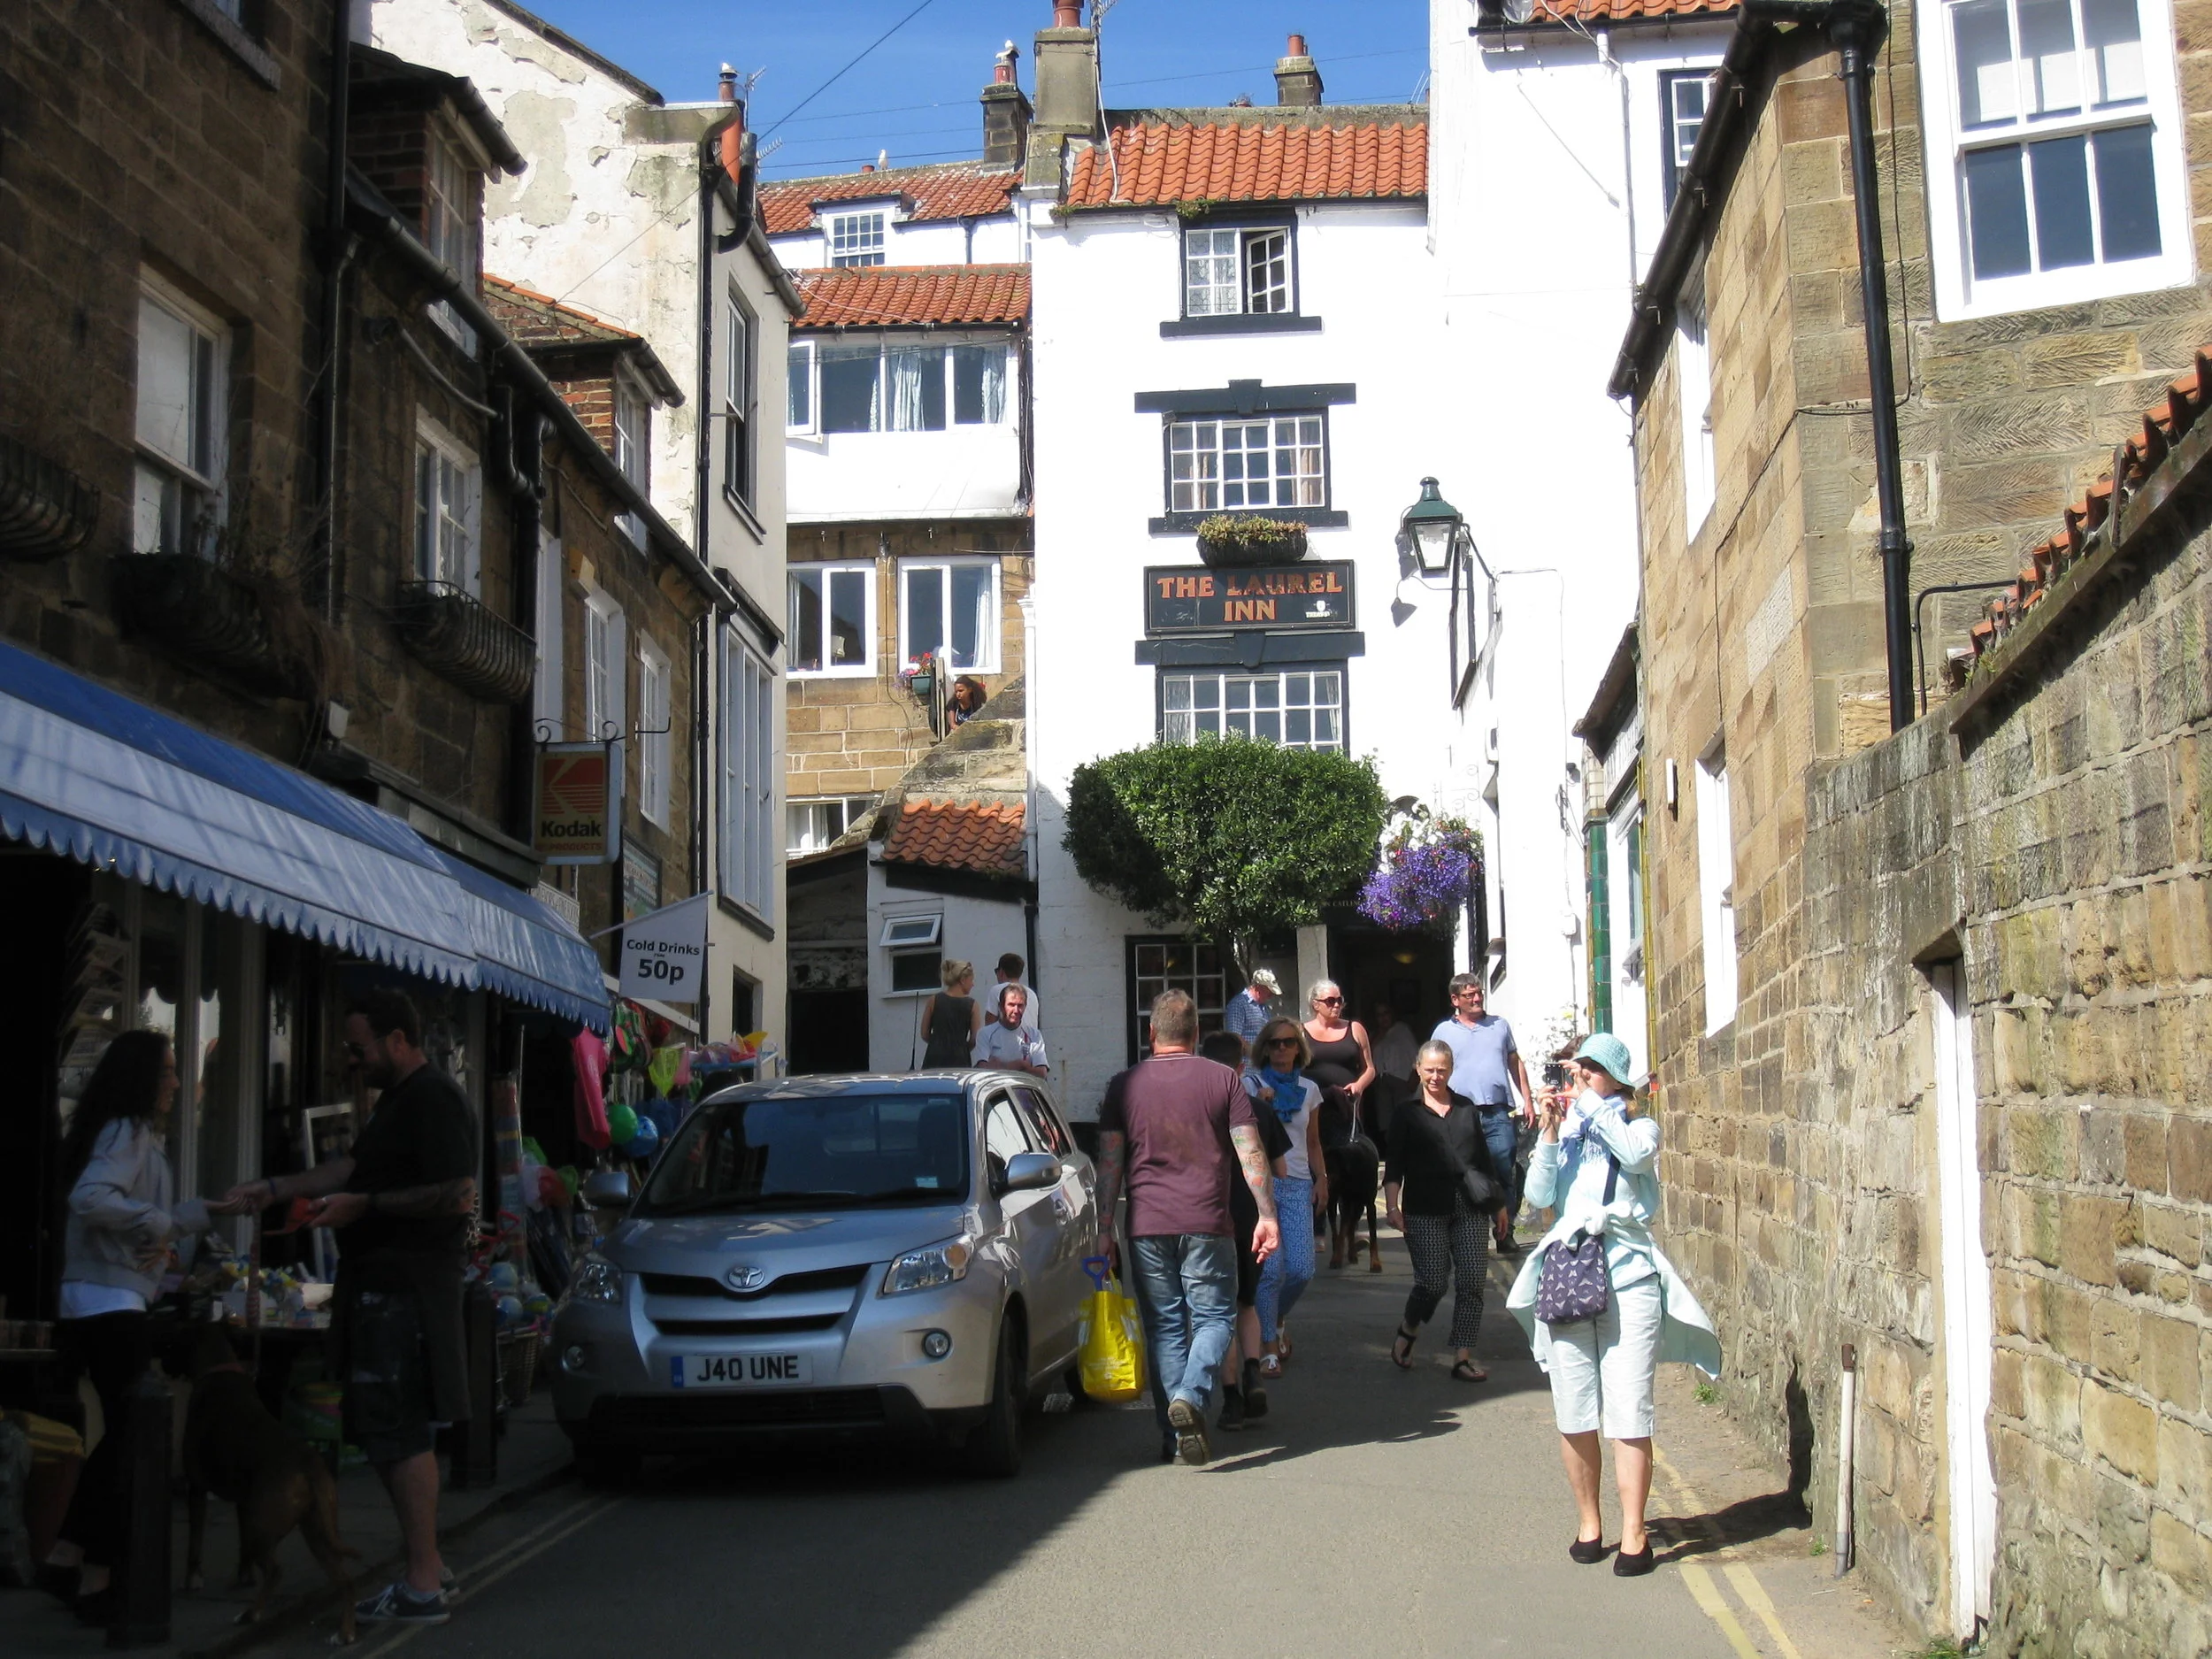
View fullsize
View fullsize
View fullsize
View fullsize
View fullsize
View fullsize
View fullsize
View fullsize
View fullsize
View fullsize
View fullsize
View fullsize
View fullsize
View fullsize
View fullsize
View fullsize
View fullsize
View fullsize
View fullsize
View fullsize
View fullsize
View fullsize
View fullsize
View fullsize
View fullsize
View fullsize
View fullsize
View fullsize
View fullsize
View fullsize
View fullsize
View fullsize
View fullsize
View fullsize
View fullsize
View fullsize
View fullsize
View fullsize
View fullsize
View fullsize
View fullsize
View fullsize
View fullsize
View fullsize
View fullsize
View fullsize
View fullsize
View fullsize
View fullsize
View fullsize
View fullsize
View fullsize
View fullsize
View fullsize
View fullsize
View fullsize
View fullsize
View fullsize
View fullsize
View fullsize
View fullsize
View fullsize
View fullsize
View fullsize
View fullsize
View fullsize
View fullsize
View fullsize
View fullsize
View fullsize
View fullsize
View fullsize
View fullsize
View fullsize
View fullsize
View fullsize
View fullsize
View fullsize
View fullsize
View fullsize
View fullsize
View fullsize
View fullsize
View fullsize
View fullsize
View fullsize
View fullsize
View fullsize
View fullsize
View fullsize
View fullsize
View fullsize
View fullsize
View fullsize
View fullsize
View fullsize
View fullsize
View fullsize
View fullsize
View fullsize
View fullsize
View fullsize
View fullsize
View fullsize
View fullsize
View fullsize
View fullsize
View fullsize
View fullsize
View fullsize
View fullsize
View fullsize
View fullsize
View fullsize
View fullsize
View fullsize
View fullsize
View fullsize
View fullsize
View fullsize
View fullsize
View fullsize
View fullsize
View fullsize
View fullsize
View fullsize